A page consists of multiple webparts. With the webparts you can refer to other lists, libraries and apps within a page. You can add webparts SharePoint Pages manually and programmatically to a page. Adding webparts to single sites, can be done straight forwards in the edit section of the pages. If you want to do it in multiple sites and want to ensure, that the pages do look identical in terms of the structure, add webparts to SharePoint Pages with PowerShell! In this post I will show you how to do add webparts to pages manually and with PowerShell.
Add Webparts to SharePoint Pages manually
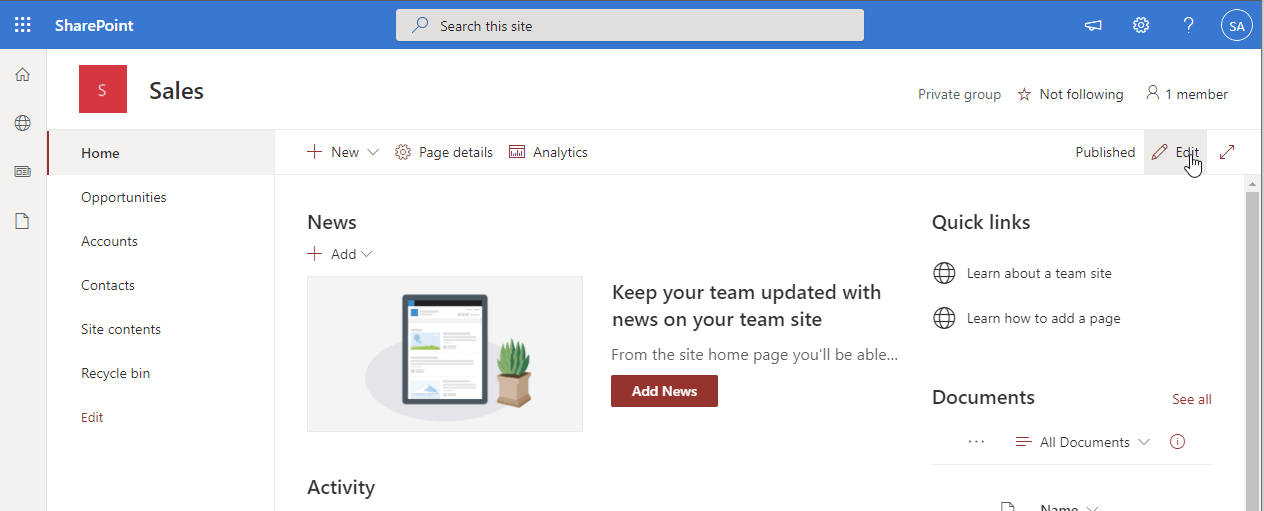
If you want to add webparts to SharePoint pages manually, you have to edit the page by clicking on edit.
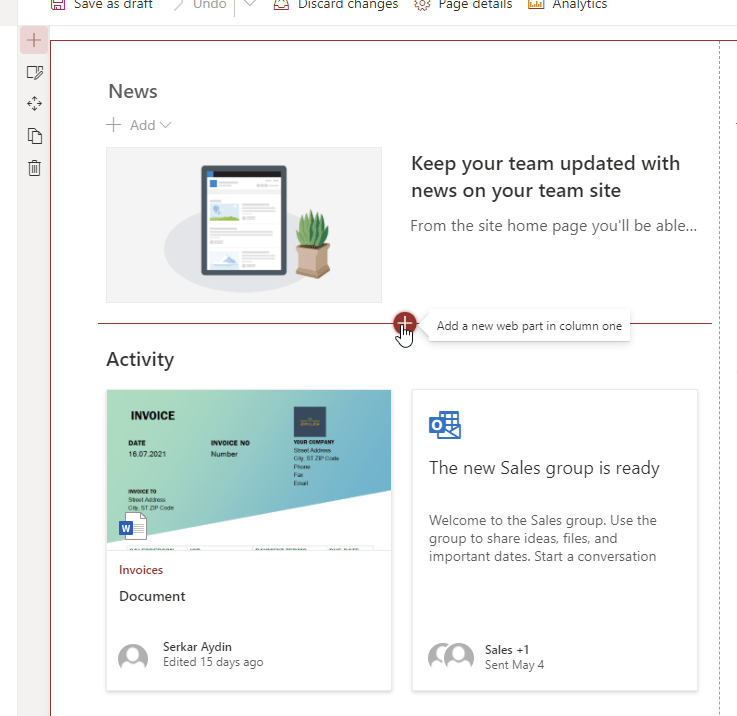
Now you can add the webpart to areas, where you get displayed a red line with a plus:
Like here
or here:
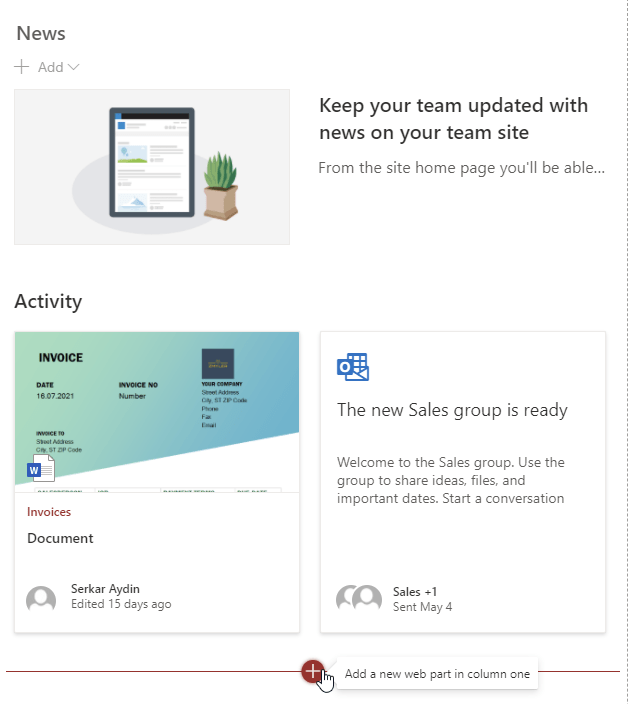
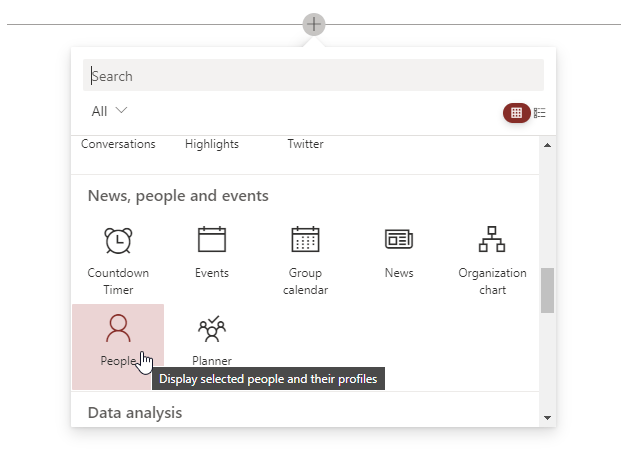
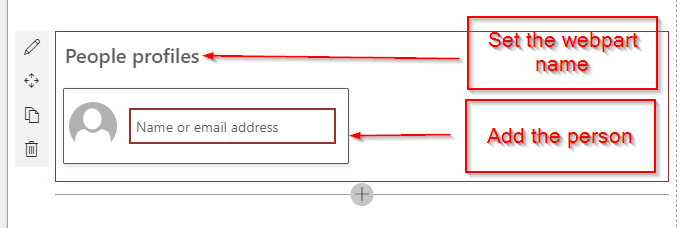
After clicing on the red cross, you have to choose the webpart and can add. In my example, I want to display a user.
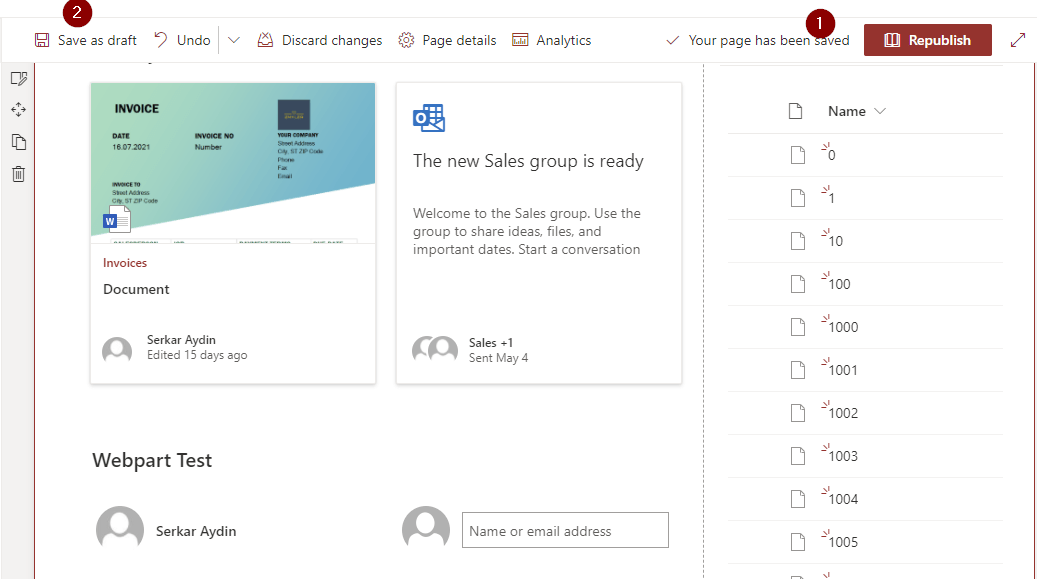
If you want to display the changes to all users, click on publish (1) , otherwise click save as draft (2), so only you can see the changes.
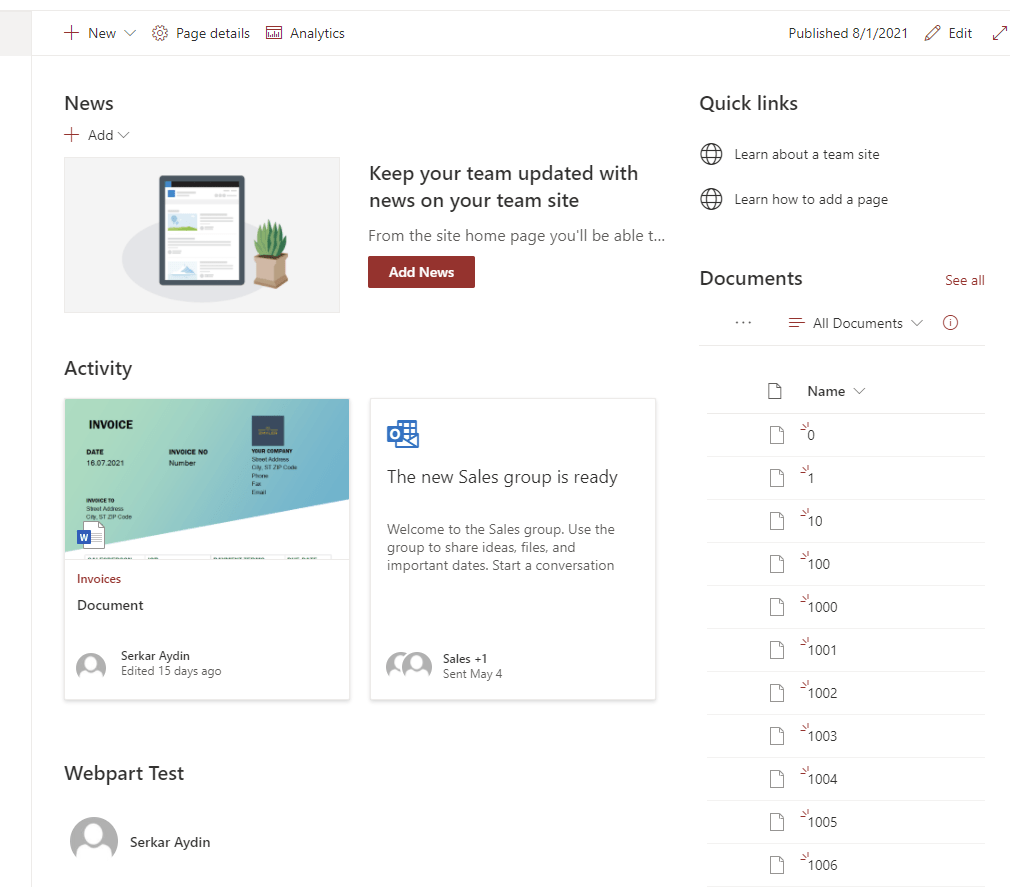
I have published the page, so every user can now see my change:
Add Webparts to SharePoint pages with PowerShell
Recommendations
- Use a code editor, which can format JSON properly – otherwise your code will look like a mess. I would recommend Visual Studio Code
- Refresh the $Page variable fore each change you make on your page – Otherwise you will experience, that the homepage will be messed up
Building webpart Components
In the first step, I would recommend to design the webpart in the worbench page. You can find the workbench page of your site, by calling following URL:
https://DOMAIN.sharepoint.com/sites/SITE/_layouts/15/workbench.aspxFor my demo page it is:
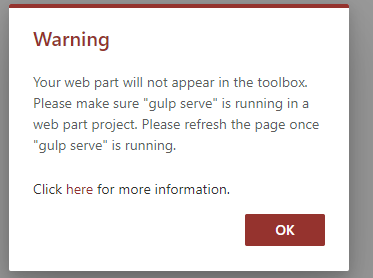
https://devmodernworkplace.sharepoint.com/sites/Sales/_layouts/15/workbench.aspxYou can ignore the warning:
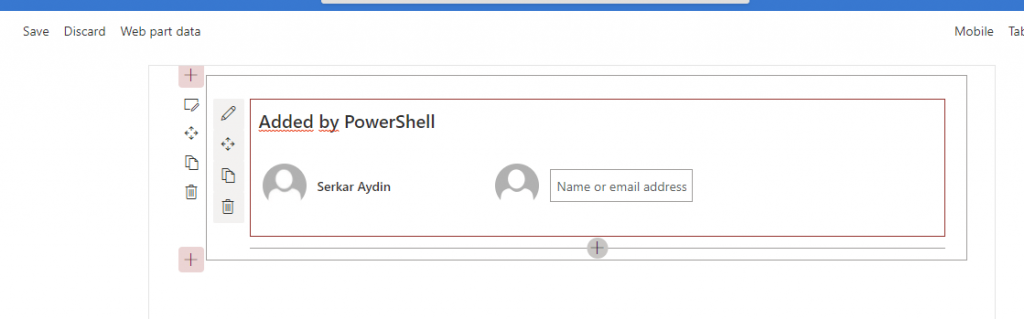
Now add the webpart, which you want manually.
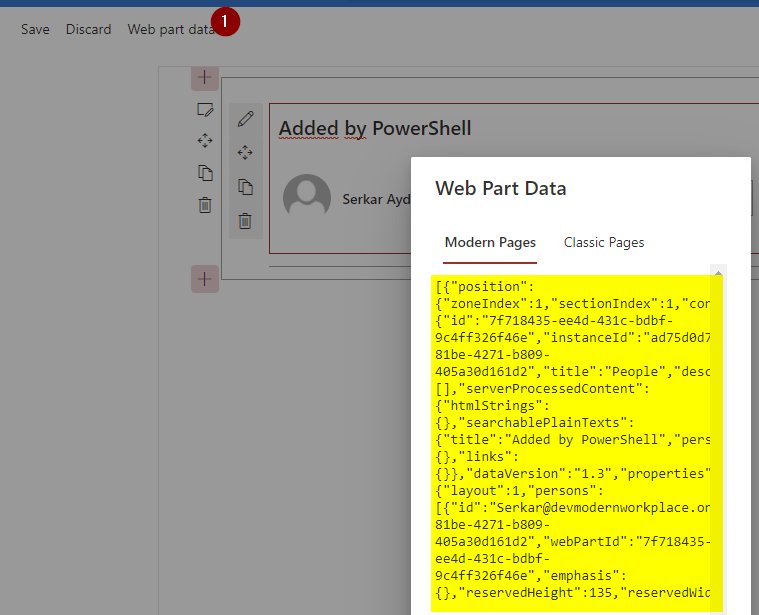
Now click on “Web part data” and copy the yellow marked contents
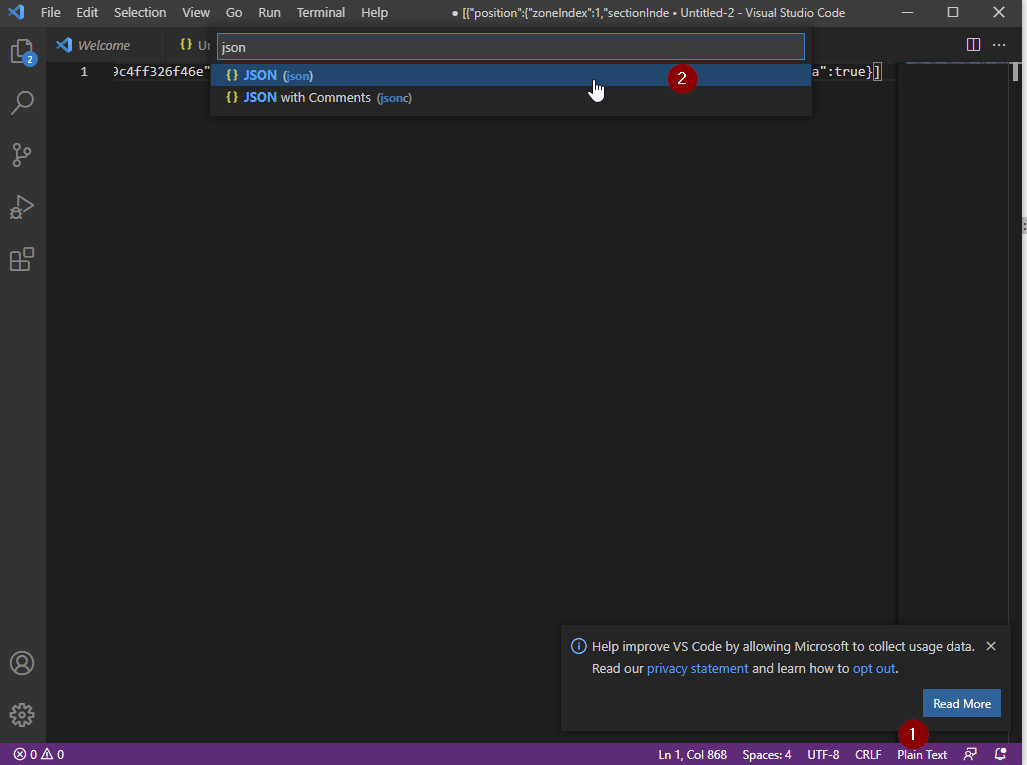
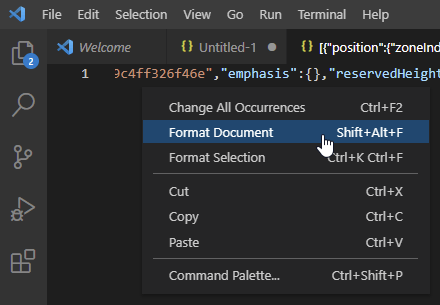
Put it in an editor like visual studio code and I would recommend changing to language to JSON.
After doing that, make a right click and click on format document.
Now copy the content of WebPartData into a new tab (CTRL + N).
Add { as the first character and } as the last character. After doing this, format the document.
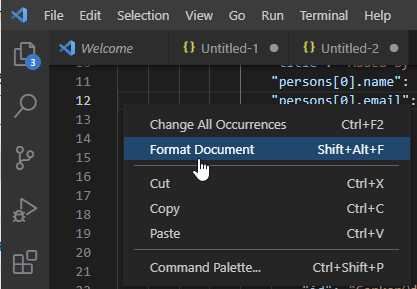
Your JSON should look like this:
{
    "webPartData": {
        "id": "7f718435-ee4d-431c-bdbf-9c4ff326f46e",
        "instanceId": "ad75d0d7-81be-4271-b809-405a30d161d2",
        "title": "People",
        "description": "Display selected people and their profiles",
        "audiences": [],
        "serverProcessedContent": {
            "htmlStrings": {},
            "searchablePlainTexts": {
                "title": "Added by PowerShell",
                "persons[0].name": "Serkar Aydin",
                "persons[0].email": "Serkar@devmodernworkplace.onmicrosoft.com"
            },
            "imageSources": {},
            "links": {}
        },
        "dataVersion": "1.3",
        "properties": {
            "layout": 1,
            "persons": [
                {
                    "id": "Serkar@devmodernworkplace.onmicrosoft.com",
                    "upn": "",
                    "role": "",
                    "department": "",
                    "phone": "",
                    "sip": ""
                }
            ]
        }
    }
}
Adding Webpart to Page with PowerShell
In order to add webparts to SharePoint pages with PowerShell, we have to connect to SharePoint. If you are doing this the first time, check out the post: Connect to SharePoint Online with PowerShell (workplace-automation.com/)
$Credential = Get-Credential
$SiteUrl = "https://devmodernworkplace.sharepoint.com/sites/sales"
Connect-PnPOnline -Url $SiteUrl -Credential $Credential
Get the page, where you want to add the webparts to:
$Page = Get-PnPPage -Identity "Home"After connecting, you can add the webpart by the previously created JSON content:
$PersonJSON = @"
{
    "webPartData": {
        "id": "7f718435-ee4d-431c-bdbf-9c4ff326f46e",
        "instanceId": "ad75d0d7-81be-4271-b809-405a30d161d2",
        "title": "People",
        "description": "Display selected people and their profiles",
        "audiences": [],
        "serverProcessedContent": {
            "htmlStrings": {},
            "searchablePlainTexts": {
                "title": "Added by PowerShell",
                "persons[0].name": "Serkar Aydin",
                "persons[0].email": "Serkar@devmodernworkplace.onmicrosoft.com"
            },
            "imageSources": {},
            "links": {}
        },
        "dataVersion": "1.3",
        "properties": {
            "layout": 1,
            "persons": [
                {
                    "id": "Serkar@devmodernworkplace.onmicrosoft.com",
                    "upn": "",
                    "role": "",
                    "department": "",
                    "phone": "",
                    "sip": ""
                }
            ]
        }
    }
}
"@

Add-PnPPageWebPart -Page $Page -DefaultWebPartType People -WebPartProperties $PersonJSON -Section 1 -Column 1 -Order 3
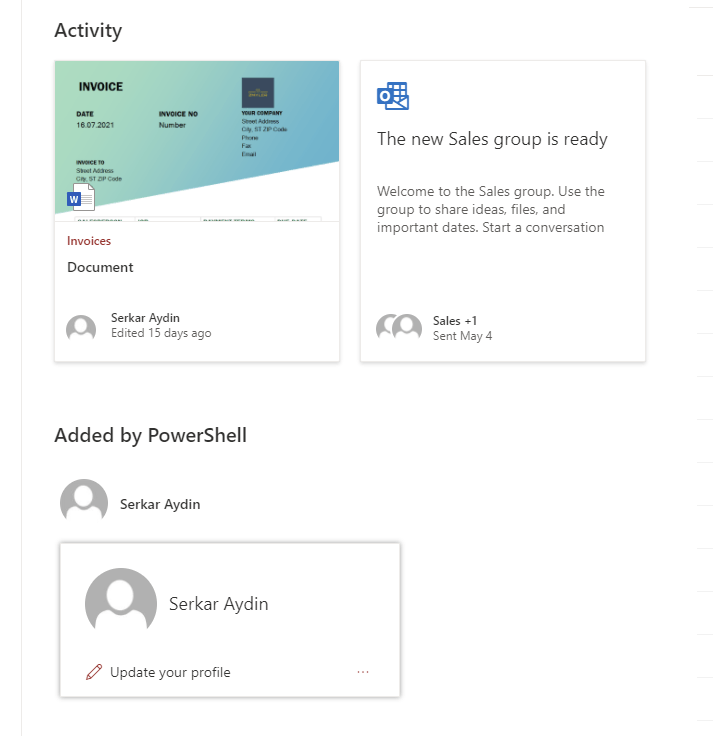
The result of the added webpart looks like this:
Bonus: Ready-to-use script
The ready to use script looks like this:
$Credential = Get-Credential
$SiteUrl = "https://devmodernworkplace.sharepoint.com/sites/sales"
Connect-PnPOnline -Url $SiteUrl -Credential $Credential


$Page = Get-PnPPage -Identity "Home"

$PersonJSON = @"
{
    "webPartData": {
        "id": "7f718435-ee4d-431c-bdbf-9c4ff326f46e",
        "instanceId": "ad75d0d7-81be-4271-b809-405a30d161d2",
        "title": "People",
        "description": "Display selected people and their profiles",
        "audiences": [],
        "serverProcessedContent": {
            "htmlStrings": {},
            "searchablePlainTexts": {
                "title": "Added by PowerShell",
                "persons[0].name": "Serkar Aydin",
                "persons[0].email": "Serkar@devmodernworkplace.onmicrosoft.com"
            },
            "imageSources": {},
            "links": {}
        },
        "dataVersion": "1.3",
        "properties": {
            "layout": 1,
            "persons": [
                {
                    "id": "Serkar@devmodernworkplace.onmicrosoft.com",
                    "upn": "",
                    "role": "",
                    "department": "",
                    "phone": "",
                    "sip": ""
                }
            ]
        }
    }
}
"@

Add-PnPPageWebPart -Page $Page -DefaultWebPartType People -WebPartProperties $PersonJSON -Section 1 -Column 1 -Order 3
Further Documentation
If you are curious about webpart development and the workbench page check: Build your first SharePoint client-side web part (Hello World part 1) | Microsoft Docs
Alternative to Visual Studio Code, you can use following link: JSON Formatter & Validator (curiousconcept.com)