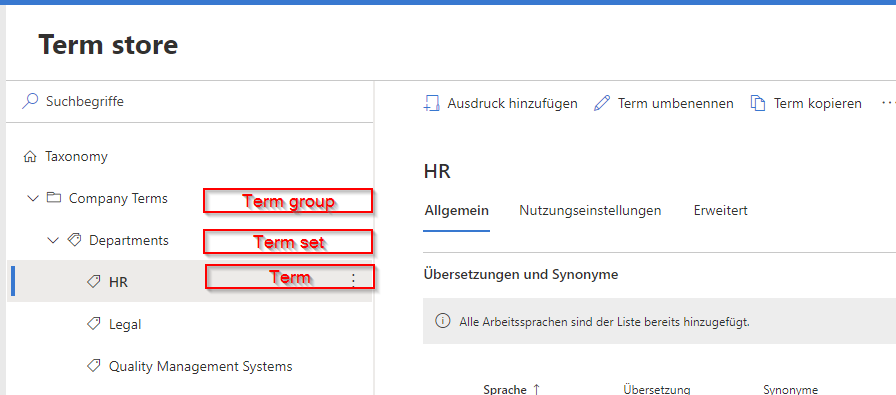
Hello together, in my latest activity as an consutlant I encountered following issue: I got a objects with two meta data. In my example it was a milestone with an link to the milestone activity. Since it were more than 30 items, I didn’t want to work with PSObjects. I was searching for a solution to create multi value arrays in PowerShell with little code as possible. If I would work with PSObjects, it would blow up my code. In this article, I will show you how you can create “normal” arrays and also how you can enhance this arrays, to multi value arrays in PowerShell.
Create Standard PowerShell Arrays in PowerShell
A standard array is set up like this:
$array = @("Value1","Value2")
You can also write it like this:
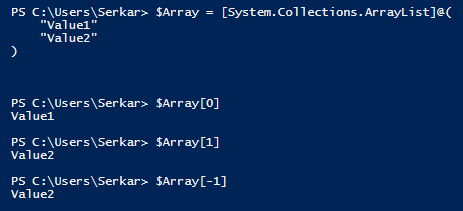
$Array = @(
    "Value1"
    "Value2"
)
So you can get the single values, by putting in the index number of it in square brackets – like $Array[0] for the first value and $Array[1] for the second value. With [-1] you can get the last value of the array.
Remove Value from multi value arrays in PowerShell
Removing a value from a multi value arrays in PowerShell is more complicated. You have to redefine the array, by filtering out the value, which you don’t want in your array:
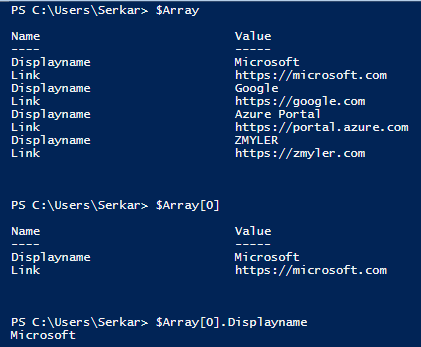
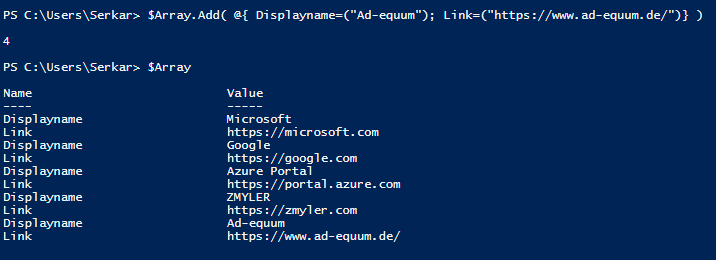
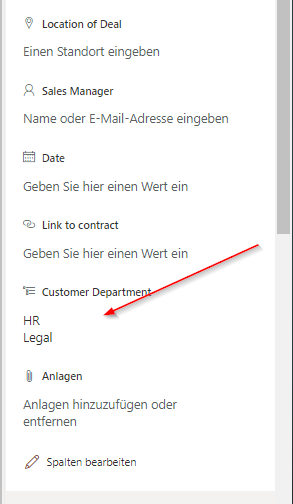
If you want to create a multi value arrays in PowerShell, the only thing you have to do is to inject a hashtable to each line. I hope, that I have saved you a ton of work 🙂
When you want to integrate 3rd party systems to SharePoint, you might need to add items to SharePoint Online lists with PowerShell. In this article, you learn, how to do it for each data type.
Use Case
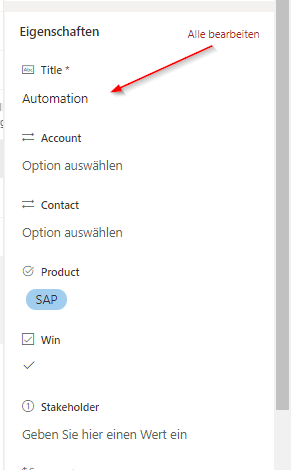
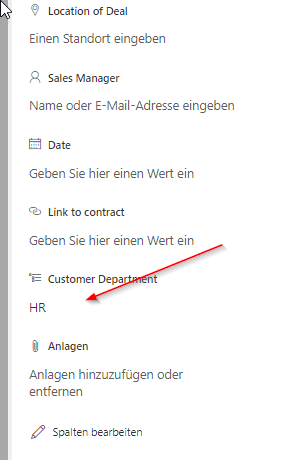
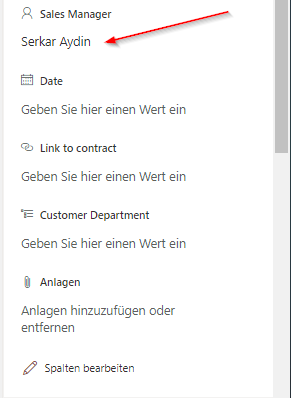
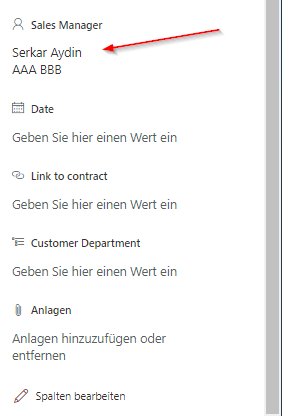
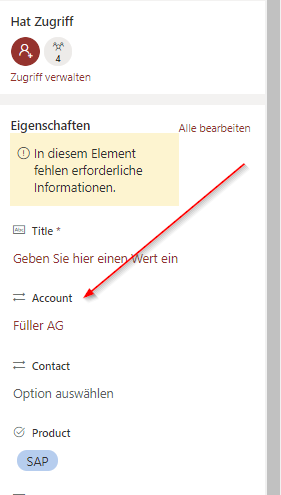
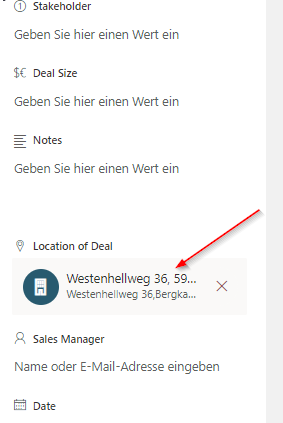
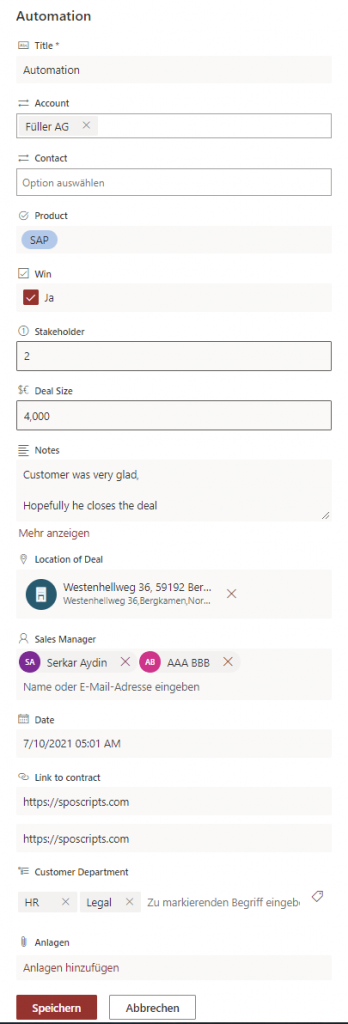
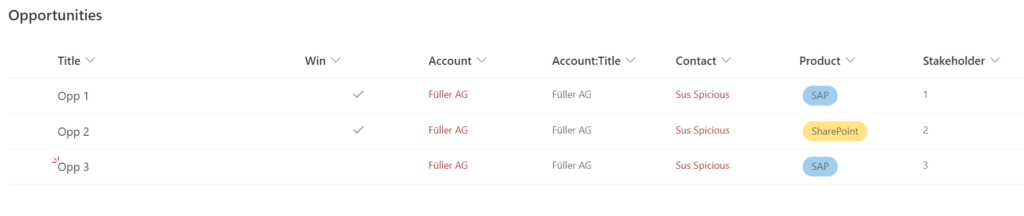
I want to add new oppurtunities as items to my sales list. The aim is to add all values for this various items.
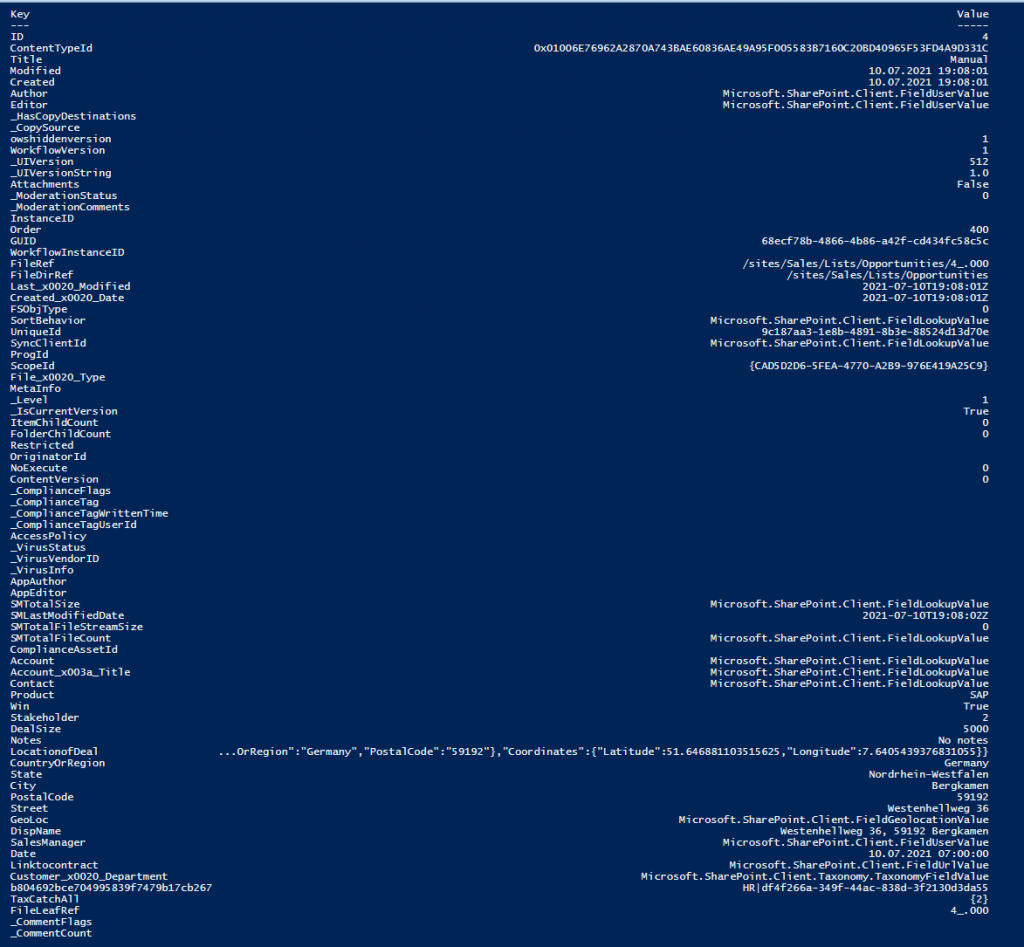
Step 3 – Get the internal field values of your list
In order to code according to the right syntax, you have to know the internal name of the columns. To do this, checkout the post: Getting FieldValues of Items – SPO Scripts
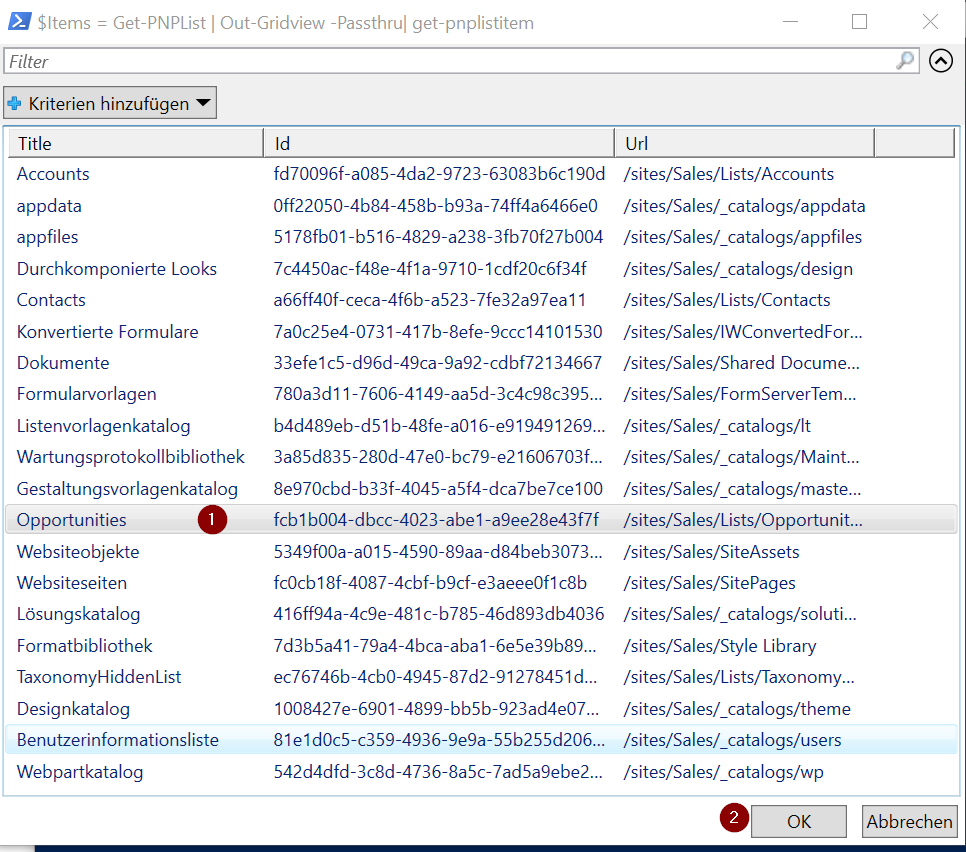
So in this case I am getting the last item and retrieving the field values.
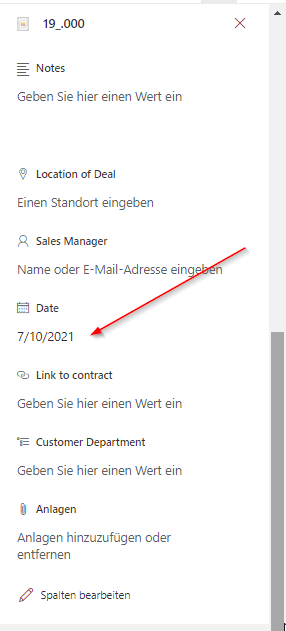
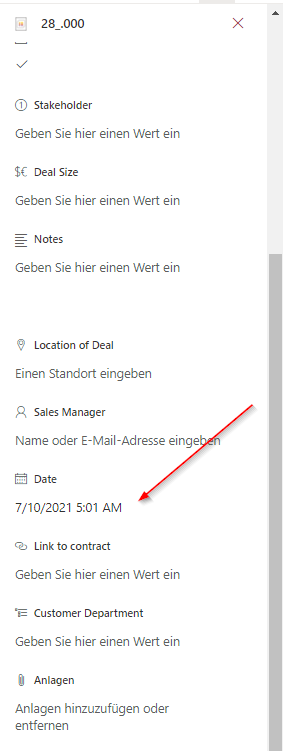
Caution: You have to consider that the date, you have entered is your timezone. The date will be parsed and transfered to universal time. If you want it in your time, you have to add the amount of hours depending on your timezone offset.
I live in Germany, so I add a offset of 2 hours (summer time).
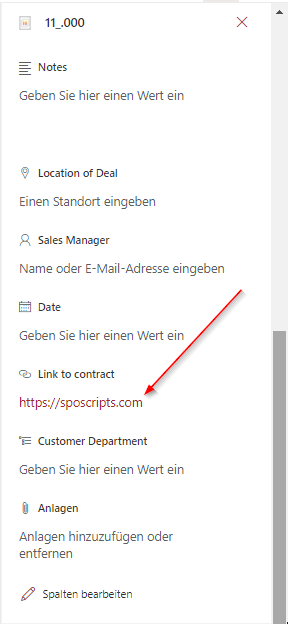
First you got to determine the ID of the value, which you want to lookup in the other list. After determining it, you can add the looked up attribute to your item.
Most of our times, we just need just a bunch of items, to export them or to change their values. This post should help you to show, how to handle filtering for SharePoint items. Besides filtering for SharePoint items with Where-Object, you can also make use of CAML (Collaborative Application Markup Language), which lets you get only the items, you need. It might increase the performance of your queries, when you are dealing with large amounts of data.
Where are the items, which I am looking for?
Preqrequistes
If we want to achieve filtering for SharePoint items, with a CAML query, we have to fulfill following prerequisites:
Permissions to access the list
Installed Module PNP.Powershell. If you don’t know how to, check the post.
Connection to the site via PNP.PowerShell. If you don’t know how to, check the post.
Considerations
You should take care of the case sensitivity of operands and column names
You should take care of the <view> part. Sometimes it is needed, sometimes not – so I would rely on the examples.
Query Schema
A query is structured like this
"<View><Query><Where><LOGICAL OPERATOR><FieldRef Name='INTERNAL NAME OF COLUMN'/><Value Type='VALUE TYPE'>VALUE</Value></LOGICAL OPERATOR></Where></Query></View>"
You can find the internal name of columns in two ways:
In order to filter by query paramter, you have to define a filter query, depending on your datatype (string, integer, boolean..) you have to choose a different query value type.
My blog would not keep it’s promise, If you would not find examples, which give you a fast way to adapt the scripts, so here we go!
In my example, I am using my demo opportunities list. I have marked the names of the columns, the value types, the operands and the actual values bold. Mostly I am using the logical operator “eq”, but I think if you got the basic concept of this, you can adapt it to your solution easily and if not, we will find a way together.
Example for boolean
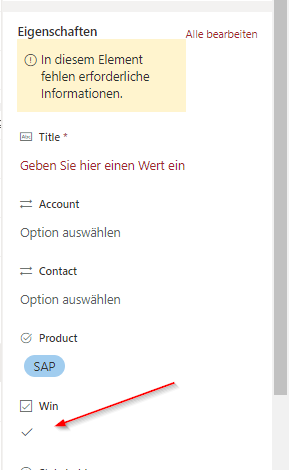
If you want to find items with TRUE values, you have to enter 1. For FALSE values, you have to make use of 0.
Get-PnPListItem : Mindestens ein Feld ist nicht richtig installiert. Wechseln Sie zur Listeneinstellungsseite, um diese Felder zu löschen.
In Zeile:1 Zeichen:1
+ Get-PnPListItem -List "Opportunities" -Query "<View><Query><Where><Gt ...
+ ~~~~~~~~~~~~~~~~~~~~~~~~~~~~~~~~~~~~~~~~~~~~~~~~~~~~~~~~~~~~~~~~~~~~~
    + CategoryInfo          : WriteError: (:) [Get-PnPListItem], ServerException
    + FullyQualifiedErrorId : EXCEPTION,PnP.PowerShell.Commands.Lists.GetListItem
Error message in english
Get-PnPListItem : One or more field types are not installed properly. Go to the list settings page to delete these fields.
In Zeile:1 Zeichen:1
+ Get-PnPListItem -List "Opportunities" -Query "<View><Query><Where><Gt ...
+ ~~~~~~~~~~~~~~~~~~~~~~~~~~~~~~~~~~~~~~~~~~~~~~~~~~~~~~~~~~~~~~~~~~~~~
    + CategoryInfo          : WriteError: (:) [Get-PnPListItem], ServerException
    + FullyQualifiedErrorId : EXCEPTION,PnP.PowerShell.Commands.Lists.GetListItem
Cause
You did not care of the case sensitivity of the column name
You have to determine the internal name of SharePoint columns, when you want to get the values of the items programatically or develop some apps with PowerApps. If you make use of display names of columns, you might not get the values of the columns, that’s why you should use the internal name of the columns, In this article I will show you how to do it by a step-by-step description.
Description
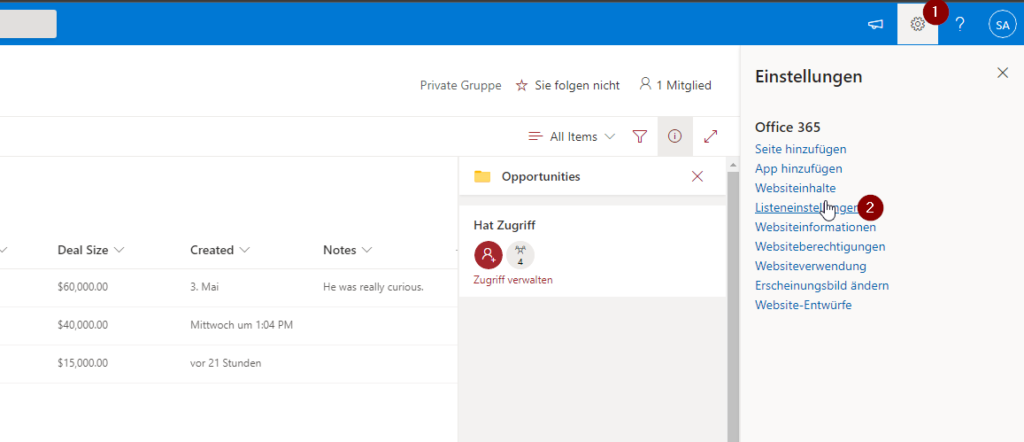
Browse to the list, where you want to get field internal name and open the list settings.
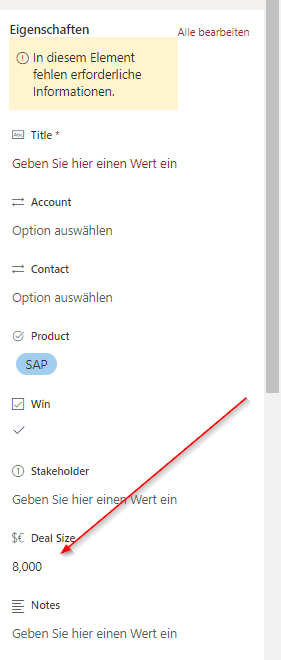
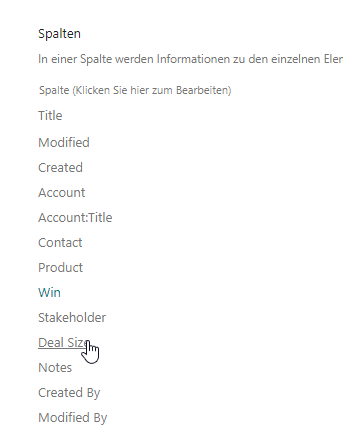
Scroll down to the SharePoint columns and click on the column, which you want to get the internal name of. In my example I want to check it for the SharePoint Column Deal Size.
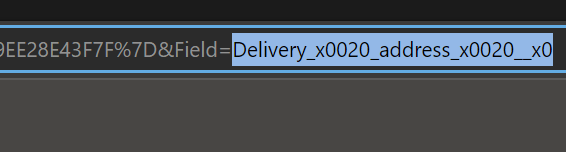
After clicking on Deal Size, I am checking the URL in the adress bar. The part after Field= is the internal name for the column. In my case it is DealSize.
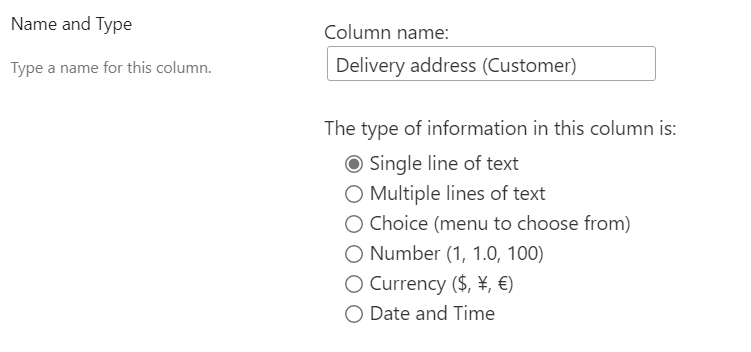
If you use special characters, you will notice, that it won’t be that easy to determine the internal name of the SharePoint columns. Let me show it to you for the column Delivery address (Customer). As you can see, it got _x0020 and some other placeholder, which are not guessable easily.