
If you are using SharePoint and want to ensure, that your end users make use of your templates in SharePoint, you can make use of content types, to use word and excel templates in SharePoint.
Prerequisites
If you want to create use templates in your across multiple SharePoint sites, you need access to the SharePoint Admin center otherwise you just can create it for single sites.
You can use templates for word and excel files, which don’t have macros. If you have macros in your templates, you cannot use them as template for your content type.
What are content types?
You can imagine a content type as an object with meta data, which describes an object.
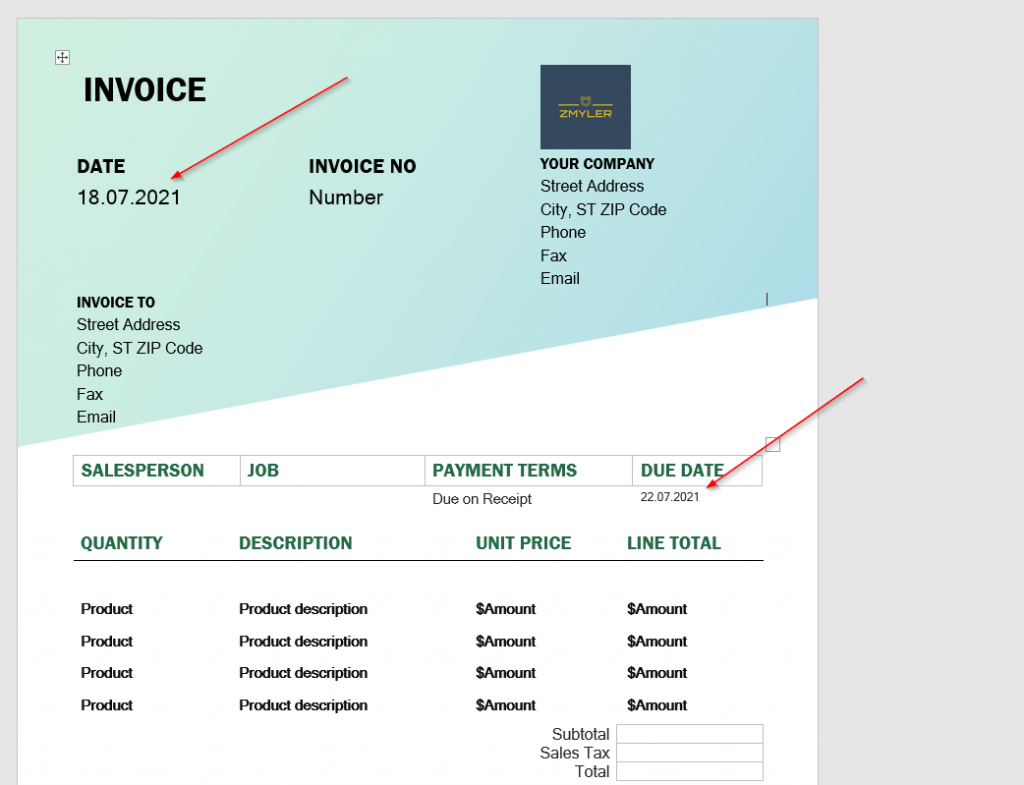
Example: invoice.
Meta data for an invoice are e.g. invoice date and due date.
I will show you how to configure content types in your content type hub, so you can make use of word and excel templates in SharePoint!
Create a template
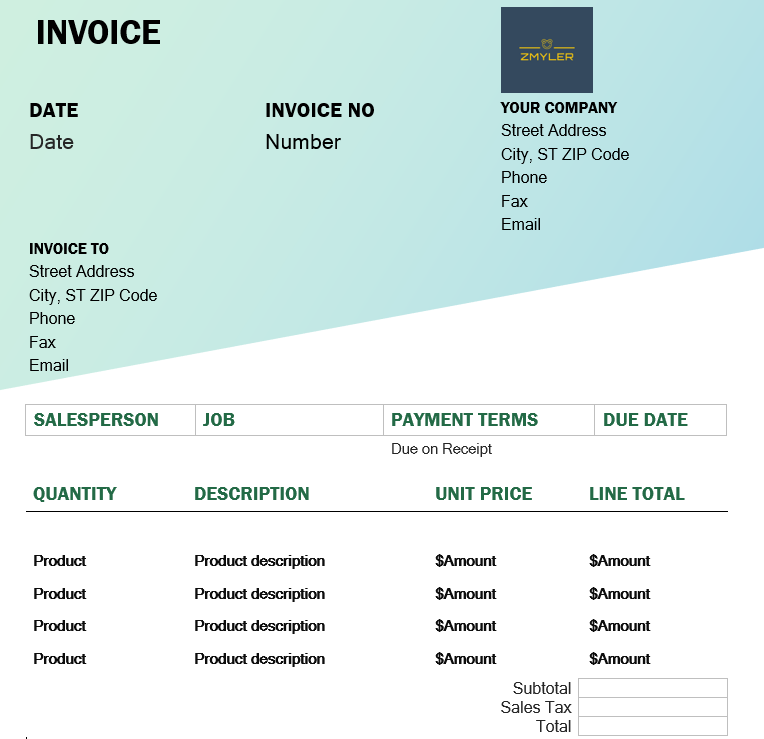
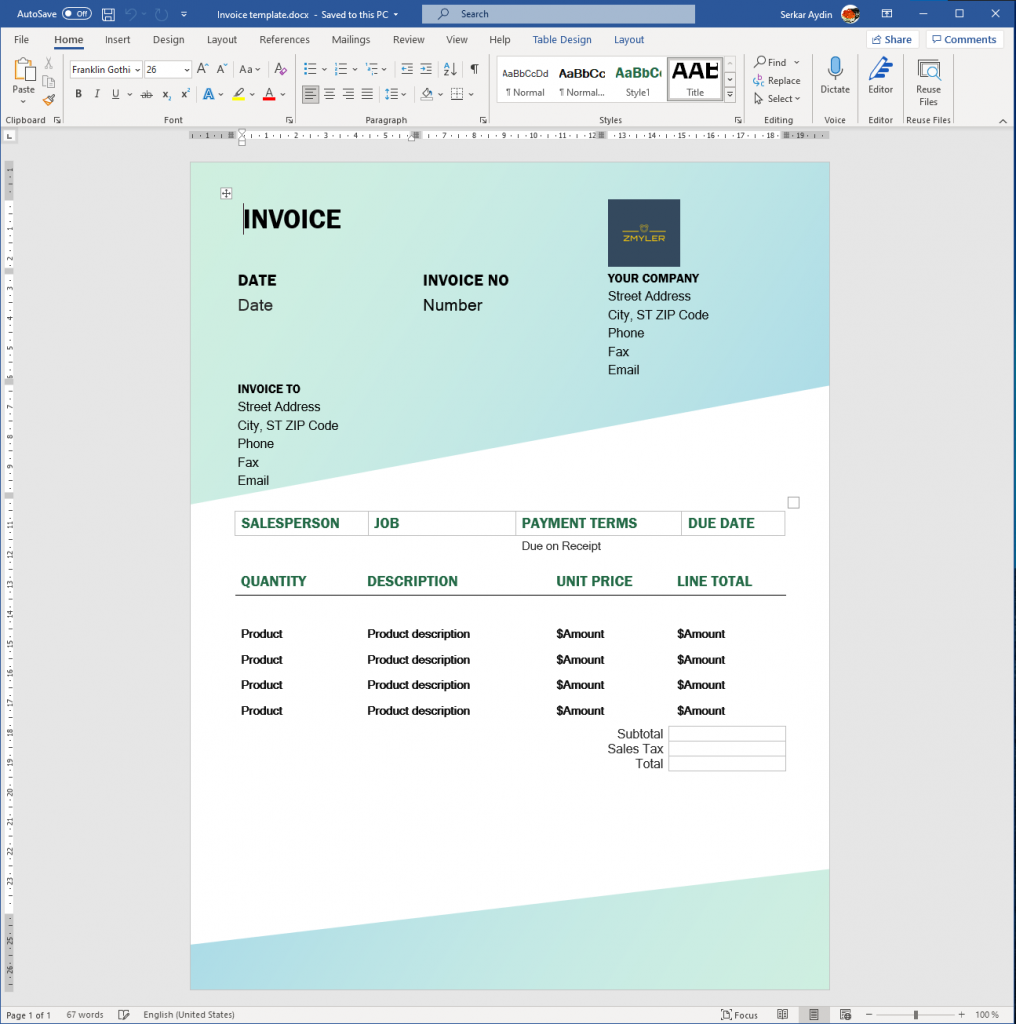
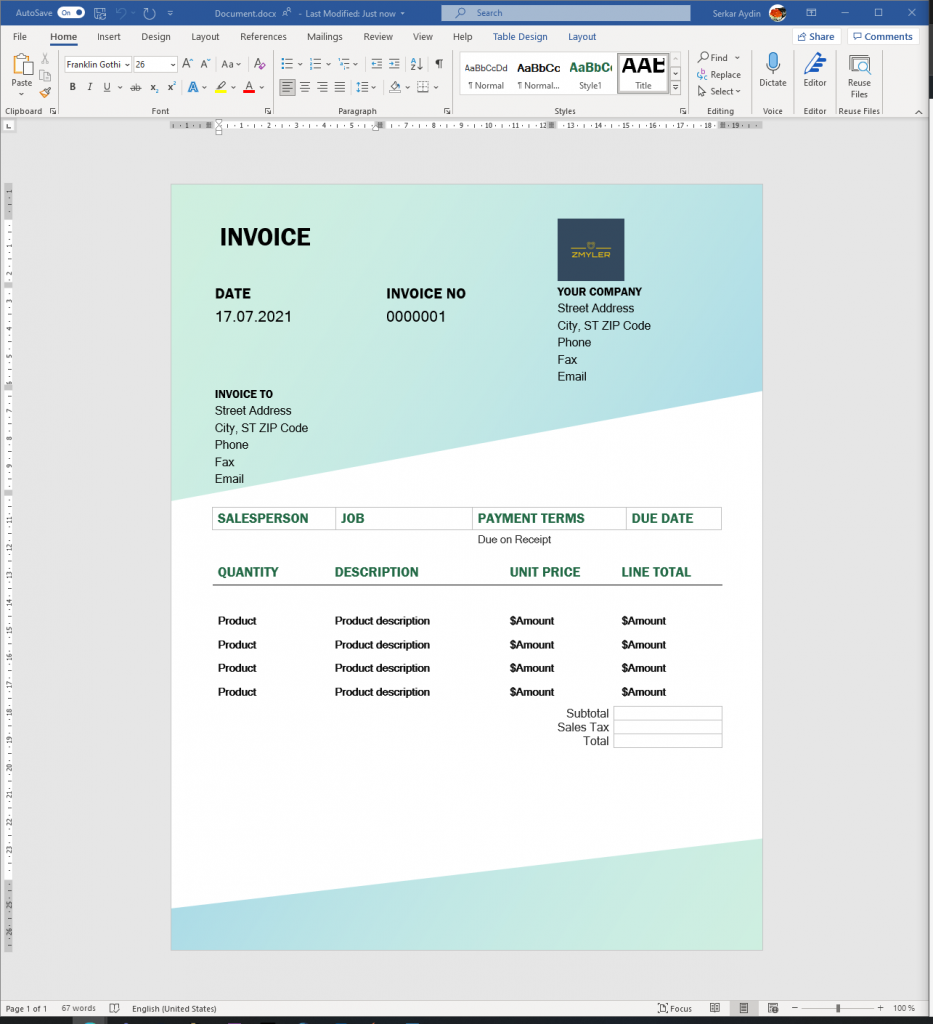
Before we start to use templates in SharePoint, we have to define a template. For our invoice, I took a template of Microsoft.
Create content type in SharePoint Admin Center
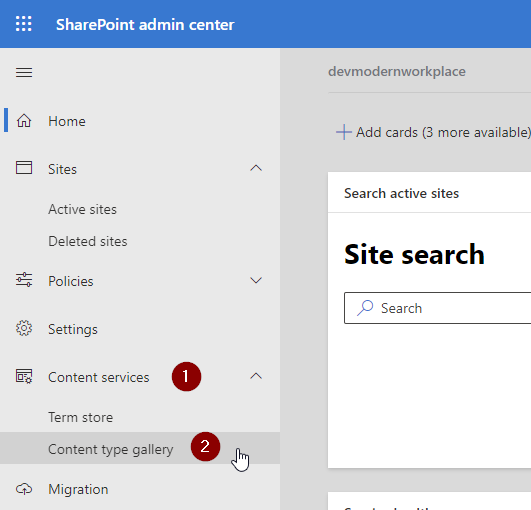
To create a content type visit the admin center
https://yourdomain-admin.sharepoint.com
for my domain it is
https://devmodernworkplace-admin.sharepoint.com/
Click on Content services -> Content type gallery
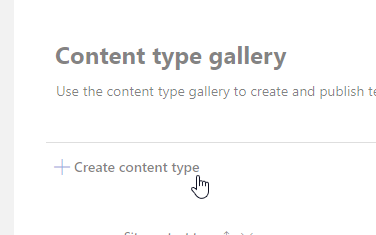
Click on create a content type
Give it a name, optionally a description define a category and set document content types as parent category and document as content type.
I chose to locate my content type invoice in the new category “DevModernWorkplace” category. You can also use the exisiting category document content types category. I would recommend a new category, so you see all your custom content types at one place.

After your content type is created, I would recommend to add site columns. These site columns will show up in the library, where you will use this content type.
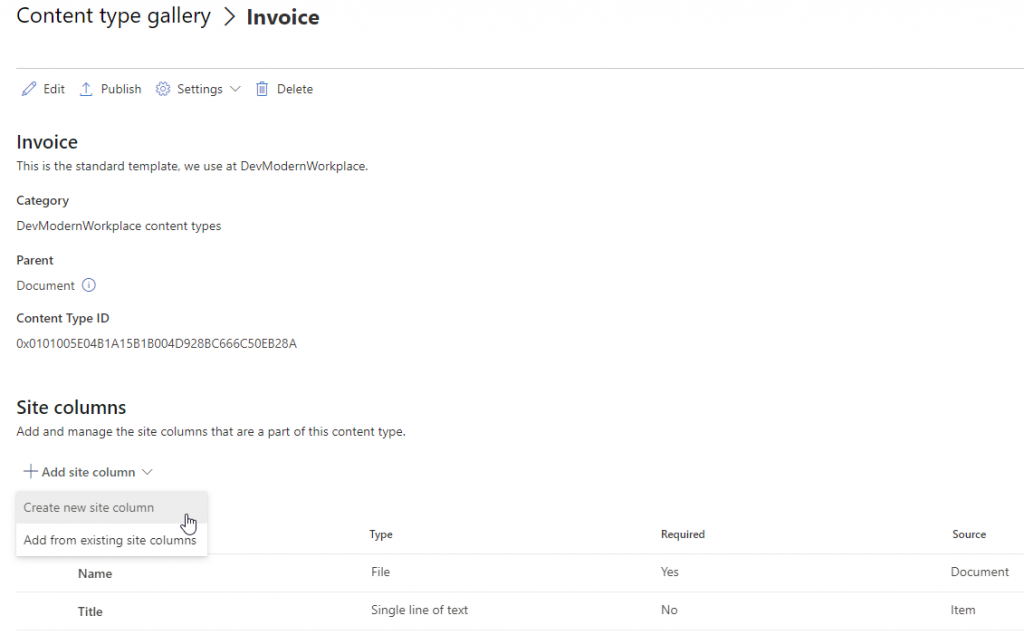
Add site columns to content type
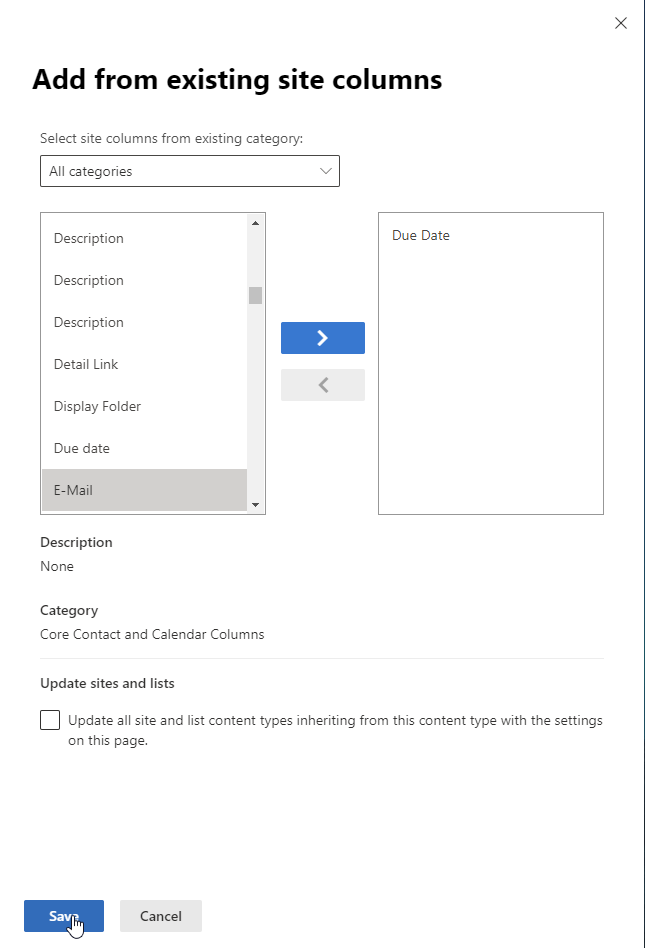
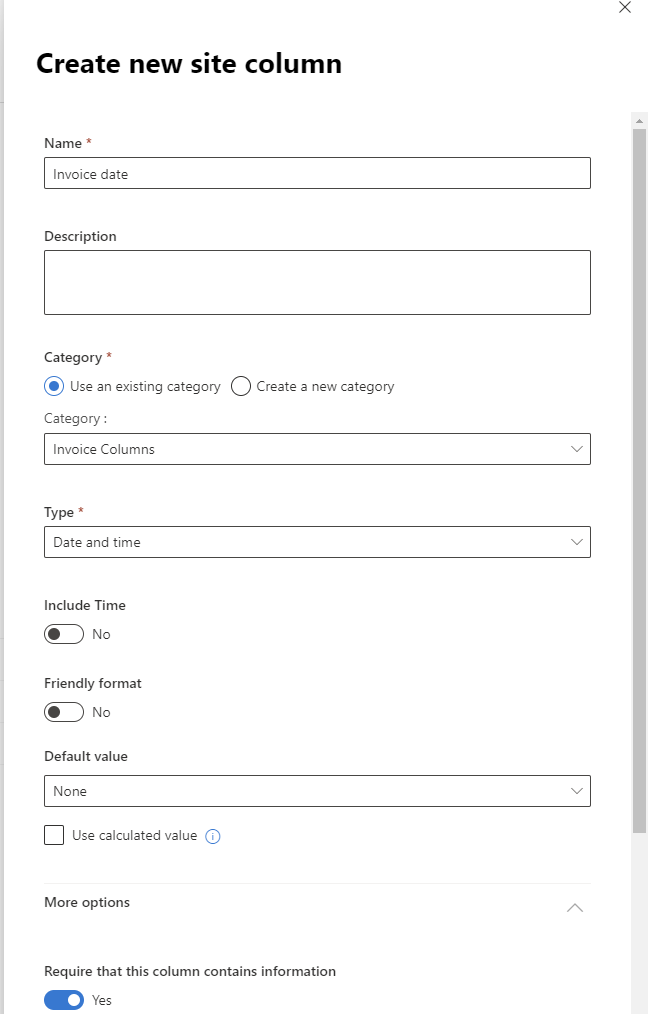
I have added the meta data due date from the existing site columns and added invoice date as new site columns and added the new site column to the new dedicated category “Invoice Columns”.
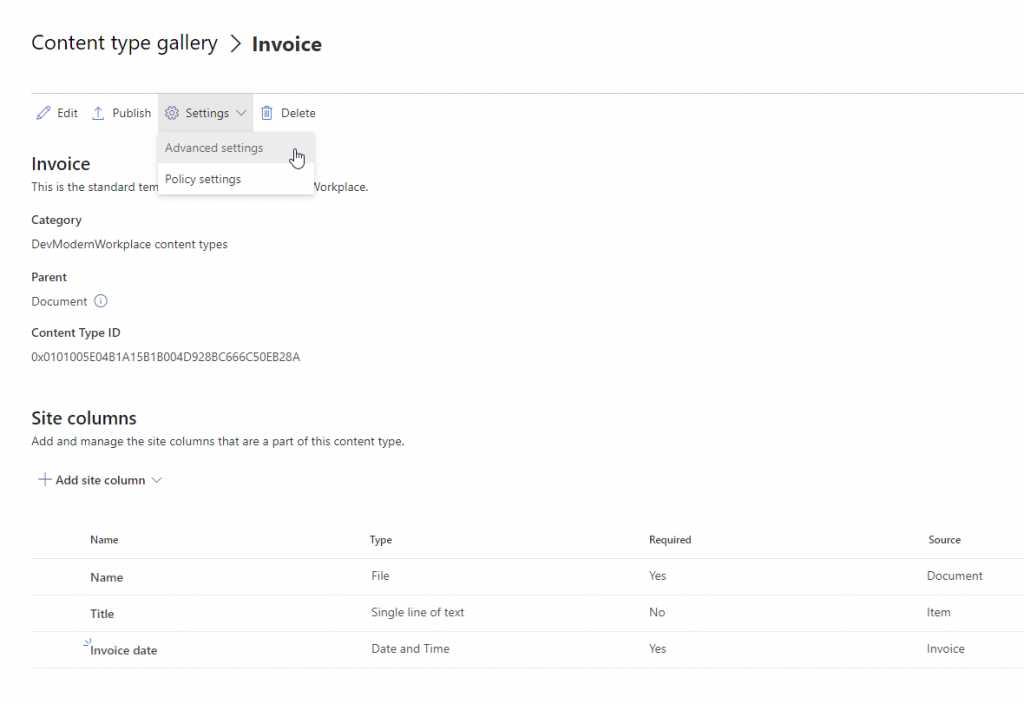
Add template to content type
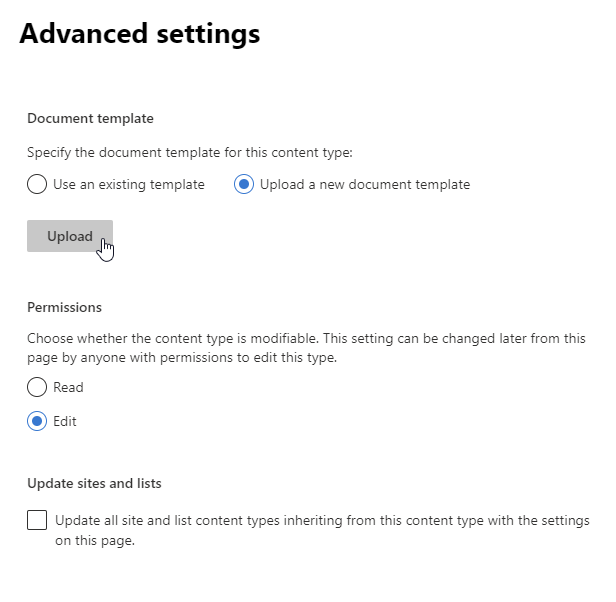
Now you can add your previously created template to your content type. Click on Settings and then on Advanced settings.
Click on upload a new document template and browse to your template. After selecting it, save it.
Publish content type
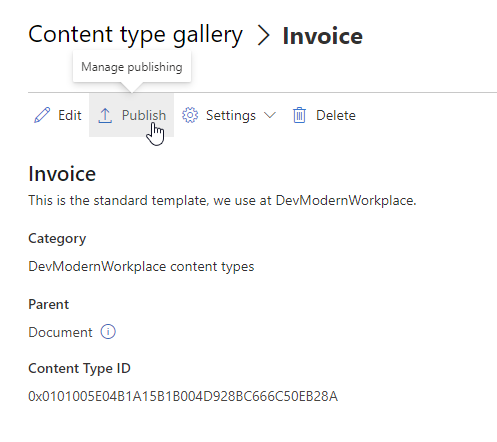
After adding the template, publish your content type.
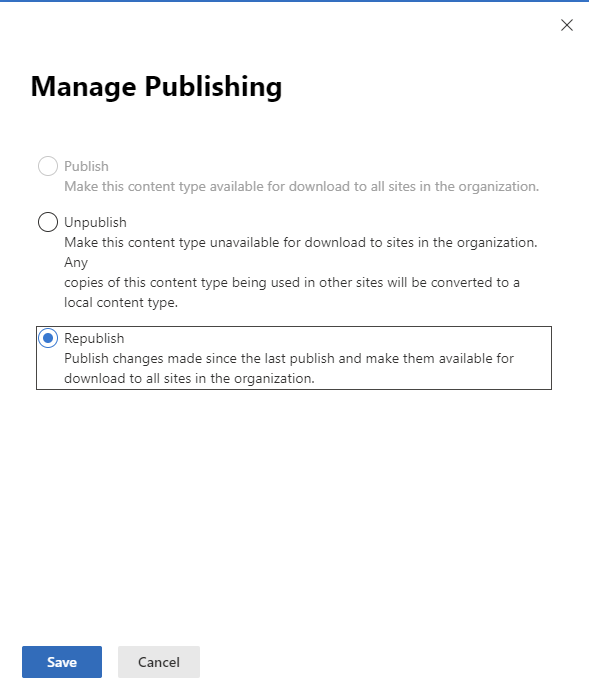
Republish content type
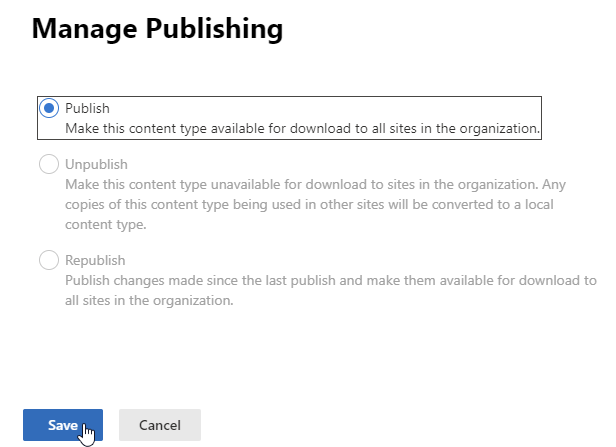
If you already published your content type, click on Publish.
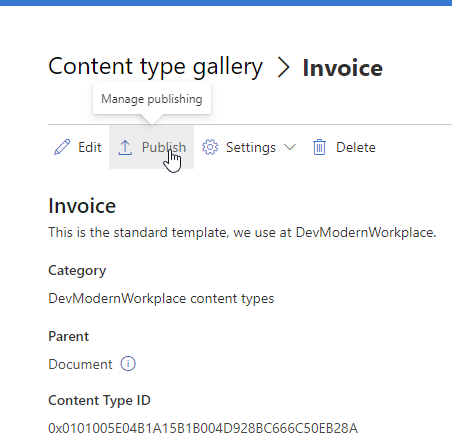
Click on Republish
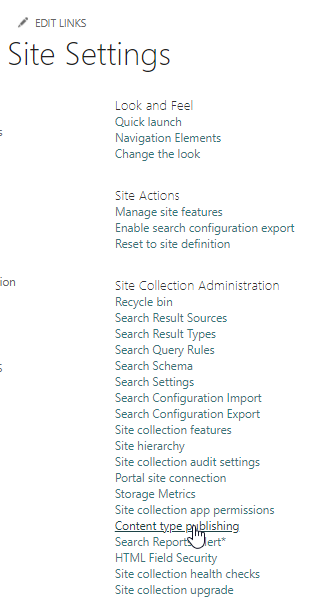
Switch to the site, where you have added the content type and visit the site settings. I am switching back to the sales site.
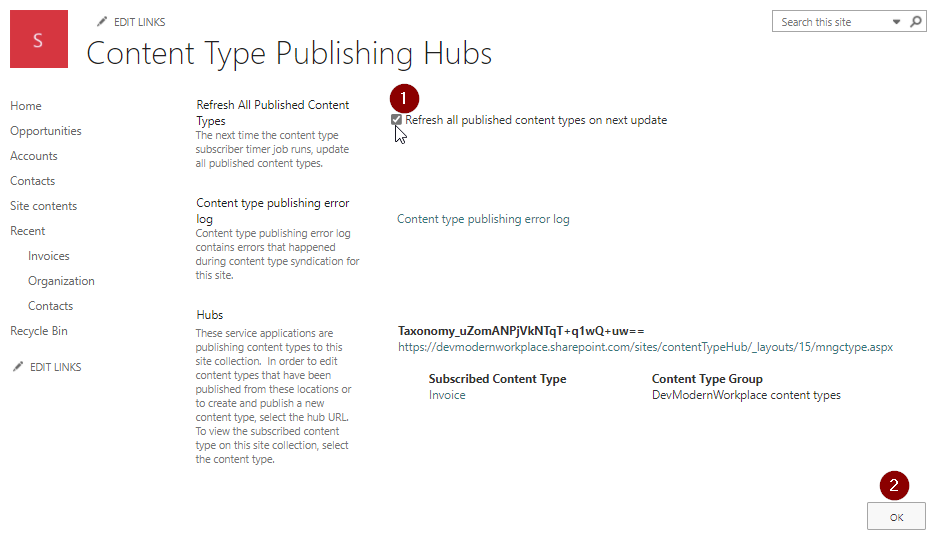
Click on Content type publishing.
Check Refresh all published content types on next update and click on OK.
Add content type to your list
I have added a list invoices to the demo site and as you can see the default content types are configured.
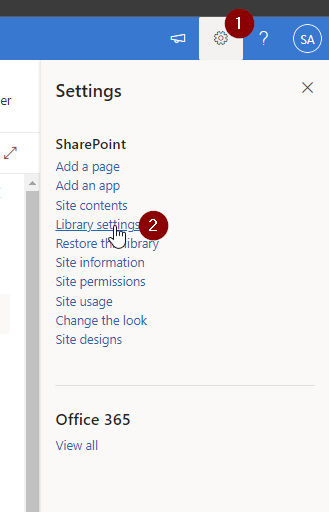
In order to add the invoice template, click on the gear -> Library settings.
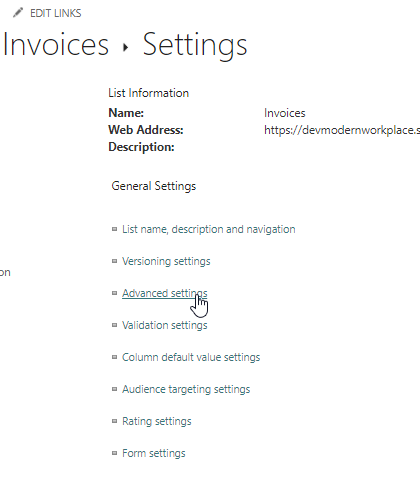
Click on Advanced settings
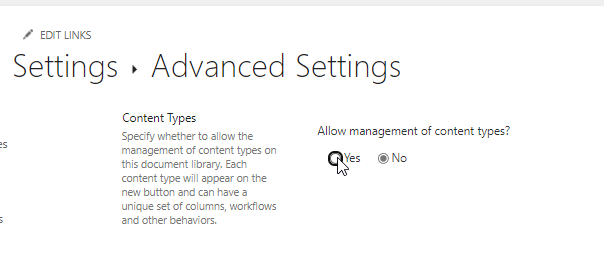
Set Allow management of content types? to Yes, scroll down to “Ok” to save your settings.
Add your content type by clicking on Add from existing site content types

If you don’t see your content type, ensure that you have published the content type and if you have published it, wait 5-10 minutes.
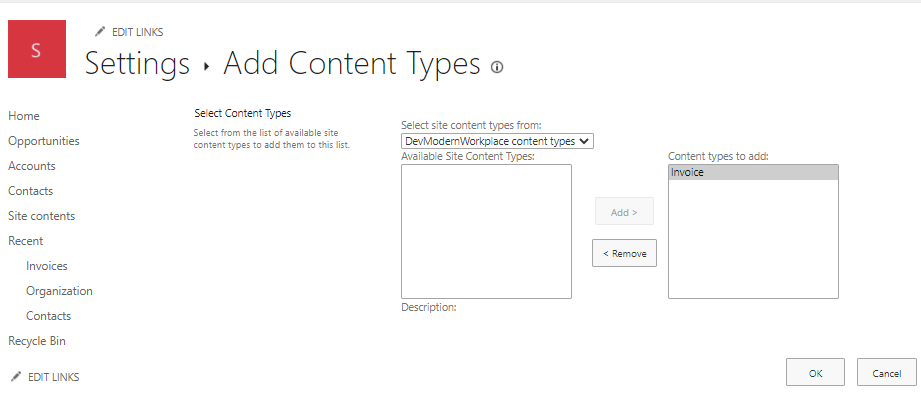
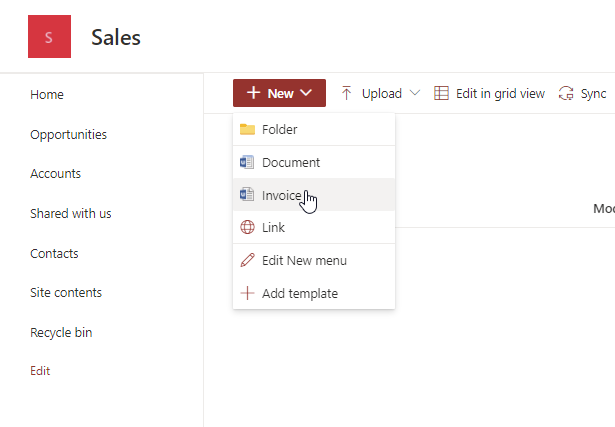
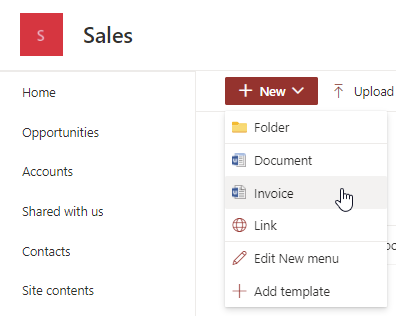
After confirming with OK, you can see the invoice content type
Bonus: Adding Metadata to your template
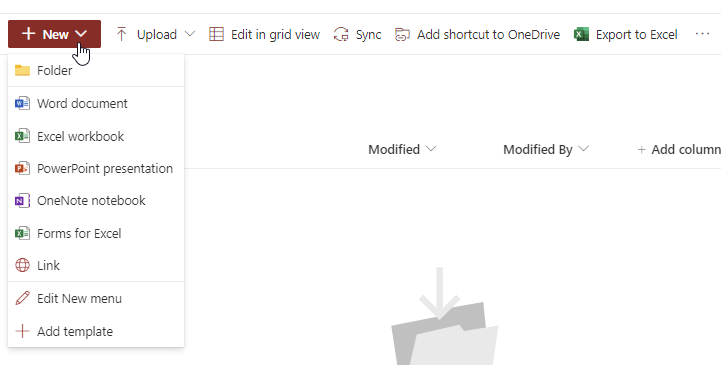
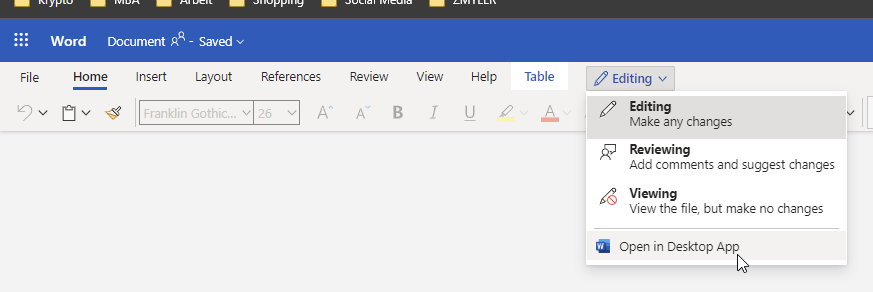
If you want to add metadata to your Word/ Excel template, create a document with your configured content type.
Click on editing -> Open in the Desktop App
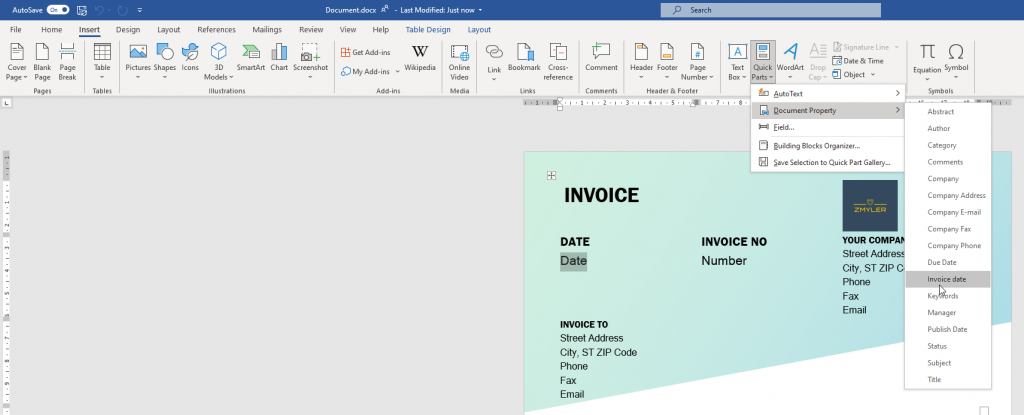
Mark the area, where you want to add the metadata.
Click on tab Insert -> Quick Parts -> Document Property -> “Your Metadata”
I chose Invoice date
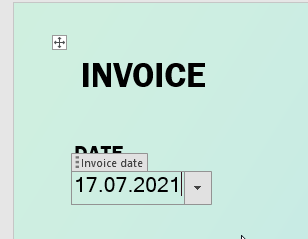
I have added invoice date and due date
Save the file locally.
Now republish the template in your content type.
there we are!
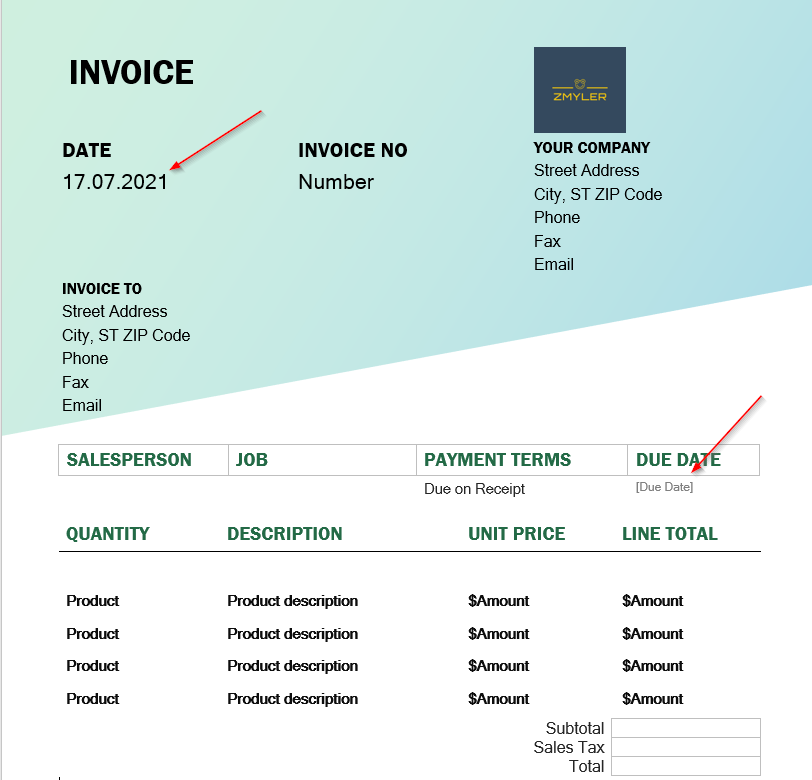
If you change the metadata in SharePoint, the document gets updated automatically.
Before:
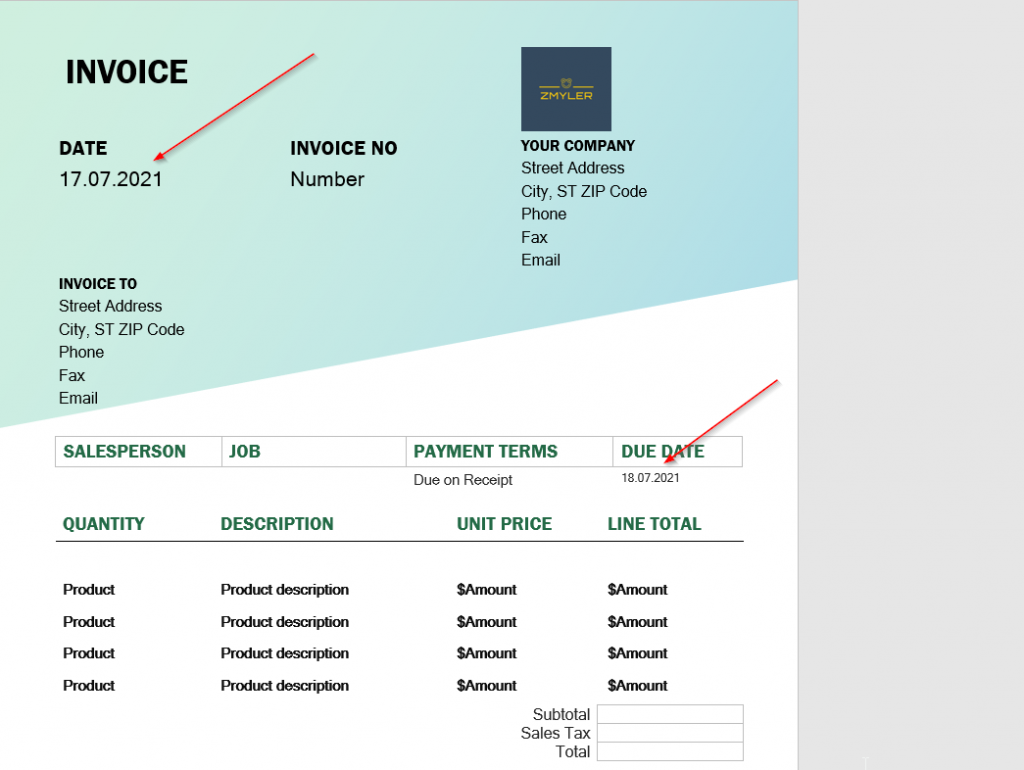

After:

Date fields in the Library and in Word app are different
Conclusio
Ensuring that Word and Excel templates are used in SharePoint online can be achieved by content types, published in the content type hub.