Tag: PNP PowerShell

  • SharePoint Downloader | Comfortable file download in 2 steps

    Downloading SharePoint files might be necessary in areas, where we have lack of good network bandwith, if you want to keep working e.g. when you travel by train or plane. Downloading sharepoint files can be time consuming if you have to do it one by one. In this article, you will learn, how you can do it easily in the GUI, but also how you can download your SharePoint files with a so called SharePoint Downloader – a PowerShell script. If you are only interested in the SharePoint downloader, click here.

    Download SharePoint files in the GUI

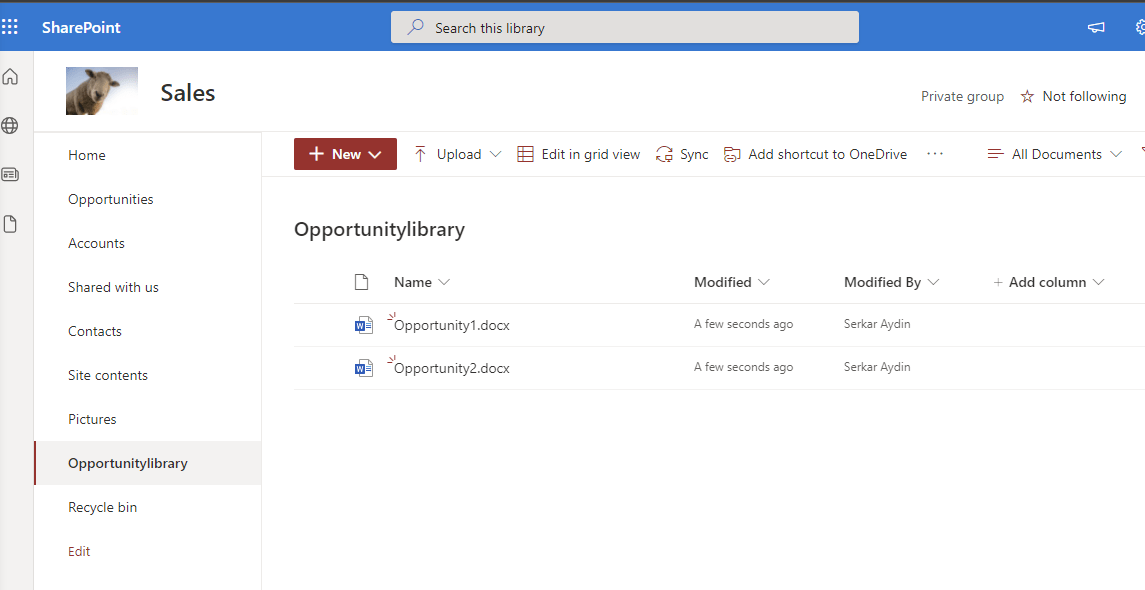
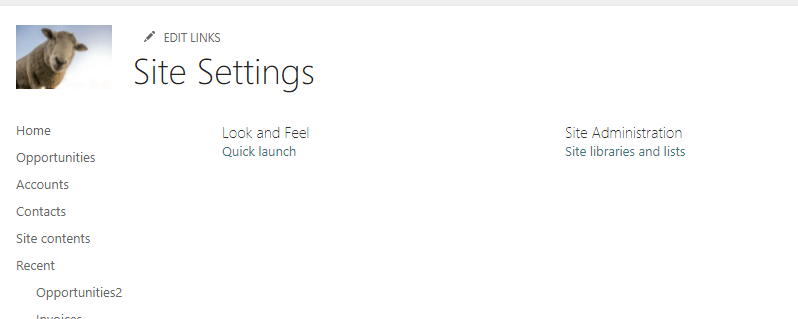
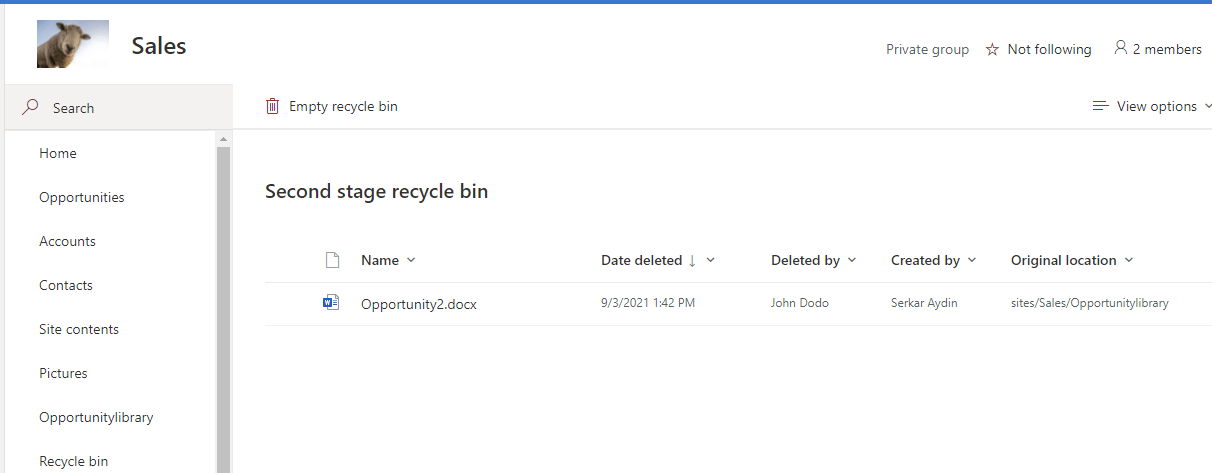
    Before we start doing this with PowerShell, I want to show you how you download the file in the GUI. GUI stands for graphical user interface. I will show you how to download the file Opportunity2 from the SharePoint Library Opportunitylibrary. This is absolutely sufficient in our daily work routine.

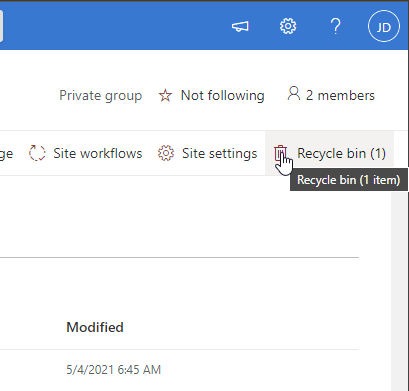
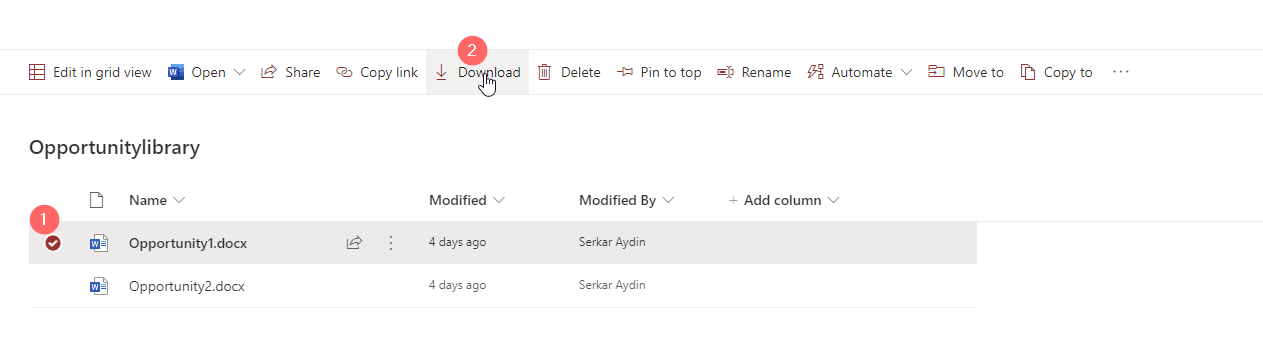
    In the first step we open a SharePoint library:

    Screenshot of a SharePoint Library, where we want to download a SharePoint file

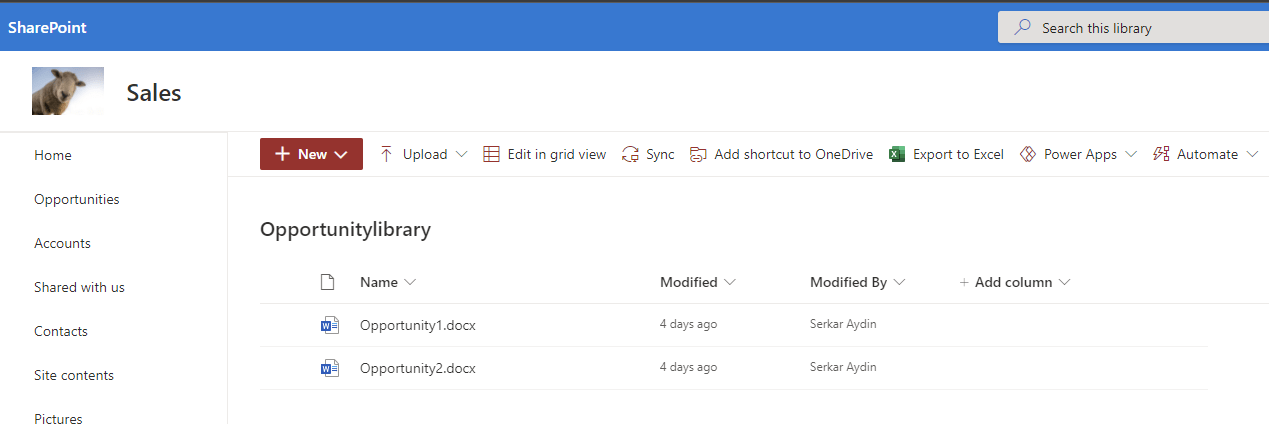
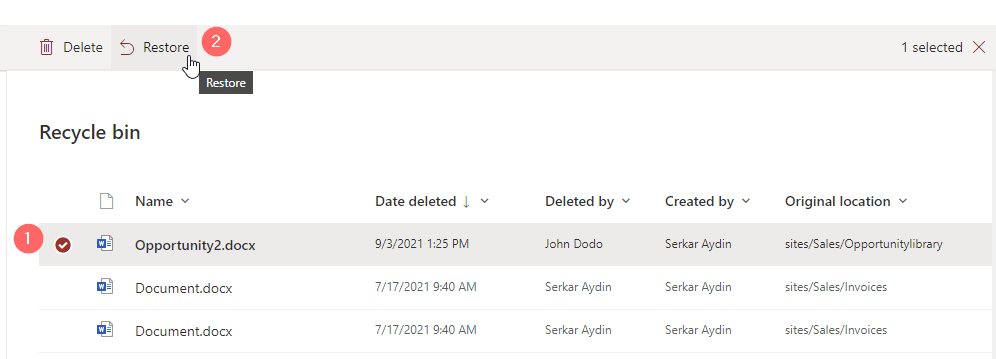
    Here we can mark a file and then download – looks easy right?

    Screenshot of a marked file to download the file

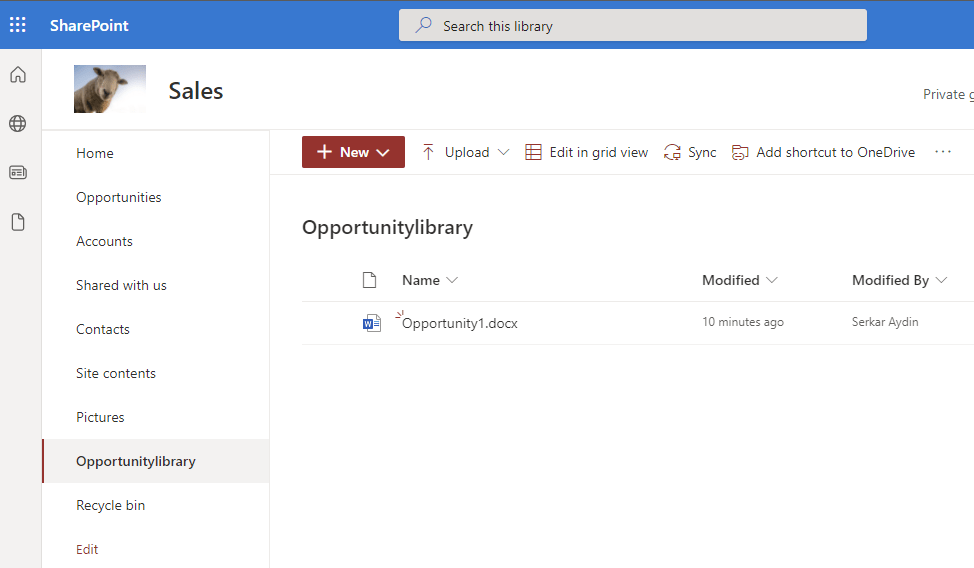
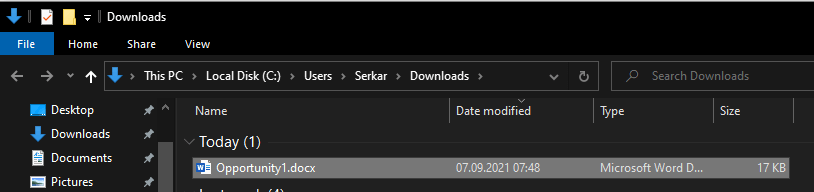
    As you can see the file is downloaded and we can keep working offline – but hey don’t forget to upload it later to SharePoint again :).

    Downloaded SharePoint file

    Download SharePoint files with PowerShell

    Scenario

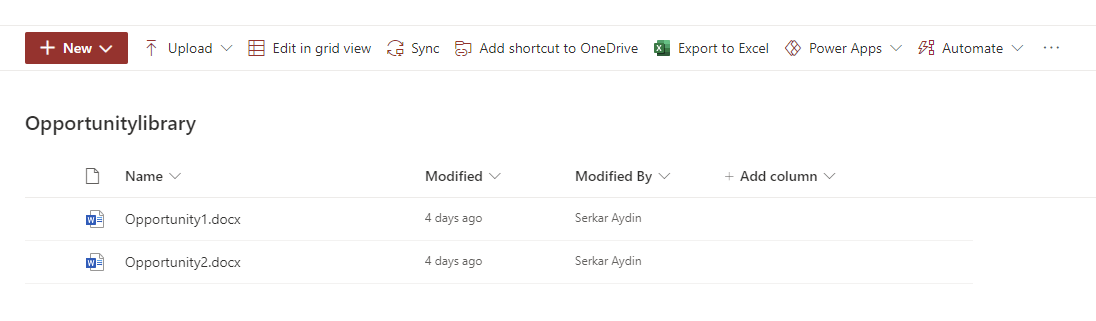
    If you need to download multiple SharePoint files – this makes sense, if you need the files in another system and you need to export the files periodically, you can do it with PNP.PowerShell. In the following scenario, I will show you how to download multiple files by the example of the Library “Opportunitylibrary”, which contains two documents.

    Opportunity library with two documents I want to download

    Authentication and parameters

    In the beginning, we start with connecting to the site. If you are a beginner, you might be interested in a detailed description, which you can find here: Connect to SharePoint with PowerShell | SharePoint Online (workplace-automation.com/)

    I have exported the credential object previously to reuse it, which you also can do. This is strongly recommended if the script shall ran in the background e.g. when you want to make use it in task scheduler. Do not expose the credentials in blank text – this is very bad practise and is a security problem. If you want to make use of saved credentials like I did, check the article: Use credentials in PowerShell | SPO Scripts

    Before you run the scripts, change the parameters to your siteurl, your path, your list and your credential file. The parameters I have provided won’t work, if you don’t change them.

    param
    (
        $SiteUrl = "https://devmodernworkplace.sharepoint.com/sites/Sales",
        $DownloadPath = "C:\temp",
        $ListName = "Invoices",
        $CredPath = "C:\Users\Serkar\Desktop\devmod.key"
    )
    
    $Credential = Import-Clixml -Path  $CredPath
    Connect-PnPOnline -Url $SiteUrl -Credential $Credential

    For interactive PowerShell sessions, you can also choose this authentication mechanism. Interactive means, that a person is running the script and can interact with the PowerShell terminal. The opposite would be if you would schedule the task in the task scheduler and the task would run – let’s say once a day. For this purpose the script would ask the terminal, but since there is nobody responsing the authentication request, the script would be halted and no file would be downloaded.

    param
    (
        $SiteUrl = "https://devmodernworkplace.sharepoint.com/sites/Sales",
        $DownloadPath = "C:\temp",
        $ListName = "Invoices"
    )
    
    
    Connect-PnPOnline -Url $SiteUrl -Interactive

    Download all SharePoint files from a library with PowerShell

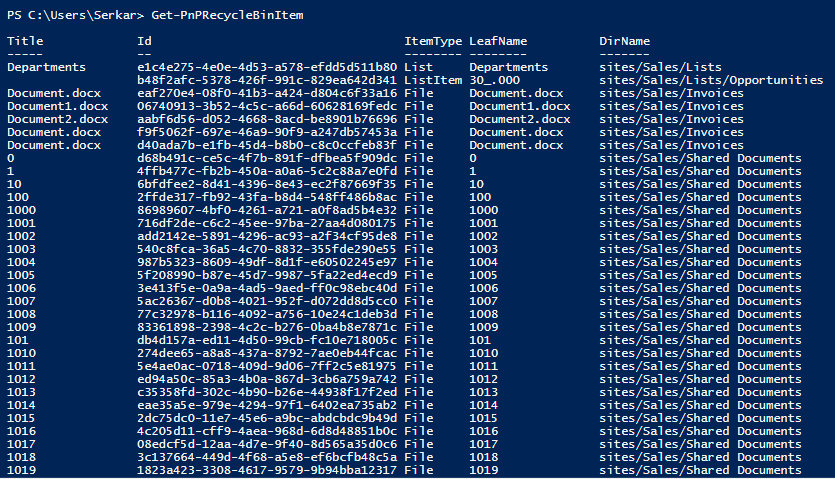
    If you want to download all files of a library, you have to run following script. The script iterates through all files in your SharePoint library defined in the parameter block and it will download all the files to the downloadpath you have provided in the parameter block.

    Get-PnPListItem -List $ListName  | 
            ForEach-Object { 
                Get-PnPFile -Url $_.FieldValues.FileRef -Filename $_.FieldValues.FileLeafRef  -Path $DownloadPath -AsFile 
            }

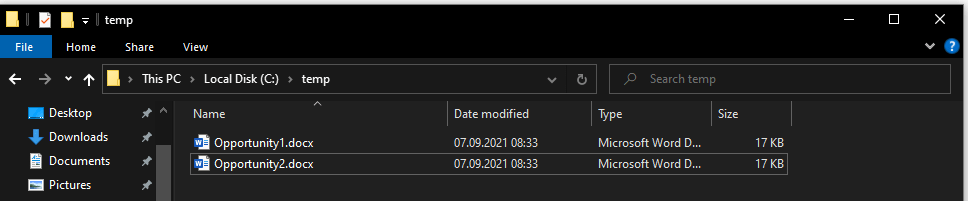
    As you can see, I could download SharePoint files with PowerShell.

    The result of download SharePoint files

    Download specific SharePoint files from a library with PowerShell

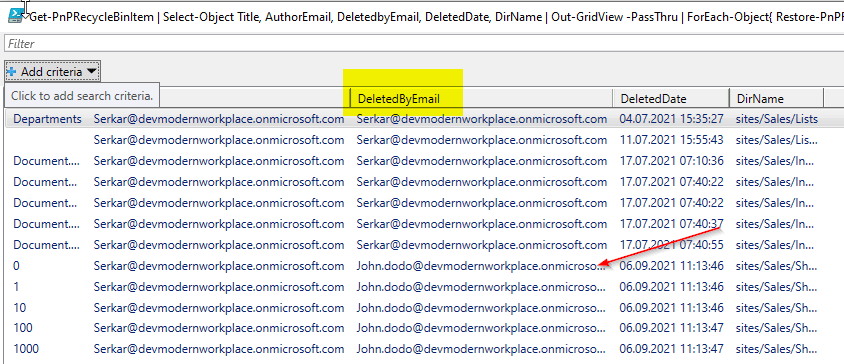
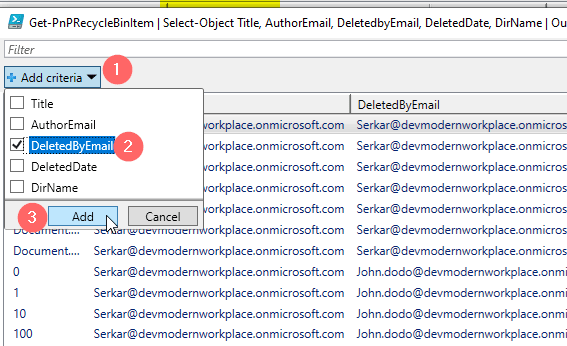
    If you want to download only specific files, you can use following script. This script is using the out-gridview cmdlet to give you the possibility to choose only specific files.

    Get-PnPListItem -List $ListName | 
        Select-Object Id,@{N="FileName";E={$_.FieldValues.FileLeafRef}}, @{N="Link";E={$_.FieldValues.FileRef}} |
            Out-GridView -PassThru |
                ForEach-Object { 
                    Get-PnPFile -Url $_.Link -Filename $_.FileName  -Path $DownloadPath -AsFile 
                }

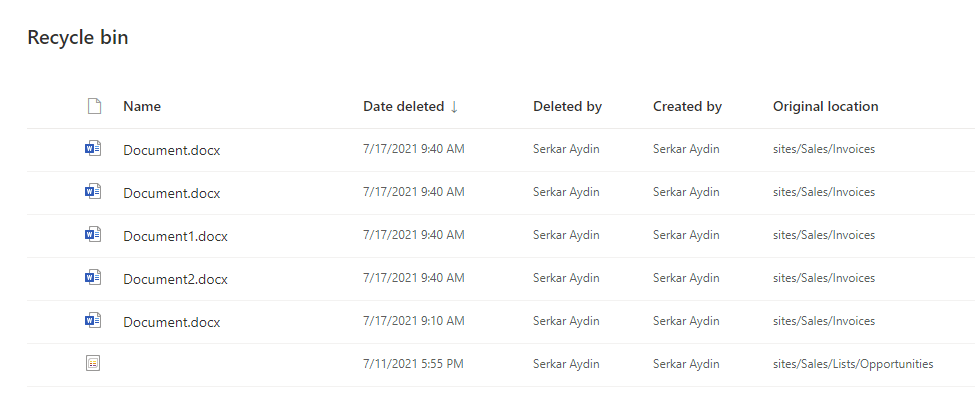
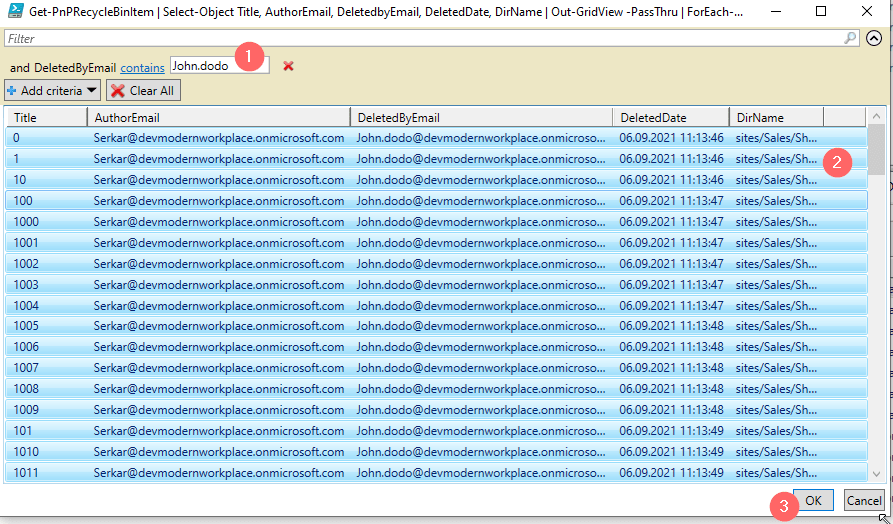
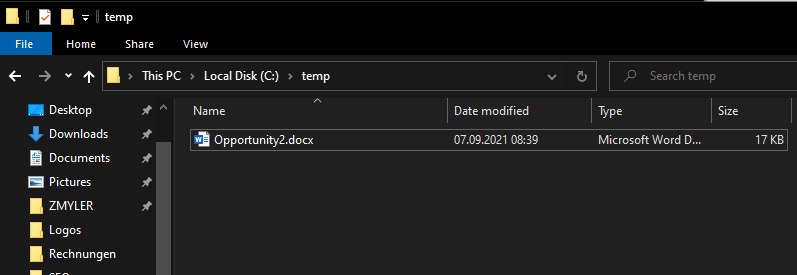
    A grid will pop up, where you can select the documents, which you want to download. I have marked the second file and clicked on OK. If we check the folder, we can see, that the file have been downloaded!

    Screenshot of the grid view for the SharePoint files, which you can download

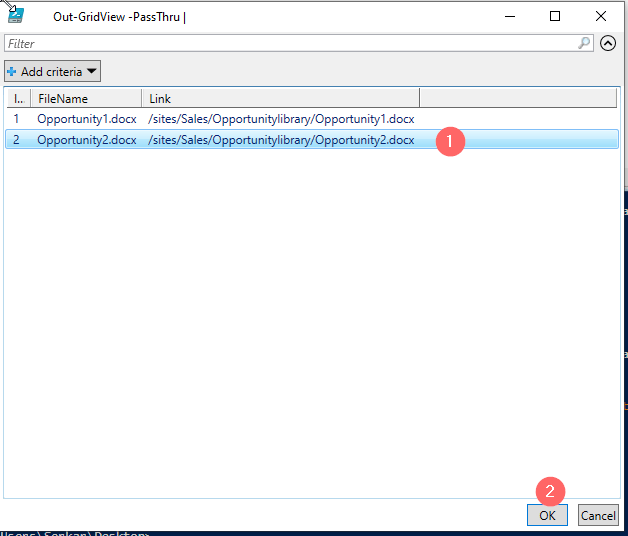
    Et voilà – the file, which I have marked is downloaded!

    SharePoint Downloader

    In this section I provide you my ready to run scripts. I call them SharePoint Downloader – a small tool with big impact 🙂

    SharePoint Downloader for automation: Ready-to-run script for automation

    With this script you can download SharePoint files to your specified folder. It’s purpose is for automation, means that it can run in the background with azure automation triggered by a runhook or with task scheduler triggered by a time schedule. Please change the parameters of the SharePoint Downloader and ensure, that the credential object is exported to the CredPath before scheduling the script. If you forgot how to do it, check out this article: Use credentials in PowerShell | SPO Scripts

    param
    (
        $SiteUrl = "https://devmodernworkplace.sharepoint.com/sites/Sales",
        $DownloadPath = "C:\temp",
        $ListName = "Opportunitylibrary",
        $CredPath = "C:\Users\Serkar\Desktop\devmod.key",
        $Force = $true
    )
    
    $Credential = Import-Clixml -Path  $CredPath
    Connect-PnPOnline -Url $SiteUrl -Credential $Credential
    
    #create folder if it does not exist
    If (!(Test-Path $DownloadPath))
    {
        New-Item -ItemType Directory $DownloadPath
    }
    
    If ($Force)
    {
        Get-PnPListItem -List $ListName  | 
            ForEach-Object { 
                Get-PnPFile -Url $_.FieldValues.FileRef -Filename $_.FieldValues.FileLeafRef  -Path $DownloadPath -AsFile -Force
            }
    }
    Else
    {
        Get-PnPListItem -List $ListName  | 
            ForEach-Object { 
                Get-PnPFile -Url $_.FieldValues.FileRef -Filename $_.FieldValues.FileLeafRef  -Path $DownloadPath -AsFile 
            }
    }
    

    SharePoint Downloader for interactive: Ready-to-run script for interactive sessions

    This script can be used for interactive sessions, so you need personally to start the script and not the task scheduler or azure automation. You will be asked for each parameter, when starting the script.

    param
    (
        [Parameter(
        Mandatory=$true,
        ValueFromPipelineByPropertyName=$true,
        Position=0, 
        HelpMessage="Please provide the url in this format: https://tenant.sharepoint.com/sites/sitename")
        ]
        $SiteUrl,
        [Parameter(Mandatory=$true,
        ValueFromPipelineByPropertyName=$true,
        Position=1,
        HelpMessage="Please provide path, where the downloaded files should be located at.")
        ]
        $DownloadPath,
        [switch][Parameter(Mandatory=$false,
        ValueFromPipelineByPropertyName=$true,
        Position=2,
        HelpMessage="Use -Force paramater to overwrite existing files.")
        ]
        $Force = $true
    
    )
    
    Connect-PnPOnline -Url $SiteUrl -Interactive
    
    #create folder if it does not exist
    
    If (!(Test-Path $DownloadPath))
    {
        New-Item -ItemType Directory $DownloadPath
    }
    
    
    $ListName = Get-PnPList | Out-GridView -PassThru | Select-Object Title -ExpandProperty Title
    
    If ($Force)
    {
        Get-PnPListItem -List $ListName | 
        Select-Object Id,@{N="FileName";E={$_.FieldValues.FileLeafRef}}, @{N="Link";E={$_.FieldValues.FileRef}} |
            Out-GridView -PassThru |
                ForEach-Object { 
                    Get-PnPFile -Url $_.Link -Filename $_.FileName  -Path $DownloadPath -AsFile -Force -WarningAction Stop
                    Write-Host "Downloaded $($_.FileName) Green to $DownloadPath" -ForegroundColor Green 
                }
    }
    Else
    {
        Get-PnPListItem -List $ListName | 
        Select-Object Id,@{N="FileName";E={$_.FieldValues.FileLeafRef}}, @{N="Link";E={$_.FieldValues.FileRef}} |
            Out-GridView -PassThru |
                ForEach-Object { 
                    Get-PnPFile -Url $_.Link -Filename $_.FileName  -Path $DownloadPath -AsFile -WarningAction Stop
                    Write-Host "Downloaded $($_.FileName) Green to $DownloadPath" -ForegroundColor Green 
                }
    }

    Conclusio

    With PNP.PowerShell we can download SharePoint files easily. In this article I have described, how you can download single and multiple SharePoint files with the GUI and with PowerShell. I have provided you the SharePoint Downloader – a script, which downloads all files in SharePoint library interactively or automated.

    References

    Here is the official reference from microsoft about the main cmdlet get-pnpfile: Get-PnPFile (PnP.Powershell) | Microsoft Docs

    Geschäft Foto erstellt von yanalya – de.freepik.com

  • How to restore SharePoint files with PowerShell

    Shit happens — sometimes we are not that concentrated when we are working. Somebody calls us without an appointment, and we were cleaning up our document libraries and by mistake we delete multiple files from SharePoint libraries. In this article, you will learn, how to restore SharePoint files from the diverse recycle bins in SharePoint. Like every time you will learn it for two ways: manually and automated. These instructions do also work for SharePoint items.

    Restore SharePoint files manually from the first-stage recycle bin

    Let’s assume, that you have a library with two documents in it.

    Screenshot of the document library Opportunitylibrary

    One unfocused moment, and you have deleted the file Opportunity2.docx without intention.

    Screenshot of SharePoint library, where the document have been removed by accident

    As a site member, you have in fact the possibility to check your recycle bin to restore the file. In order to do this, click on the settings gear in the upper right corner and click on site contents.

    SharePoint settings gear
    Settings contents setting

    Now click on Recycle Bin.

    Screenshot of link to the recycle bin

    As you can see, I can see the removed file from John dodo, which is my test user with member access. Now mark the file, you want to restore and click on Restore.

    Screenshot of restoring the file from the SharePoint recycle bin

    Thats it, your file is back at the place, where you have deleted it:

    Screenshot of a SharePoint library, where the opportunity2.docx could be restored succesfully

    If you cannot see the file here, ask your Site collection administrator, to check the second-stage recycle bin (site collection recycle bin), which’s content will be retained for 93 days, unless the limit of the site collection storage is not exceeded or the item have not been removed manually by a site collection administrator. In the following, I will describe how to restore from the second-stage recycle bin.

    Restore SharePoint files manually from the second-stage recycle bin

    Now we assume, that we have removed the file opportunity2.docx accidentially, but we need to restore it. We already have checked the site recycle bin, but we could not find the file in it.

    As you see, there is no opportunity2.docx file:

    Screenshot of a SharePoint site recycle bin, where the file opportunit2.docx could not be found.

    In this case, we need someone, who has the site collection administrator role, because we have to check the site collection settings. In the view as a member, the site collection settings look like this — so there is no option to visit the site collection recycle bin and therefore no option to restore SharePoint files.

    Screenshot of the site settings from a user, which has no site owner permission

    In order to show you the site settings as an owner, I have promoted John Dodo to Site Owner:

    Screenshot of group membership permissions

    As you can see, I cannot see more as a site owner:

    Screenshot of site settings as a site owner

    Therefore, I will switch the user to one with site collection admin rights and we will see way more settings:

    Screenshot of site settings as a site collection admin

    Maybe you have noticed, that you can see Recycle Bin setting below Site collection Administration

    Screenshot of the recycle bin setting in the site settings

    This is the place, where we can see the files, which are removed, but also can be restored from users without the site collection administrator permission. As you can see, there is a hint to the second-stage recycle bin. Click on the hint.

    Screenshot of first stage recycle bin, with the hint to the second stage recycle bin

    This is the place, where we can see the files, which are in the second-stage recycle bin. We should see the opportunity2.docx file here:

    Screenshot of the second stage recycle bin

    Restore SharePoint files automatically from the second-stage recycle bin

    Prerequisites

    The prerequisite is, that you have to use a user, which has site collection administrator permissions.

    Screenshot of site collection administrators

    Description

    Previously we saw, that you can restore files easily by hand, but imagine, that you have removed more than 100 files, this might be a bit clicky time-consuming. So let’s check what we can do with PNP PowerShell.

    I am using John Dodo, who is currently a site collection administrator. John Dodo has removed more than 100 files by accident and I want to restore SharePoint files removed by John Dodo. This is currently not possible in GUI.

    Screenshot of removed items in the recycle bin

    In order to restore SharePoint files, I am using the PowerShell Module PNP.PowerShell.

    I am connecting to the sales site. If you feel unsafe with connecting, check out the post Connect to SharePoint with PowerShell | SharePoint Online (workplace-automation.com/)

    Connect-PnPOnline https://devmodernworkplace.sharepoint.com/sites/Sales/ -Interactive

    After connecting, I can see the items in the recycle bin. I have removed more than 100 files. You can do it with the cmdlet:

    Get-PNPRecycleBinItem
    Screenshot of the removed files in PowerShell

    When you pass the ID, you can also get seperate recycle bin items:

    
    Get-PnPRecycleBinItem -Identity "eaf270e4-08f0-41b3-a424-d804c6f33a16"

    If you pipe the Item, you can directly restore it:

    Get-PnPRecycleBinItem  -Identity "eaf270e4-08f0-41b3-a424-d804c6f33a16" | Restore-PnPRecycleBinItem -Force
    
    Screenshot of a specific item in the recycle bin in PowerShell

    I want to restore only the files, from John Dodo, so I am doing the restore with the out grid view cmdlet:

    Get-PnPRecycleBinItem  |
        Select-Object Title, ID, AuthorEmail, DeletedbyEmail, DeletedDate, DirName | 
            Out-GridView -PassThru |
                ForEach-Object { Restore-PnPRecycleBinItem -Identity $_.Id.Guid -Force}

    Now you can see the grid, where you can choose John Dodo as the deletor:

    Screenshot of the out gridview output, which shows all the items in the recycle bin

    I add a filter criteria:

    Screenshot of the out gridview output, which shows the SharePoint files, with filtering options

    Now I can add John Dodos mailaddress and with CTRL + A you can mark all entries and confirm with ok

    Screenshot of the out gridview output, which shows the SharePoint files, before the restore filtered on John.Dodo

    After doing this, the files, which have been by John Dodo are restored!

    Screenshot of the recycle bin after the restore of SharePoint files

    Troubleshooting

    If you experience this issue, your permission is not sufficient for the site:

    Get-PnPRecycleBinItem : Access is denied. (Exception from HRESULT: 0x80070005 (E_ACCESSDENIED))
    At line:1 char:1
    + Get-PnPRecycleBinItem
    + ~~~~~~~~~~~~~~~~~~~~~
        + CategoryInfo          : WriteError: (:) [Get-PnPRecycleBinItem], ServerUnauthorizedAccessException
        + FullyQualifiedErrorId : EXCEPTION,PnP.PowerShell.Commands.RecycleBin.GetRecycleBinItems

    If you encounter this issue, a file with the name already exists at the location, where it was. Rename the file in the library or remove it, to restore the file.

    Restore-PnPRecycleBinItem : A file with this name "Document.docx" already exists in "sites/Sales/Invoices". To restore the file, rename the existing file and try again.
    At line:17 char:30
    + ... rEach-Object { Restore-PnPRecycleBinItem -Identity $_.Id.Guid -Force}
    +                    ~~~~~~~~~~~~~~~~~~~~~~~~~~~~~~~~~~~~~~~~~~~~~~~~~~~~~
        + CategoryInfo          : WriteError: (:) [Restore-PnPRecycleBinItem], ServerException
        + FullyQualifiedErrorId : EXCEPTION,PnP.PowerShell.Commands.RecycleBin.RestoreRecycleBinItem

    If this error occurs, it is because you have stressed the API.

    Get-PnPRecycleBinItem : The request uses too many resources.
    At line:1 char:1
    + Get-PnPRecycleBinItem | Select-Object Title, ID, AuthorEmail, Deleted ...
    + ~~~~~~~~~~~~~~~~~~~~~
        + CategoryInfo          : WriteError: (:) [Get-PnPRecycleBinItem], ServerException
        + FullyQualifiedErrorId : EXCEPTION,PnP.PowerShell.Commands.RecycleBin.GetRecycleBinItems

    Retry your cmdlet and if it is still problematic, add -rowlimit 5000, so you will see the first 5000 items.

    If you add rowlimit to your code, it will look like this:

    Get-PnPRecycleBinItem -RowLimit 5000 |
        Select-Object Title, ID, AuthorEmail, DeletedbyEmail, DeletedDate, DirName | 
            Out-GridView -PassThru |
                ForEach-Object { Restore-PnPRecycleBinItem -Identity $_.Id.Guid -Force}

    BONUS: Ready-to-run PowerShell script

    param
    (
        [Parameter(Mandatory=$true,
                       ValueFromPipelineByPropertyName=$true,
                       Position=0)]
         $SiteUrl
    )
    
    
    Connect-PnPOnline -Url $SiteUrl -Interactive -ErrorAction Stop
    
    
    Get-PnPRecycleBinItem  |
        Select-Object Title, ID, AuthorEmail, DeletedbyEmail, DeletedDate, DirName | 
            Out-GridView -PassThru |
                ForEach-Object { Restore-PnPRecycleBinItem -Identity $_.Id.Guid -Force}

    Further Reading

    Out-Gridview gives us many possibilities to filter objects interactively, check out the blog post to learn more: How to filter for PowerShell objects easily | SPO Scripts

    Here you can find the official reference of Microsoft regarding the recycle bin: Manage the Recycle bin of a SharePoint site (microsoft.com)

    References

    Cover picture:

    Haus Foto erstellt von kues1 – de.freepik.com