SharePoint is a powerful platform for managing and collaborating on documents, but downloading files from SharePoint libraries can be a tricky, especially when it comes to deal with large files or a large amount of documents. In this post, I want to show you a straightforward guide to download a SharePoint Library using PowerShell with Microsoft’s Graph API for SharePoint administrators, developers or system integrators. This tutorial will help you streamline your automation in terms of downloading SharePoint libraries. At the end, you’ll find a ready to use PowerShell script, which you can use to download the SharePoint Library using Graph API.
If you want to download a SharePoint library using Graph API, there are certain prerequisites you must fulfil. To successfully download files from SharePoint using Graph API, you need to ensure the following:
What do I need to download files to SharePoint using Graph API?
- You have the sites.selected permission for an Azure Enterprise Application. Your global administrator in your organization can consent this permission.
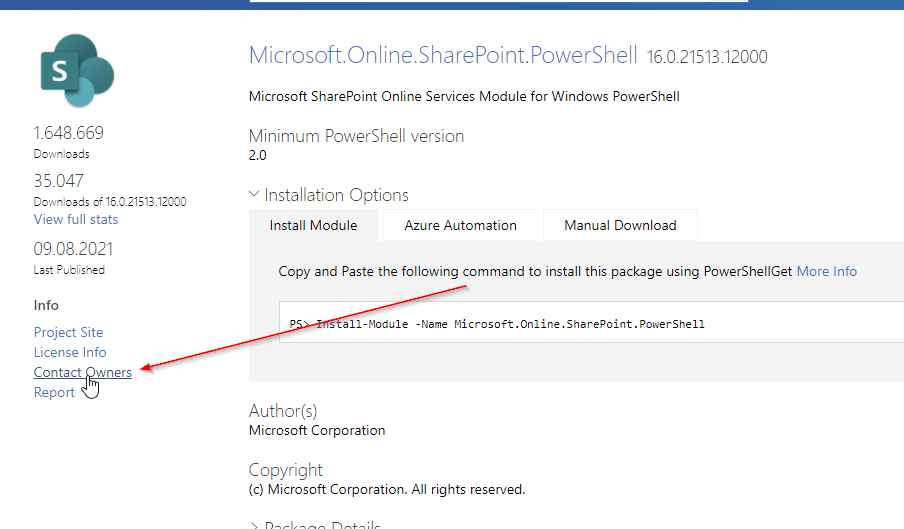
- You have installed the PNP PowerShell module to allow the Enterprise Application permission to download files from the specific SharePoint Site. Without this module, the Enterprise Application will not be able to access and download the files. Learn here how you can install the PNP PowerShell module:
Connect to SharePoint with PowerShell | SharePoint Online (workplace-automation.com/)
By fulfilling these prerequisites, you can easily download SharePoint libraries using Graph API and streamline your document management process.
How to create the Enterprise Application to Download a SharePoint Library using Graph?
- Go to the Azure Active Directory Portal to create an App Registration with Sites.Selected permissions. This allows the Enterprise Application to access and download files from SharePoint.
- Create a credential object for the App registration.
- Once you have created the credentials for the App Registration, make sure to note down the credentials for future use. These credentials will be required when you are running the PowerShell script to download a SharePoint Library using Graph.
By following these simple steps, you can create an Enterprise Application with the necessary permissions to download files from SharePoint using Graph API. You will get to know in the upcoming passage how to create the Enterprise Application step-by-step.
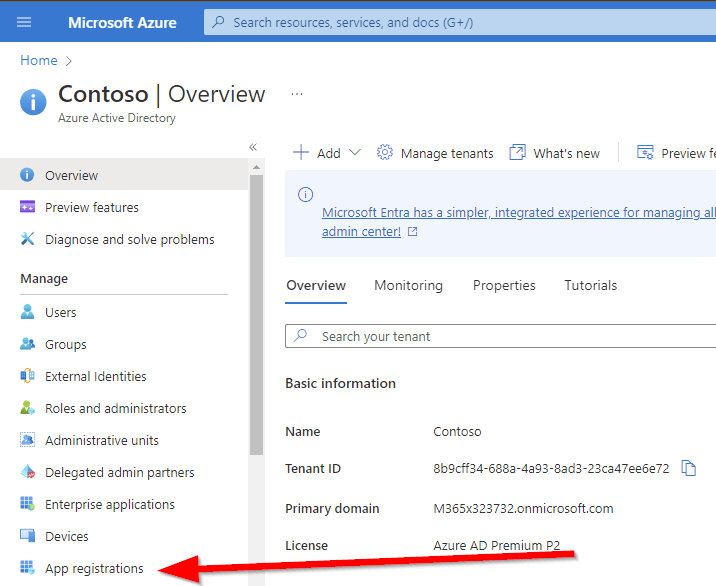
Browse to Azure Active Directory Portal
Open https://portal.azure.com/#view/Microsoft_AAD_IAM/ActiveDirectoryMenuBlade in your browser.
If you have the global admin rights, I recommend authenticating with that account, so that you can directly grant your enterprise application the permission. Otherwise, you need to reauthenticate or ask your administrator to grant your enterprise application the permissions.
Create an App Registration with Sites.Selected permissions
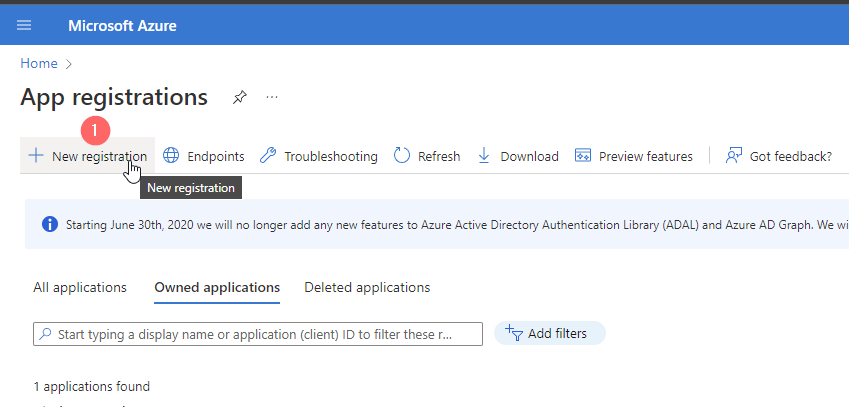
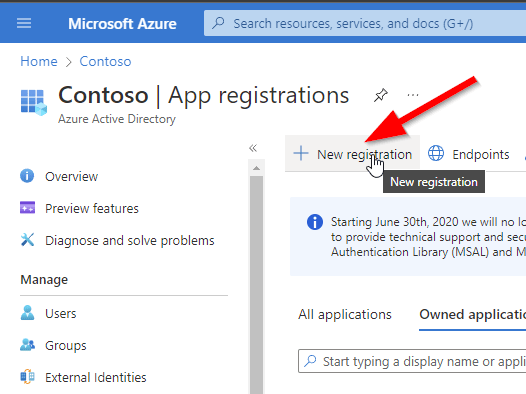
Browse to the App Registration blade in Azure Active Directory Portal.

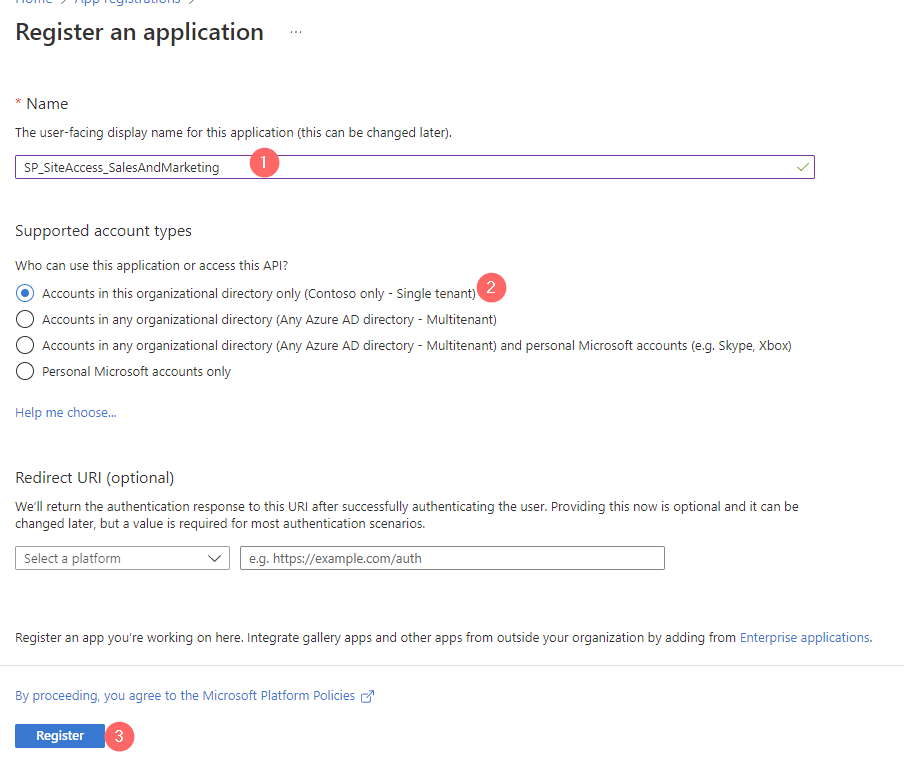
Click on “New registration” to create a new App Registration.
Define a meaningful name for the App that follows your organization’s standards, so that different administrators can easily recognize the purpose of the App. In this case I am using the name SP_Sites.Selected_Retail name, so that Azure Active directory administrators can recognize that the App Registration will have the permission Sites.Selected for the SharePoint Site Retail

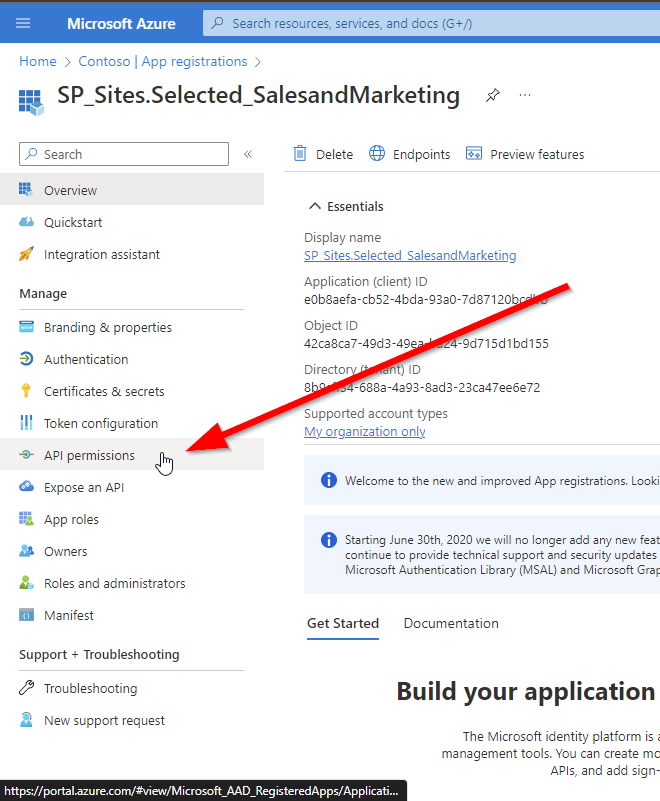
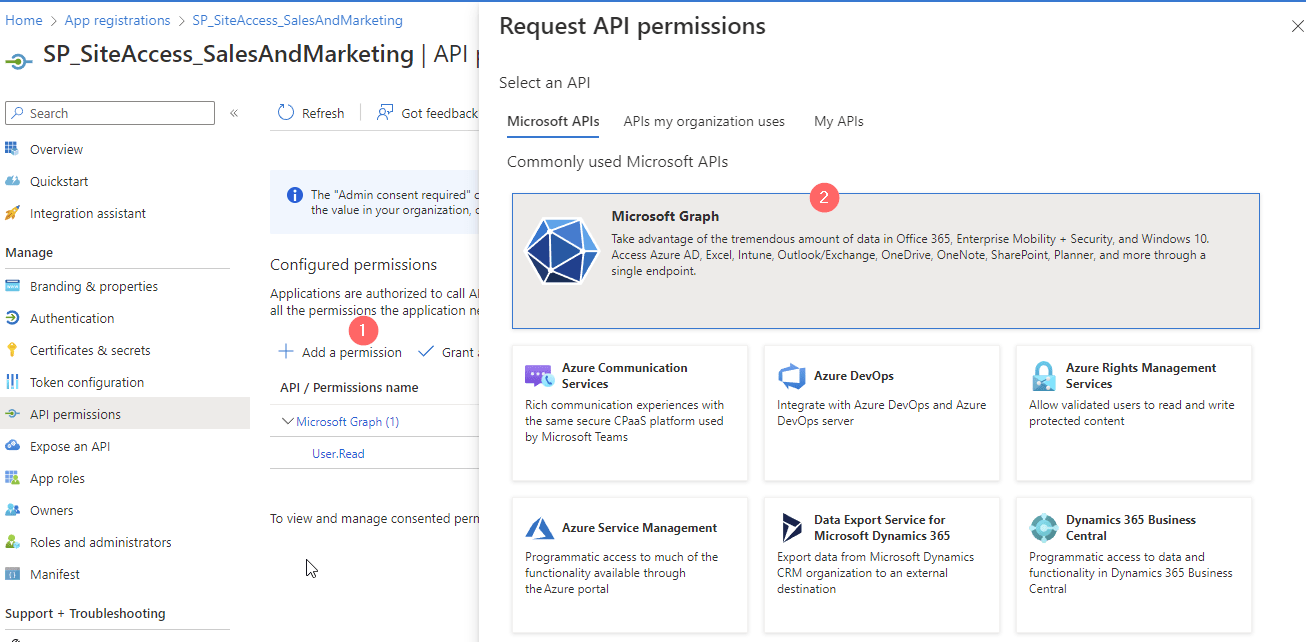
Browse to the “API Permissions” to grant your App Registraion the permission to download the SharePoint Library using Graph API.

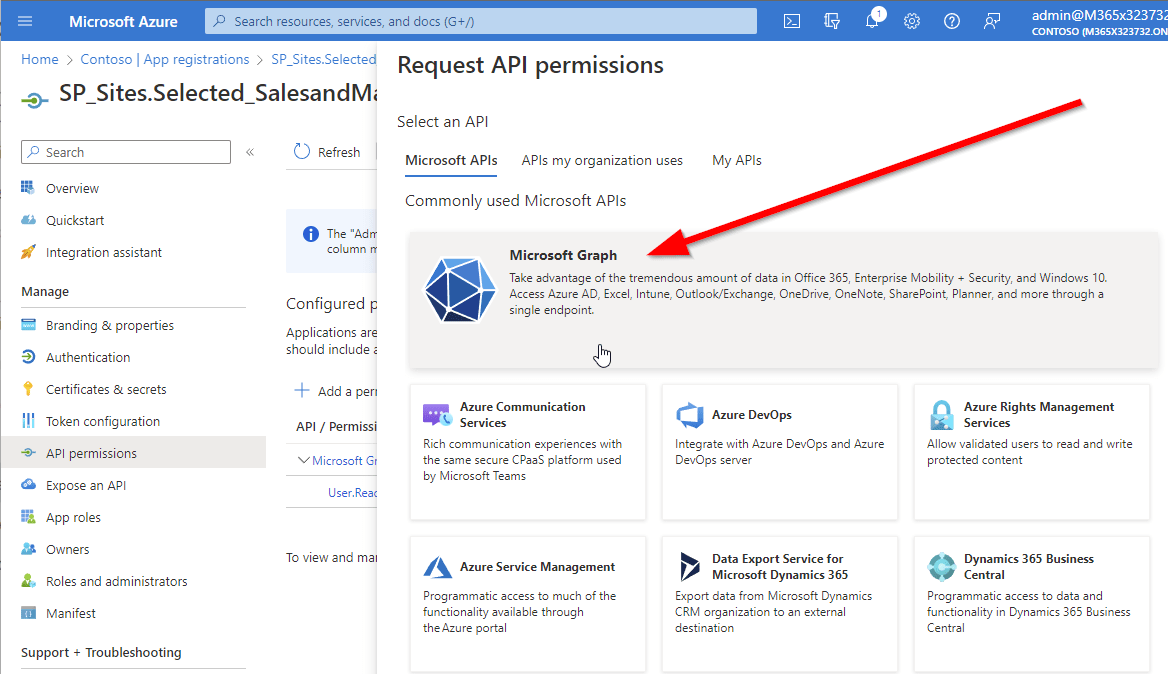
Click on “Add a permission”

As we want to go with Microsoft Graph, please choose “Microsoft Graph”.

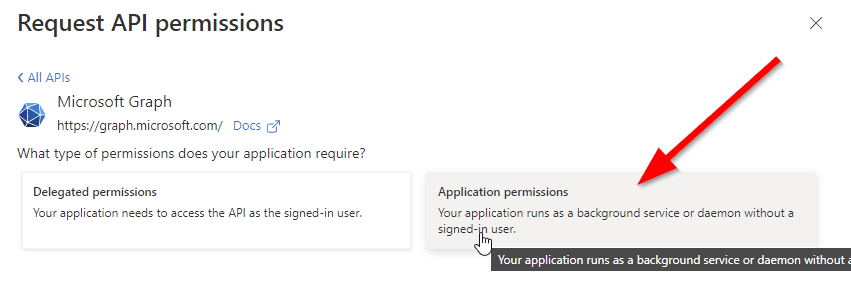
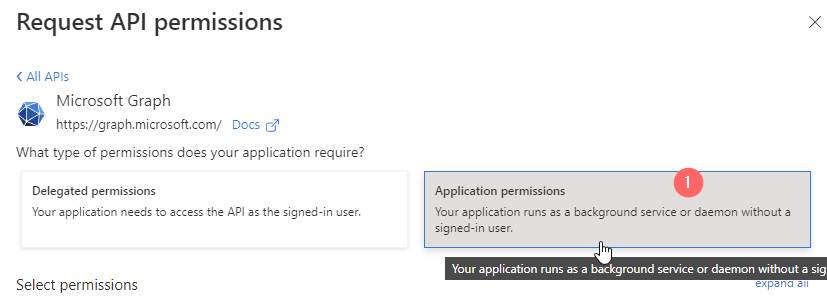
To download a SharePoint library using Graph API, it’s crucial to choose the right permission level. If you want your application to run in the background without requiring user authentication, you’ll need to select the Application permission option. In this tutorial on how to download a SharePoint library using Graph API, we’ll focus on the application permission method to automate the process of downloading files from SharePoint.

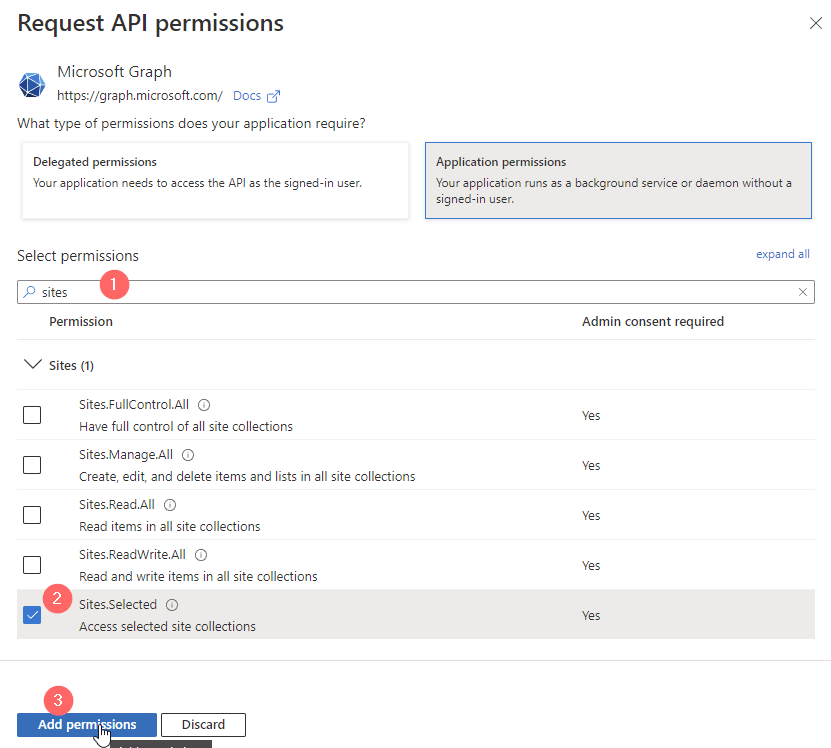
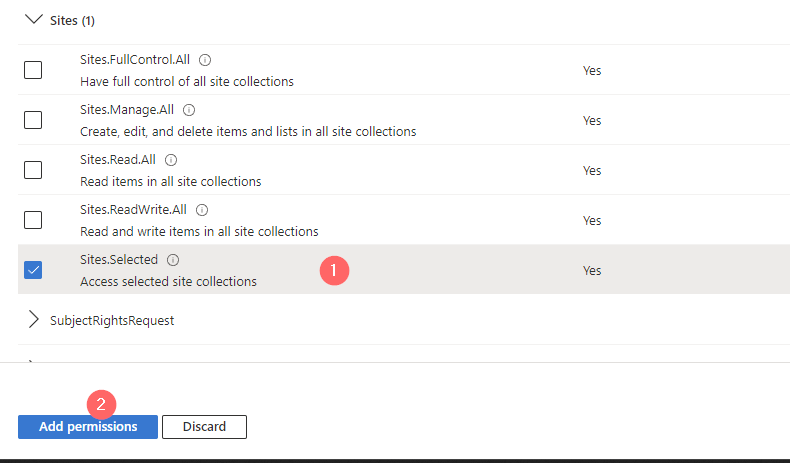
Now add the sites.selected permission, which allows you to access contents of a single SharePoint site.

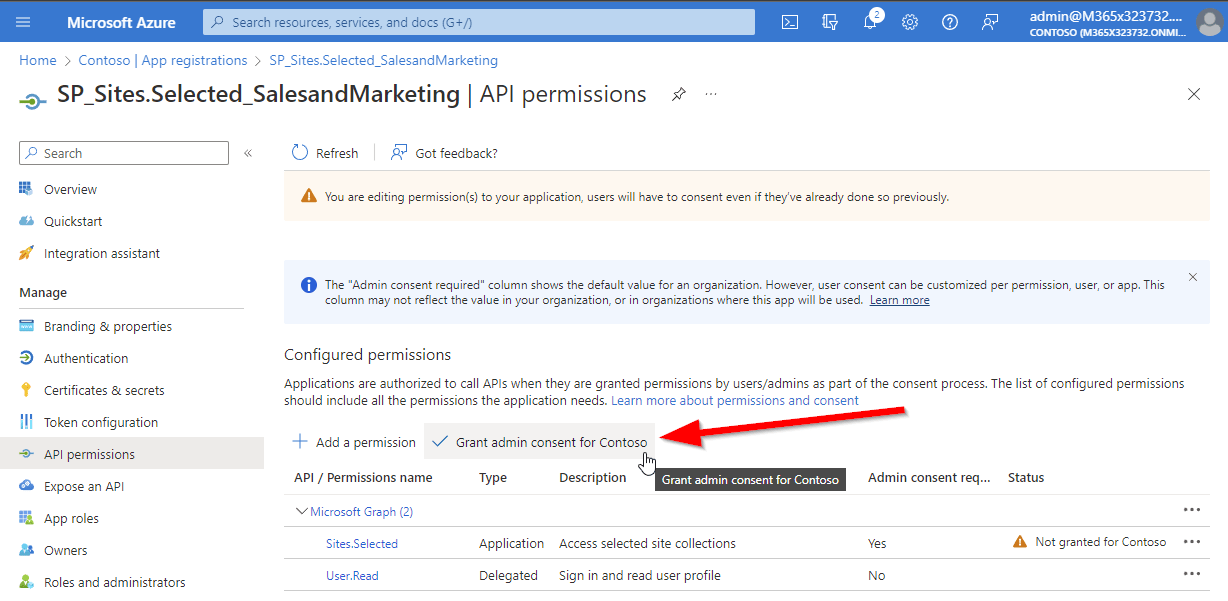
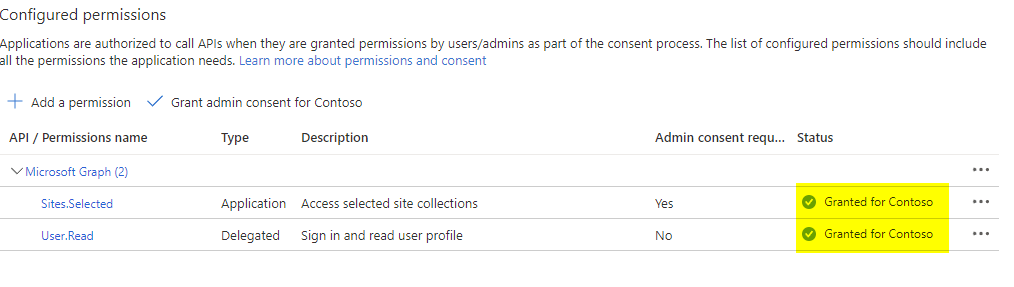
To grant admin consent for your tenant, you must be signed in with a user account that has global administrator privileges. However, if you don’t have these privileges ask your administrator with the global administrator role to consent permissions for the App Registration.

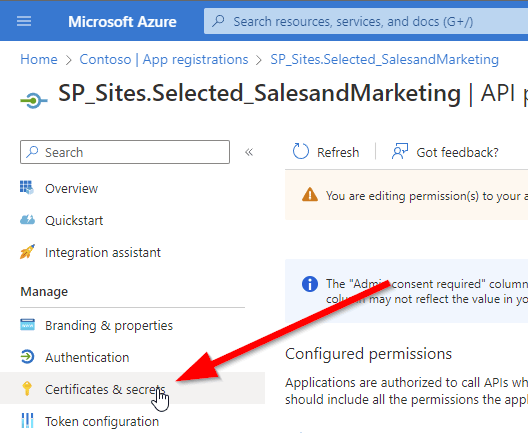
Create a secret for the App Registration
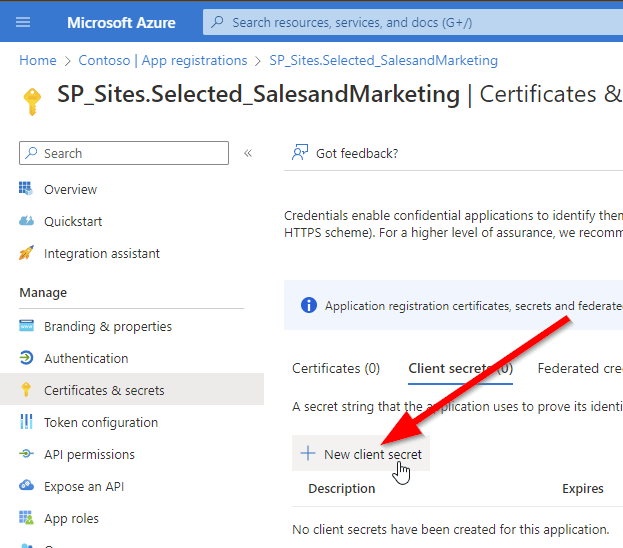
Now as you have configured the App permissions, you have to ensure, that you can authenticate with your App Registration. To configure the authentication, click on “Certificates & secrets”.

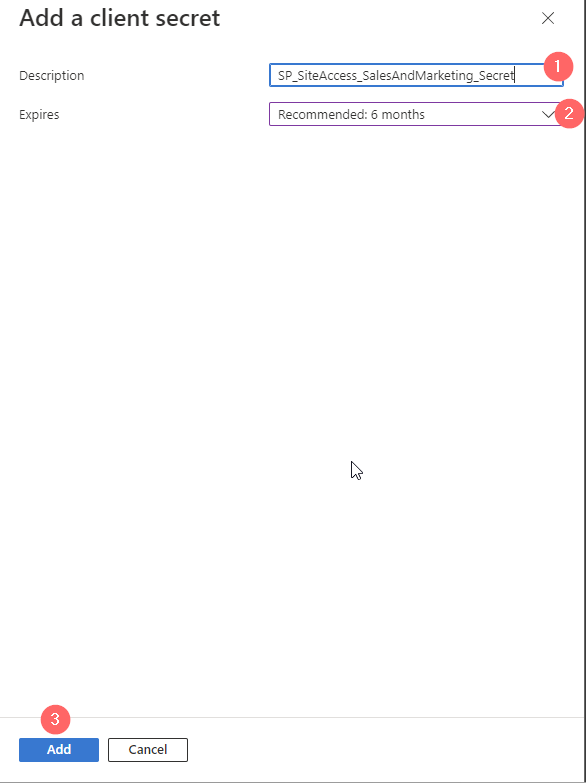
Now you can either upload certificates, create client secrets or create federated credentials. In this tutorial I will show you how to work with client secrets.

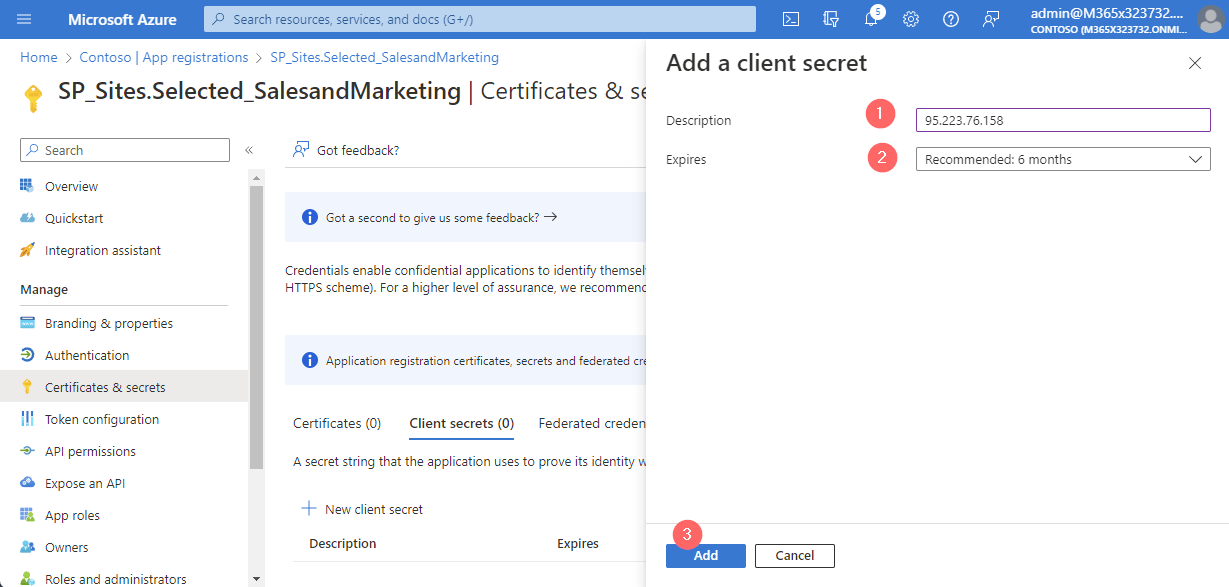
Now you need to define a credential name. I choose the client and the IP Address to recognize, which Server/ Application will use the client secret.

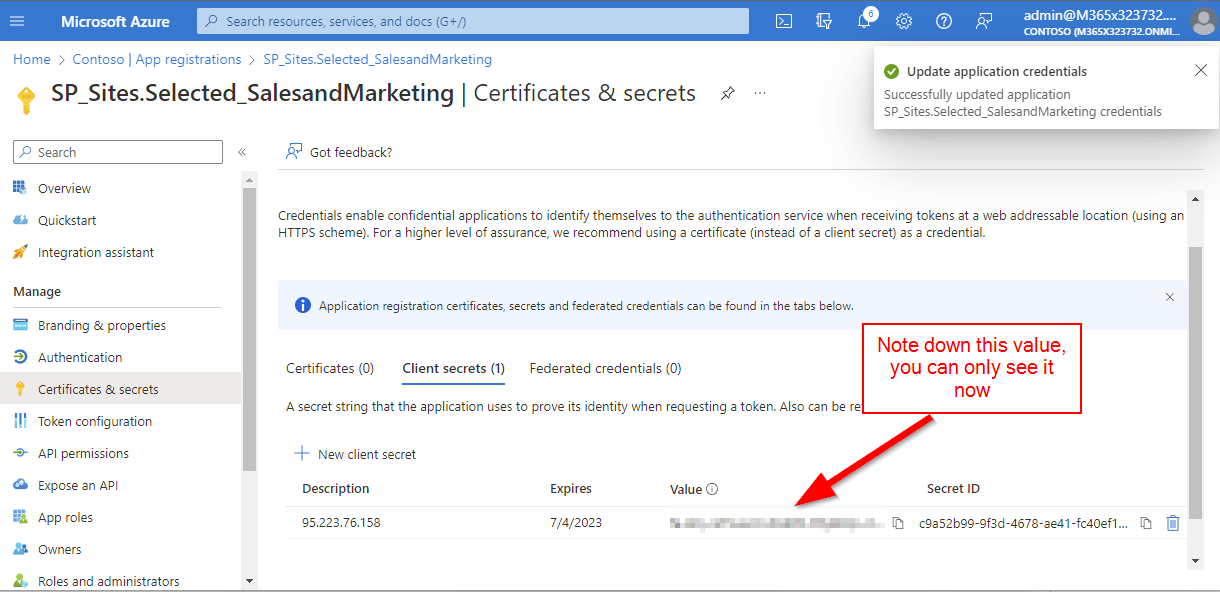
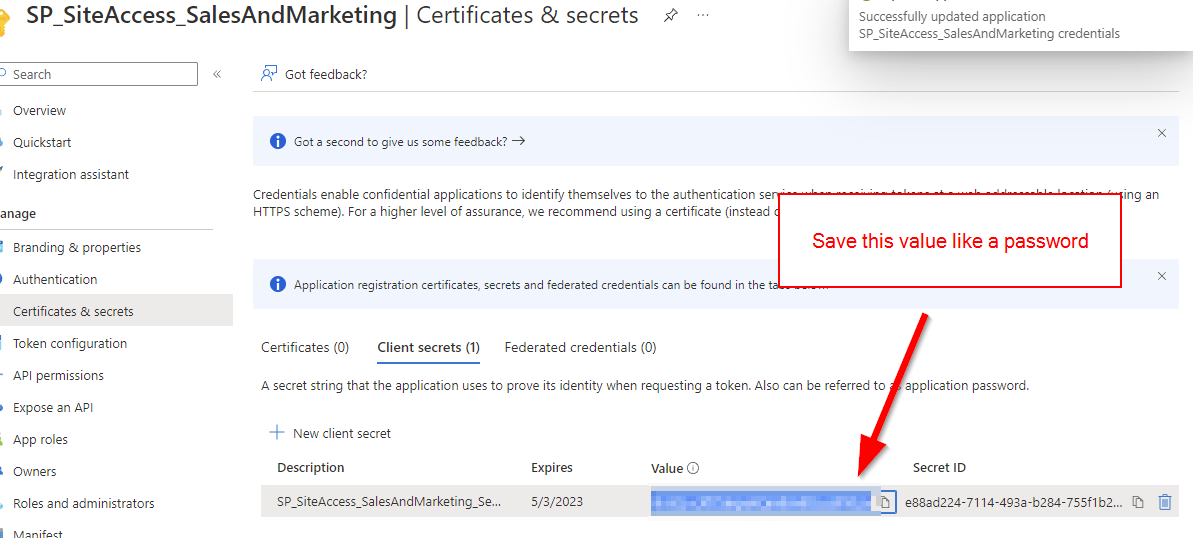
As you have added a client secret, make sure that you store the value for the secret as you are only able to see it, when you create it.

How to grant the App Registration Permissions for a SharePoint Site?
To grant permission to your app registration, it’s essential to ensure that the PNP Module is installed on your client and that you have permission to use it. If you haven’t already installed the PNP Module, check out the documentation: Connect to SharePoint with PowerShell | SharePoint Online (workplace-automation.com/)
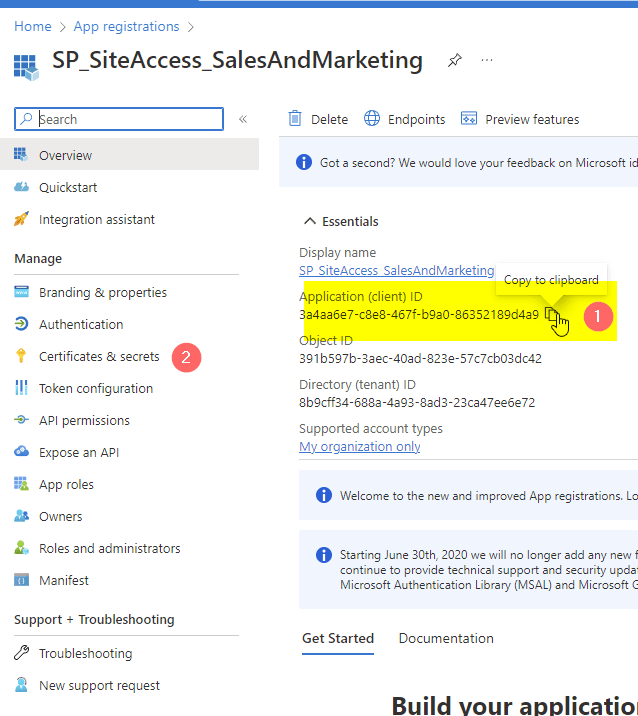
Once you have confirmed that both conditions are met, you can use the following code to grant your app registration the necessary permissions to read from the site. You can find your app ID on the overview page of your app registration.
Take the App ID from the overview page of your App registration and run the code below.

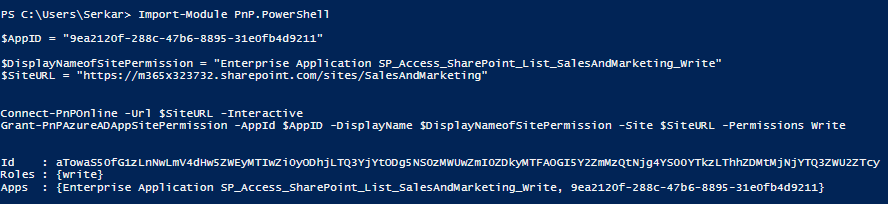
$AppID = "333d169e-7f2d-417c-b349-8498b2248802"
$AppRegistrationName = "SP_Sites.Selected_Retail"
$SiteURL = "https://m365x69801090.sharepoint.com/sites/Retail"

Import-Module PnP.PowerShell

$DisplayNameofSitePermission = "Enterprise Application $AppRegistrationName"


Connect-PnPOnline -Url $SiteURL -Interactive
Grant-PnPAzureADAppSitePermission -AppId $AppID -DisplayName $DisplayNameofSitePermission -Site $SiteURL -Permissions Read
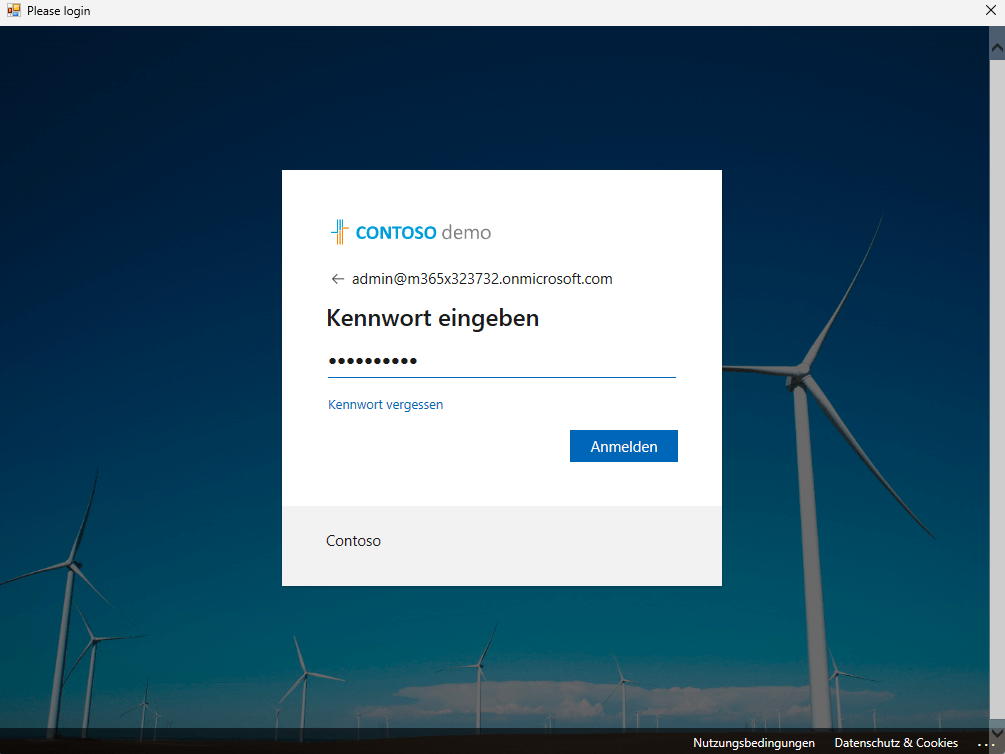
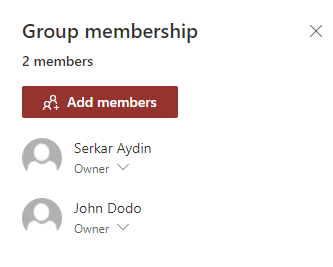
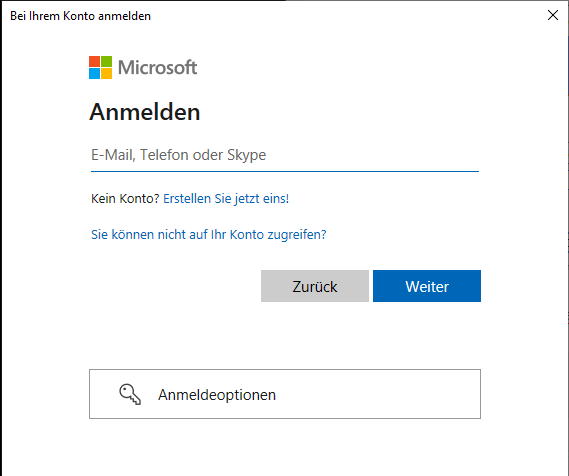
Now login with your account.

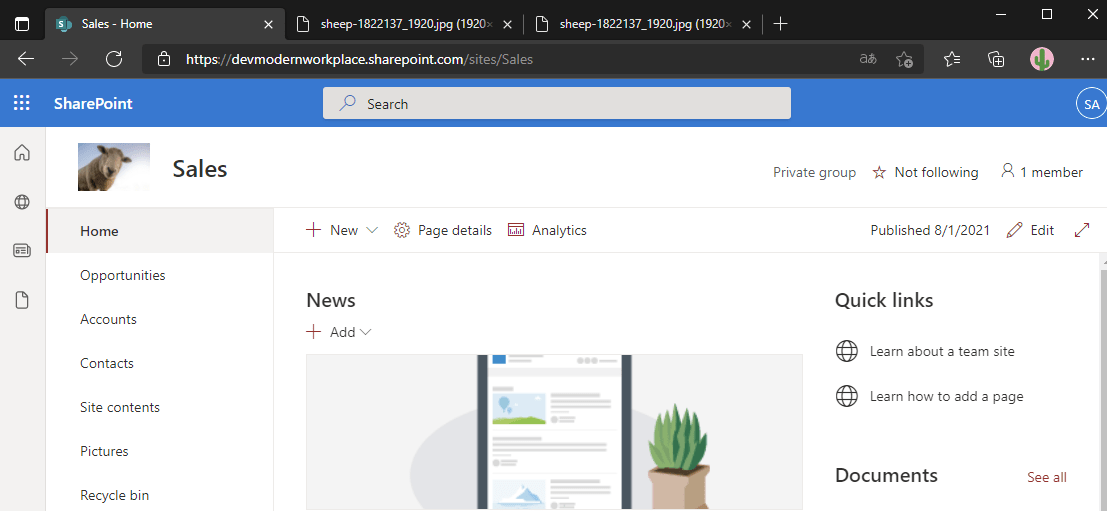
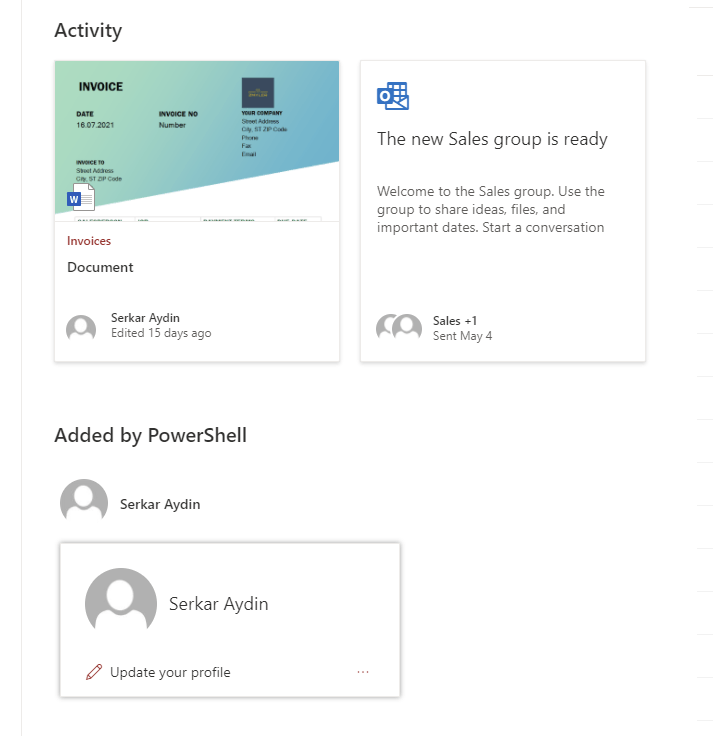
This is how it looks like, when the permission was granted successfully for the App Registration.

How to Download Files from SharePoint using Graph API?
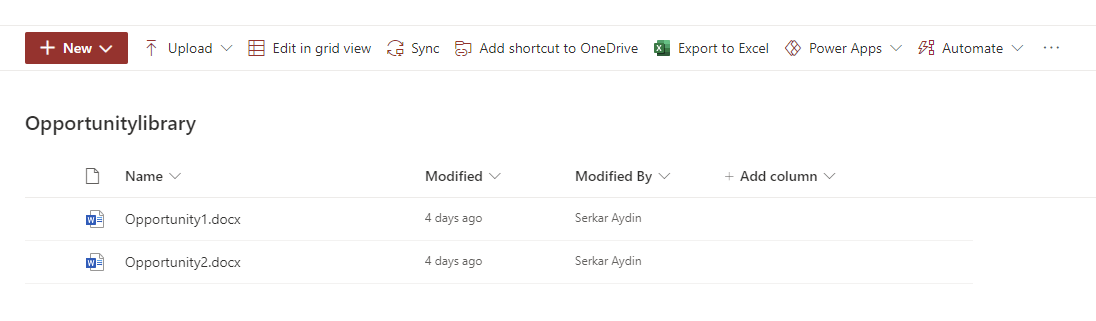
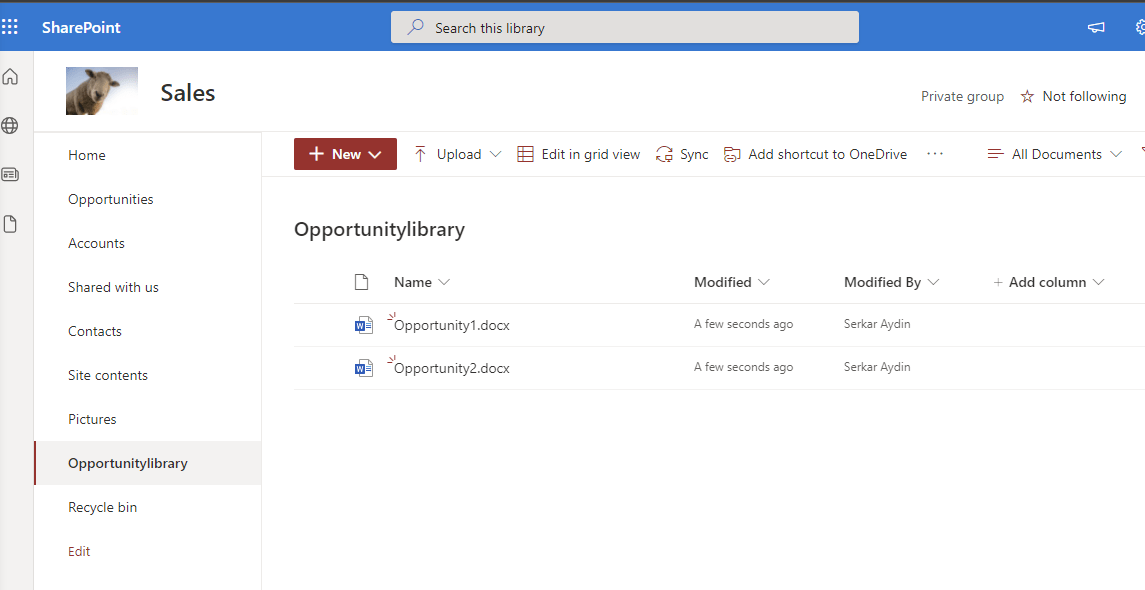
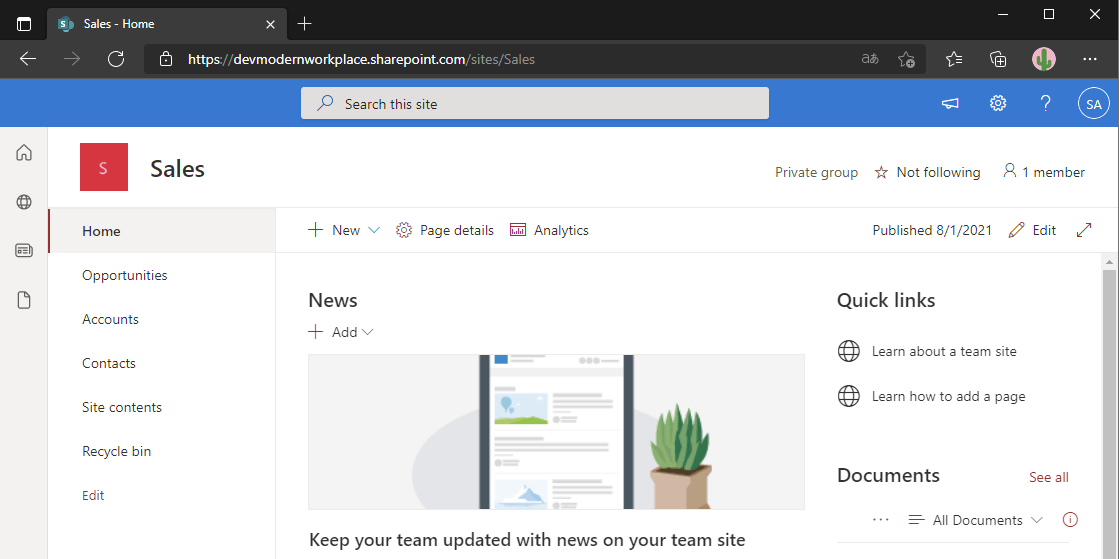
Now that we’ve created an app registration and granted it permission to write to a selected site, we can use it to download a SharePoint Library using Graph API. In this example, we’ll download the SharePoint Library Documents from the Retail SharePoint site. Before running the code, make sure you have adjusted the parameters and have the client secret ready, which we created in the previous steps.
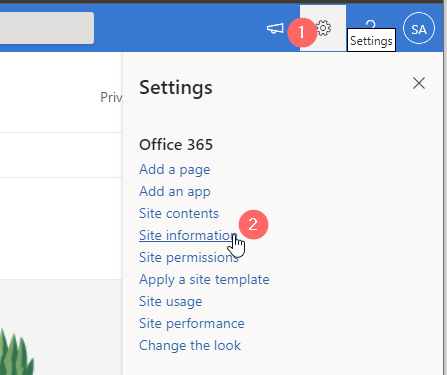
You can get the SiteID by browsing to the siteID page
<siteurl>/_api/site/idFor my example:
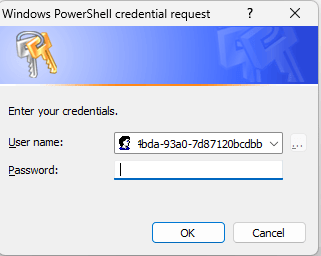
https://m365x69801090.sharepoint.com/sites/Retail/_api/site/idWhen you run the code, you’ll be prompted to enter the client secret for your app registration.

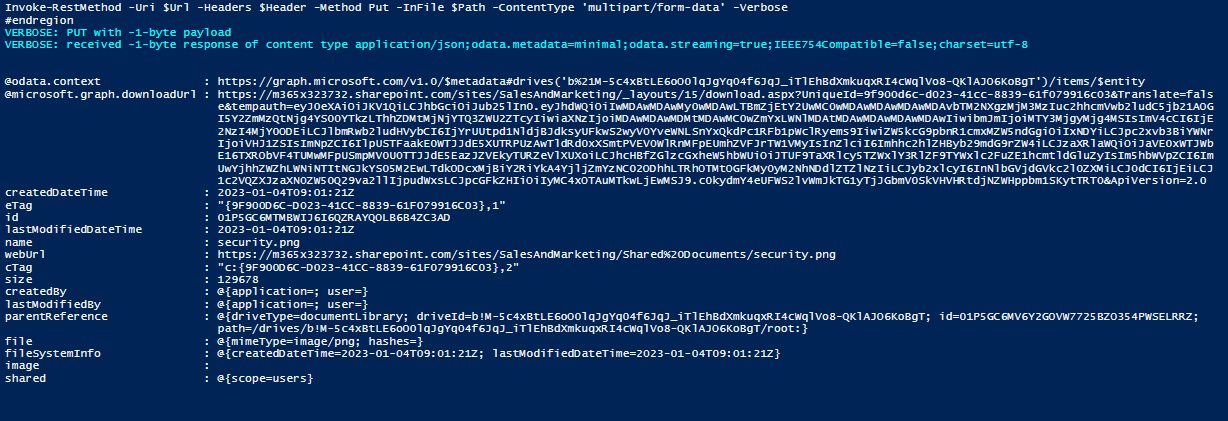
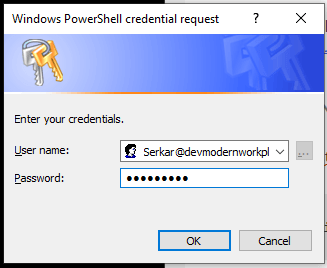
Once you have replaced the parameters with your actual values, you can download aSharePoint Library with Graph using PowerShell. You will get an authentication prompt, where you have to enter the client secret for the App Registration.

# Script to download a SharePoint Library using Graph
# Author: Serkar Aydin - Serkar@workplace-automation.com
# Accept input parameters
Param (
    $Tenant = "m365x69801090",
    $AppID = "333d169e-7f2d-417c-b349-8498b2248802",
    $SiteID = "74667e94-9fcf-41ab-8e2f-0dfaf0294de8",
    $LibraryURL = "https://m365x69801090.sharepoint.com/sites/Retail/Shared%20Documents",
    $Path = "C:\Users\Serkar\Desktop\Retail"
)

Function DownloadDriveItem {

    param(
        $DriveItem,
        $URL,
        $Header,
        $Path

    )

    #if there is no downloadurl, it is a folder
    If (!$DriveItem. '@microsoft.graph.downloadUrl') {

        Write-Output "Downloading the folder $($DriveItem.weburl)"

        #Create a folder for the SharePoint folder
        $FolderPath = "$Path\$($DriveItem.name)"
        New-Item -ItemType Directory -Path $FolderPath | Out-Null

        $Url  = "https://graph.microsoft.com/v1.0/drives/$DriveID/items/$($DriveItem.ID)/children"
        $Response =  Invoke-RestMethod -Uri $Url -Headers $Header -Method Get -ContentType 'multipart/form-data'

        $Response.value | ForEach-Object {

            DownloadDriveItem -DriveItem $_ -URL $Url -Header $Header -Path $FolderPath

        }

    }

    #Else it is a file
    Else{

        Write-Output "Downloading the file $($DriveItem.weburl)"
        Invoke-WebRequest -Uri $DriveItem.'@microsoft.graph.downloadUrl' -OutFile "$Path\$($DriveItem.name)"
    }
}


# Prompt for application credentials
$AppCredential = Get-Credential($AppID)

#region authorize

# Set the scope for the authorization request
$Scope = "https://graph.microsoft.com/.default"

# Build the body of the authorization request
$Body = @{
    client_id = $AppCredential.UserName
    client_secret = $AppCredential.GetNetworkCredential().password
    scope = $Scope
    grant_type = 'client_credentials'
}

# Build the URL for the authorization request
$GraphUrl = "https://login.microsoftonline.com/$($Tenant).onmicrosoft.com/oauth2/v2.0/token"

# Send the authorization request and retrieve the access token
$AuthorizationRequest = Invoke-RestMethod -Uri $GraphUrl -Method "Post" -Body $Body
$Access_token = $AuthorizationRequest.Access_token

# Build the header for API requests
$Header = @{
    Authorization = $AuthorizationRequest.access_token
    "Content-Type"= "application/json"
}

#endregion

#region get drives

# Build the URL to retrieve the list of drives in the SharePoint site
$GraphUrl = "https://graph.microsoft.com/v1.0/sites/$SiteID/drives"

# Convert the body of the authorization request to JSON and send the API request
$BodyJSON = $Body | ConvertTo-Json -Compress
$Result = Invoke-RestMethod -Uri $GraphUrl -Method 'GET' -Headers $Header -ContentType "application/json"

# Find the ID of the specified SharePoint library
$DriveID = $Result.value| Where-Object {$_.webURL -eq $LibraryURL } | Select-Object id -ExpandProperty id

# If the SharePoint library cannot be found, throw an error
If ($DriveID -eq $null){
    Throw "SharePoint Library under $LibraryURL could not be found."
}

#endregion

#region create folder. If there is already one, replace it with the new folder

Try {

    New-Item -ItemType Directory -Path $Path -ErrorAction Stop | Out-Null
}
Catch {

        Remove-Item $Path -Force -Recurse
        New-Item -ItemType Directory -Path $Path -Force | Out-Null
}
#endregion

#region download library

$Url  = "https://graph.microsoft.com/v1.0/drives/$DriveID/root/children"
$Response =  Invoke-RestMethod -Uri $Url -Headers $Header -Method Get -ContentType 'multipart/form-data'

$Response.value | ForEach-Object {

    DownloadDriveItem -DriveItem $_ -URL $Url -Header $Header -Path $Path

}

#endregion

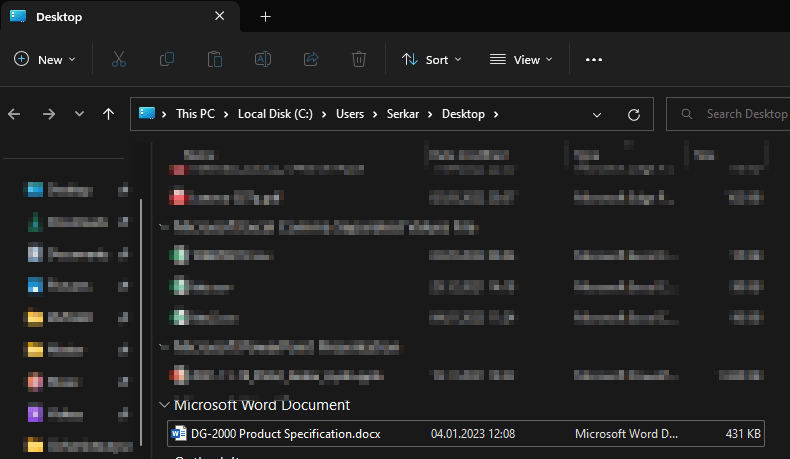
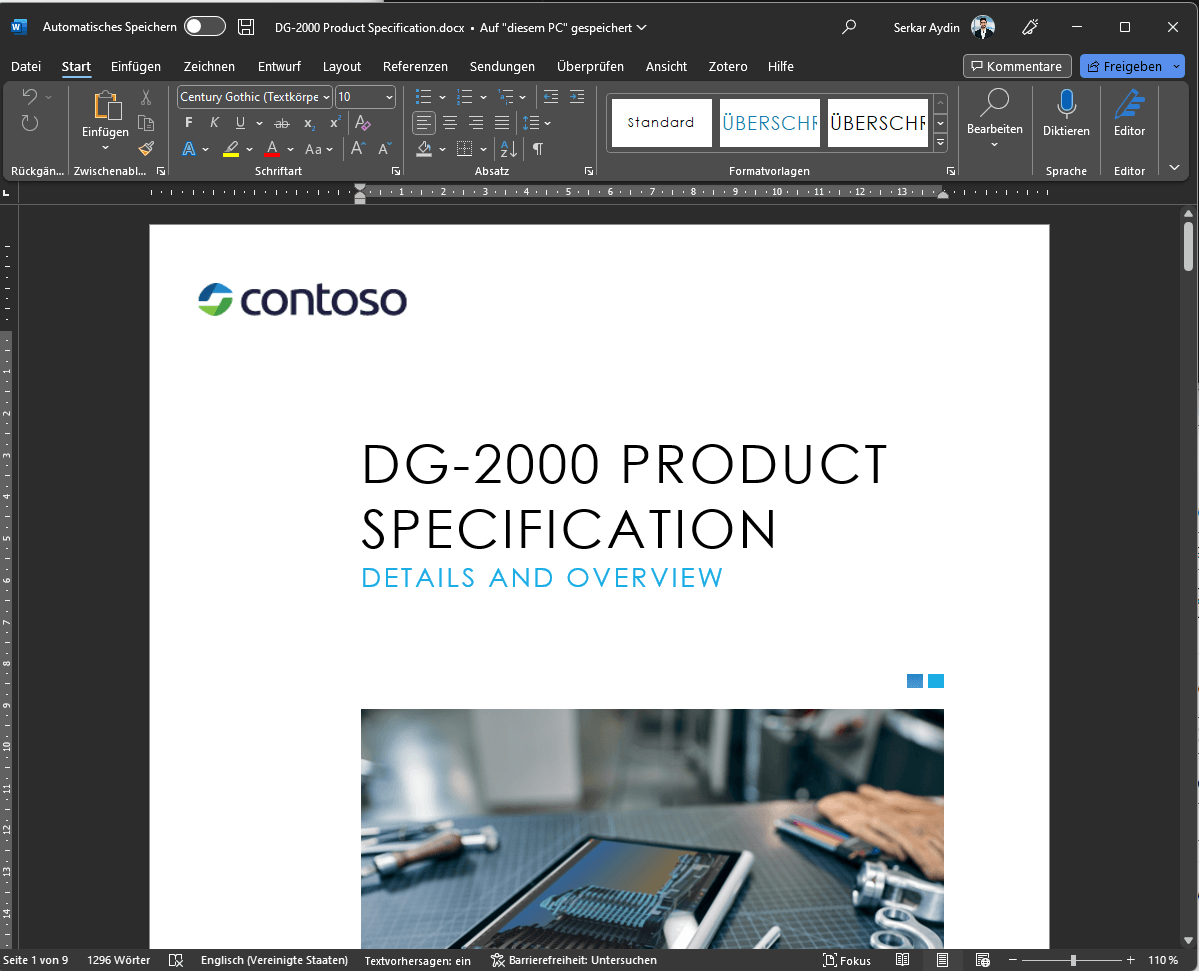
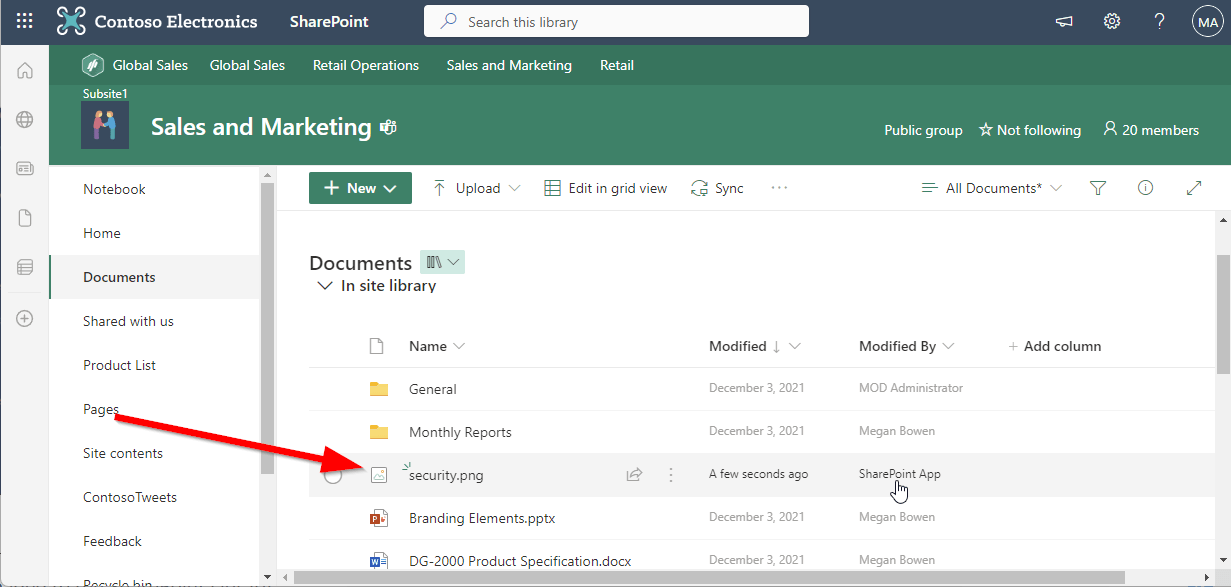
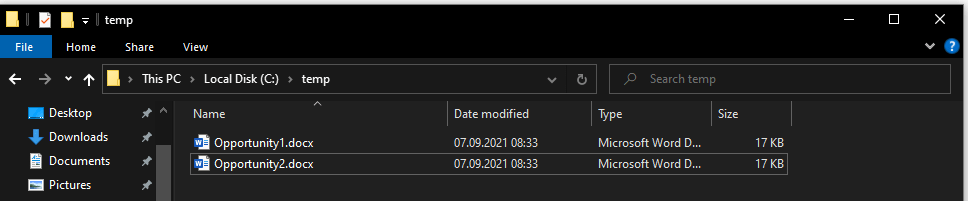
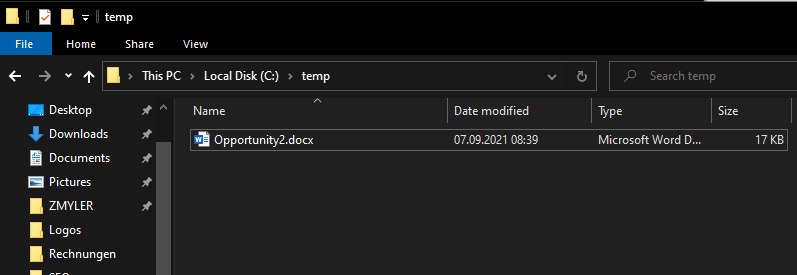
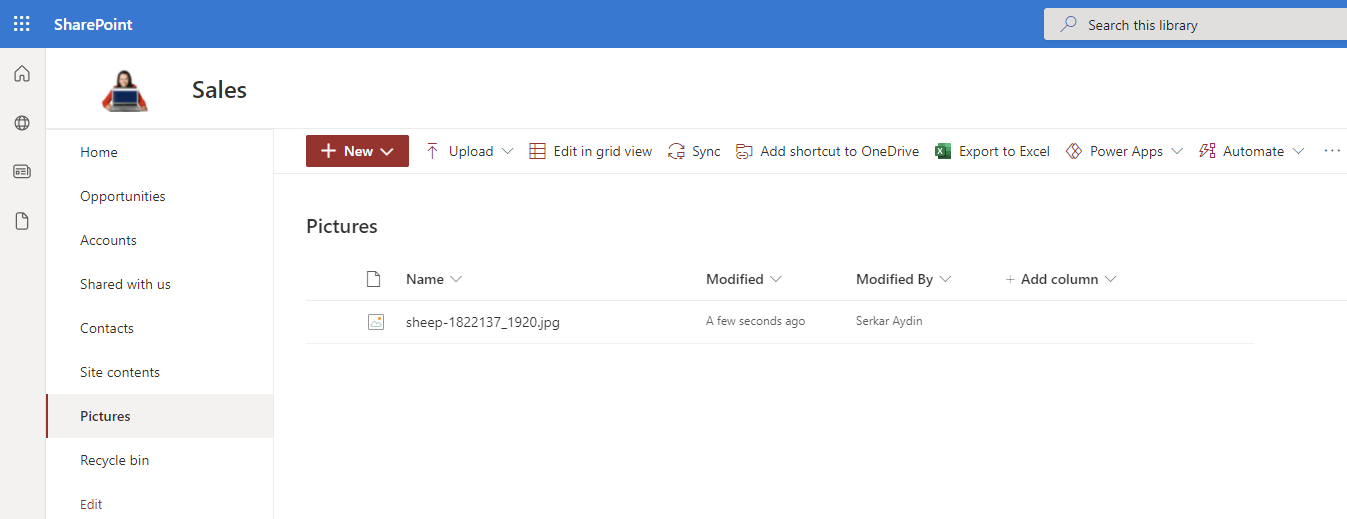
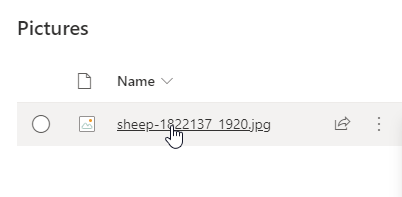
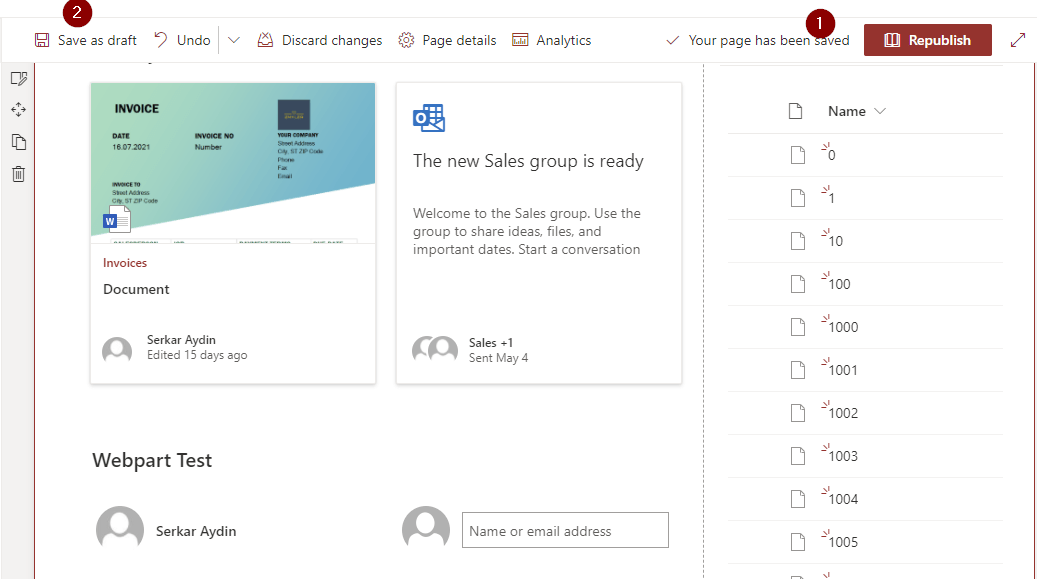
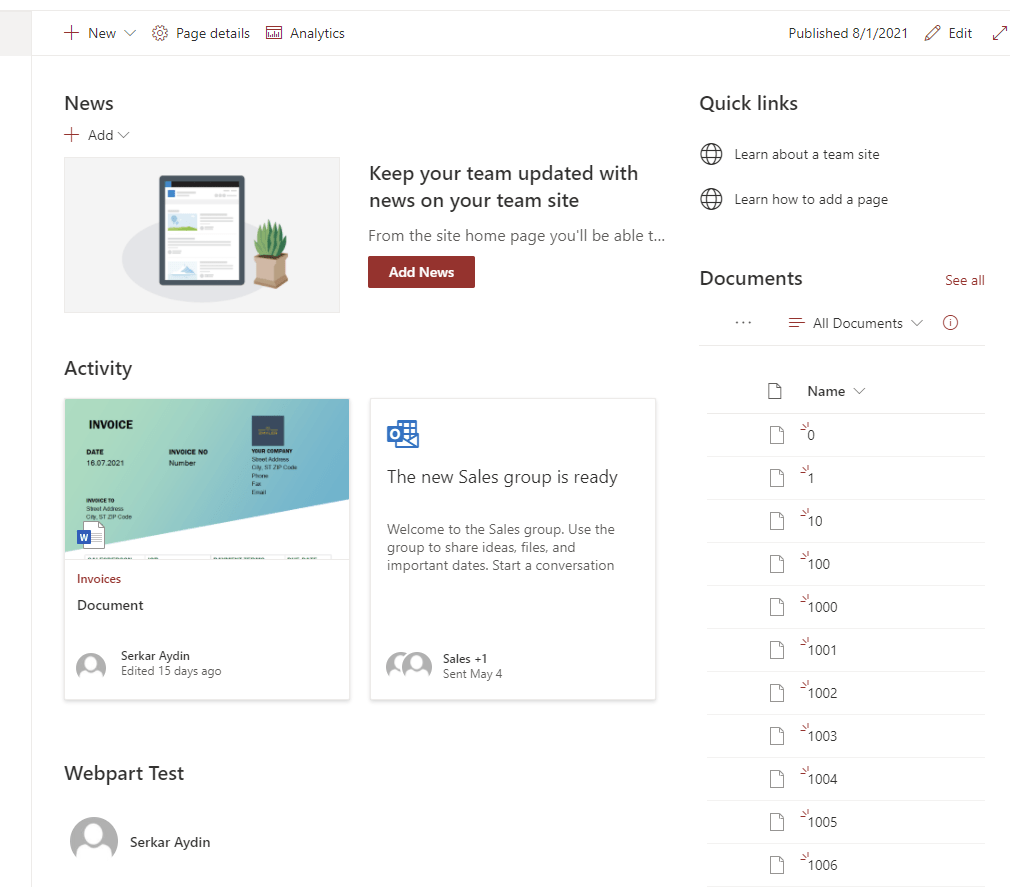
As you can see, I was able to download a SharePoint Library using Graph API. All folders and subfolders are created on my local C drive. Result of Download a SharePoint Library using Graph 1


Further Reference
You might want to download single files from SharePoint with Graph API? Check this out:
How to download files from SharePoint using Graph API (PowerShell) (workplace-automation.com/)
Learn how to access SharePoint via Graph in PowerShell: Access SharePoint via Graph API in PowerShell
Learn how to upload files to SharePoint using Graph (PowerShell):
How to Upload Files to SharePoint using Graph API PowerShell (workplace-automation.com/)