In this article I’ll elaborate how to create SharePoint List Items with MS Graph API. You might have use cases, which require the automatic list item creations – example: Your customer is providing feedback and you want to process it in SharePoint to integrate it to other tools like PowerAutomate.
In my current engagement, I am populating demo data to our rollout automation tool. Using a programmatic approach ensures that the demo data is provided equally for every new demo.
Following endpoint is used to create SharePoint List Items:
POST /sites/{site-id}/lists/{list-id}/items
In this article, I’ll walk you through the approach, which enables you to use the endpoint. To call the provided endpoint, following four steps need to be followed:

- Obtain bearer token: The bearer token is required to authenticate with Microsoft Graph API.
- Obtain Site ID: Based on the site name, the site id is getting obtained, which is required for the list item creation with MS Graph
- Obtain List ID: the List ID is required to specify the list in which the SharePoint list item shall be created. The ID will be fetched by the specification of the list title.
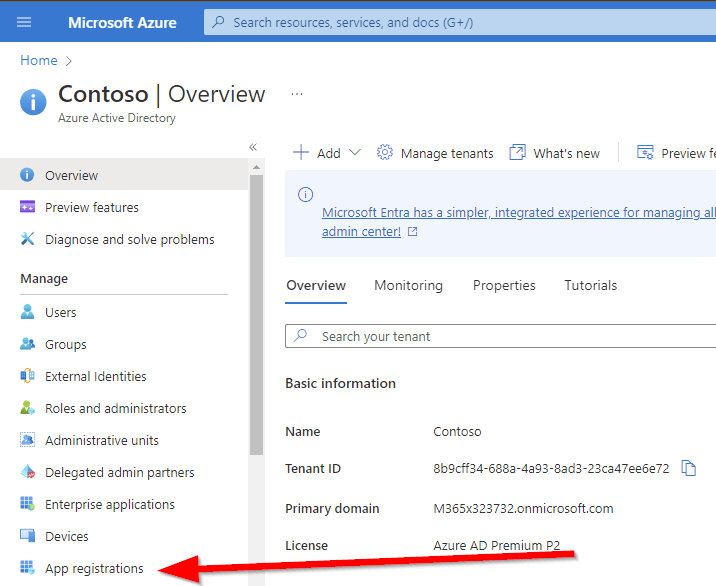
Prerequisites to Create SharePoint List Items with MS Graph
In order to create SharePoint List items with MS Graph, following prerequisites are required:
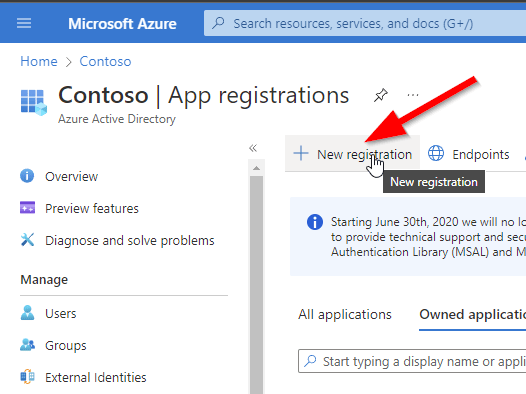
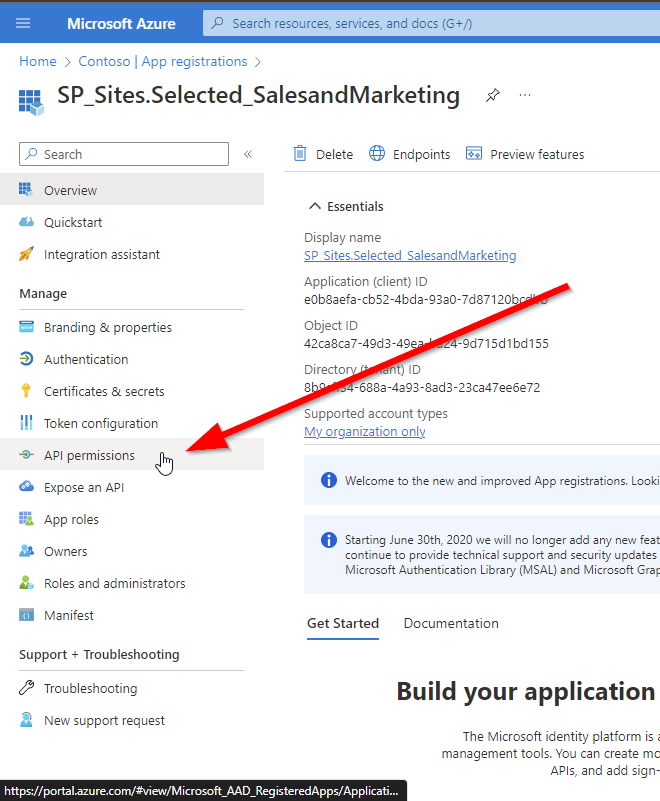
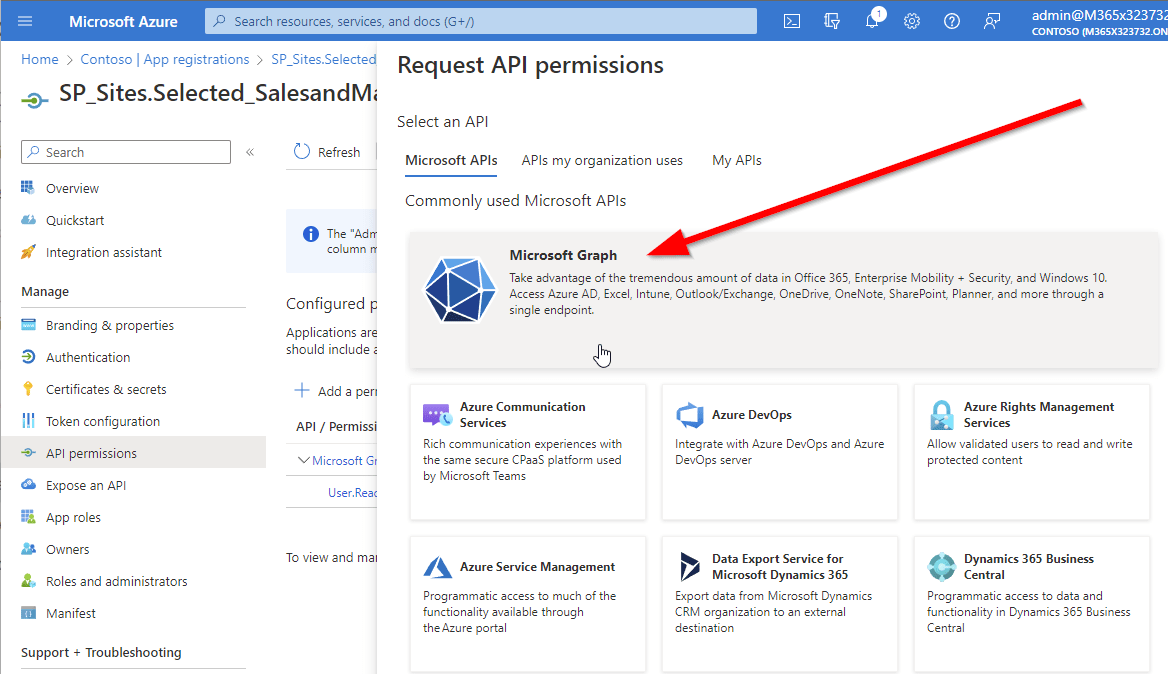
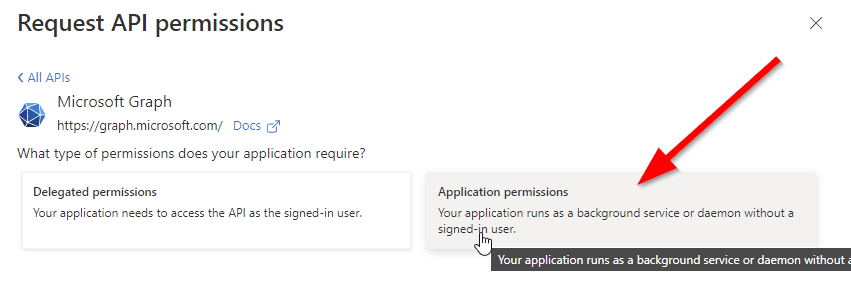
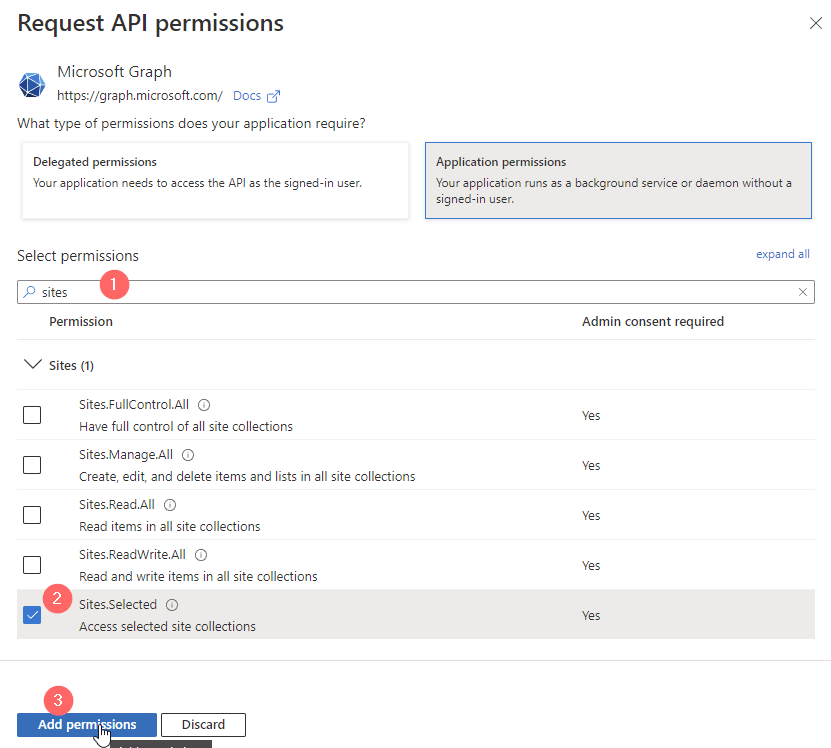
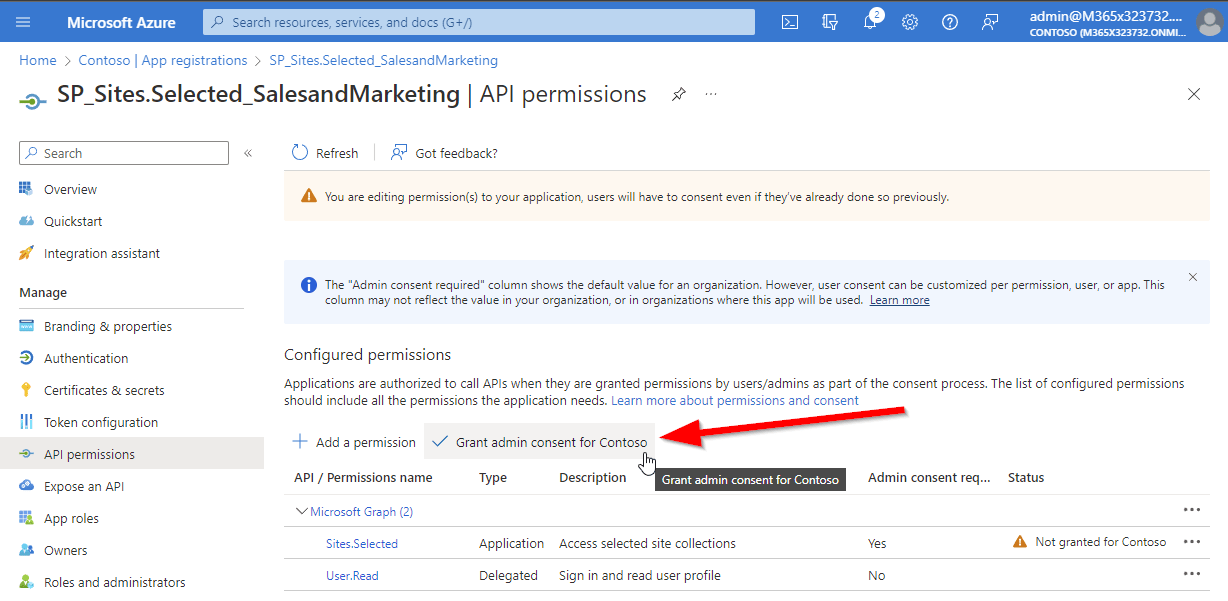
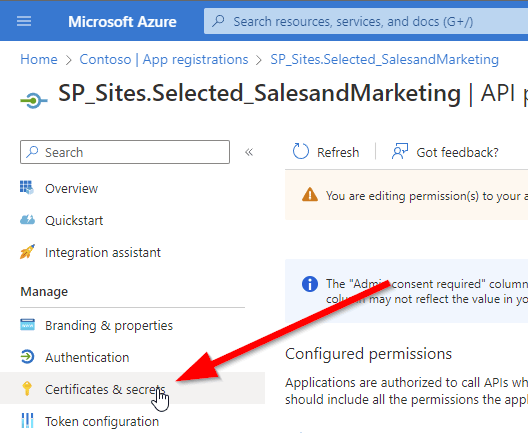
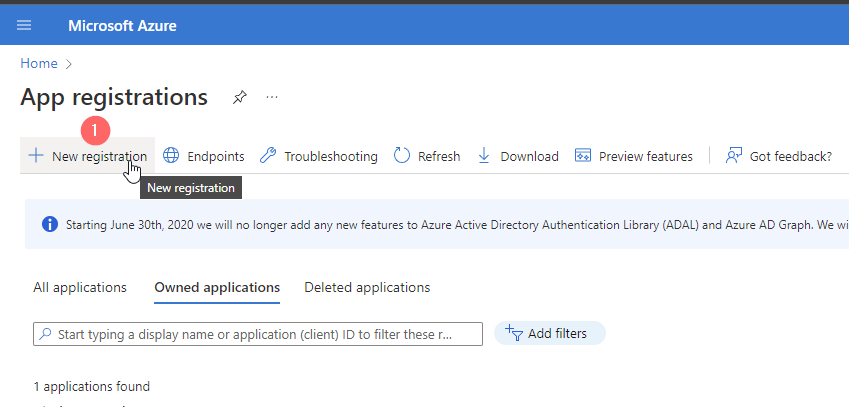
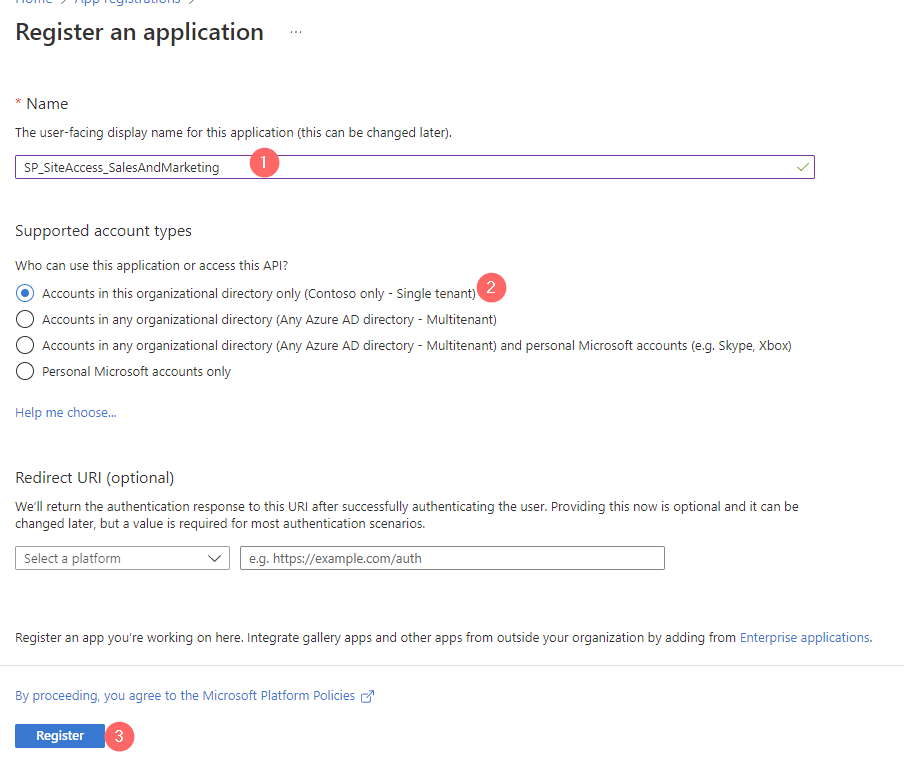
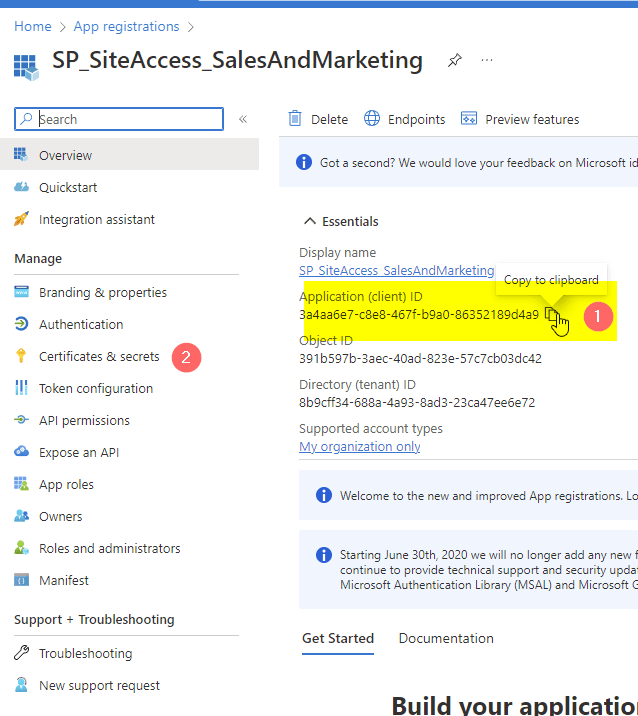
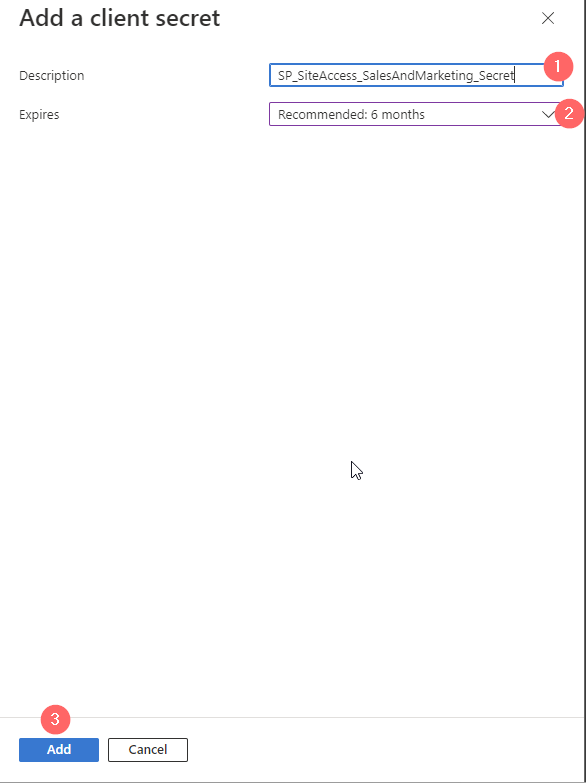
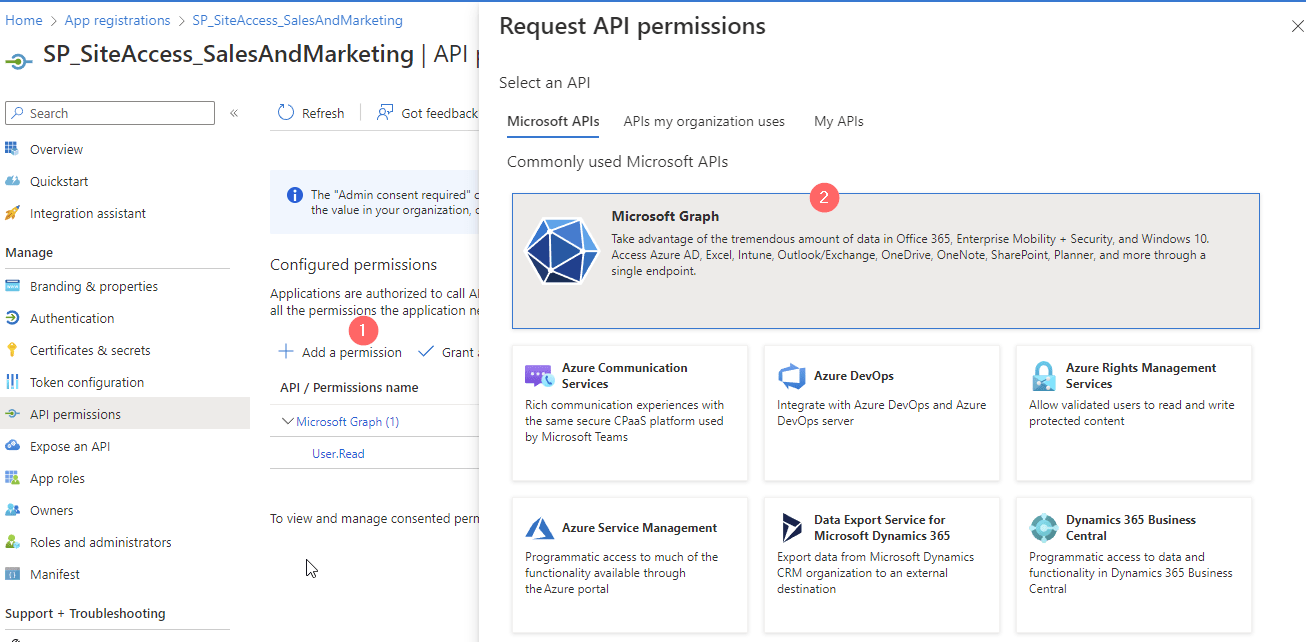
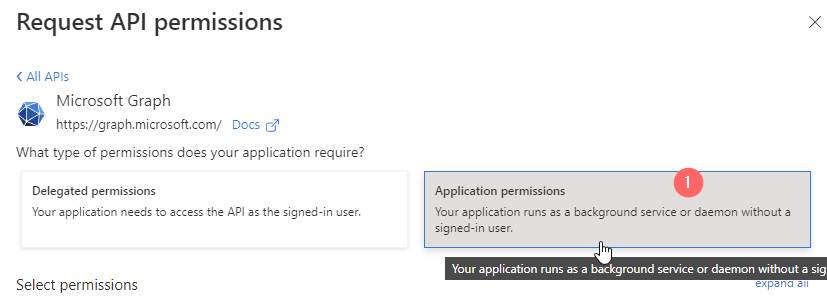
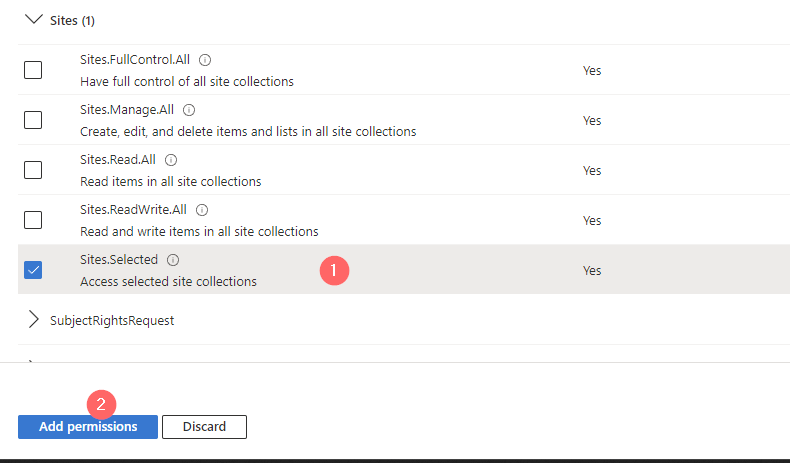
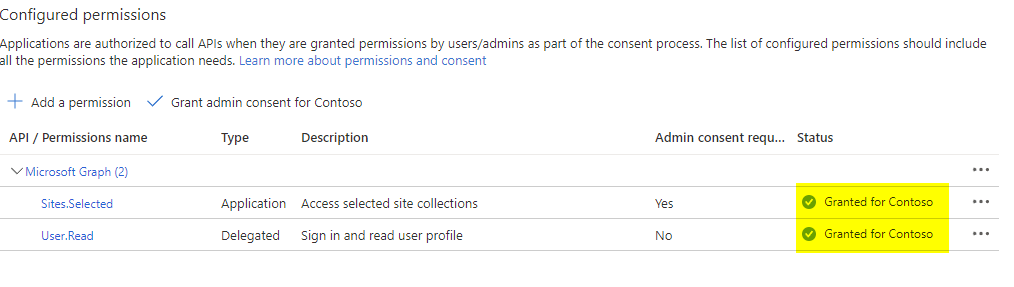
- An App Registration with at least Sites.Selected permissions, make also sure that the app registration is granted the permission to write in your specific site:
You can create the App Registration following my guide:
How to configure Azure App registration for MS Graph | SPO Scripts
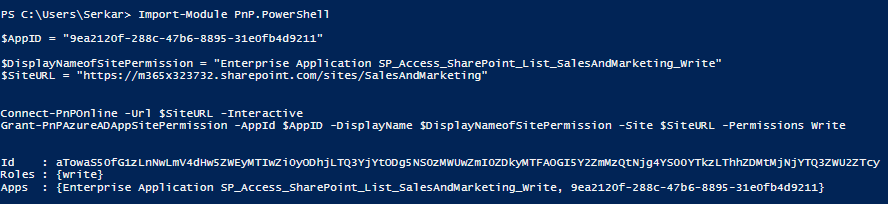
Make also sure that you grant the app registration the permission for your specific site:
How to Grant the App registration Permissions to use Sites.Selected permissions using MS Graph - Ideally you have defined already the list with the specific columns. You can create the list either manually or also with Graph API:
How to create SharePoint Lists with MS Graph | SPO Scripts
Your App Registration should look like this in terms of granted permissions:

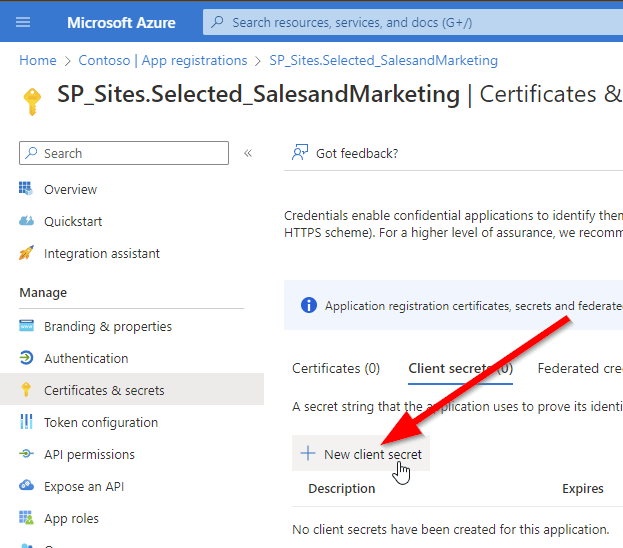
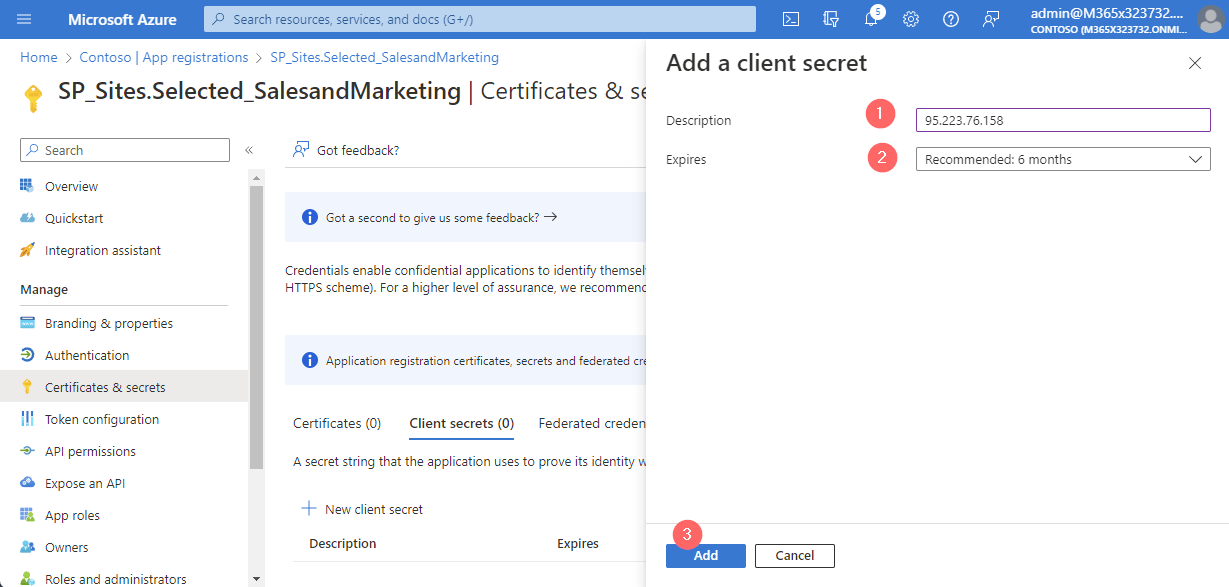
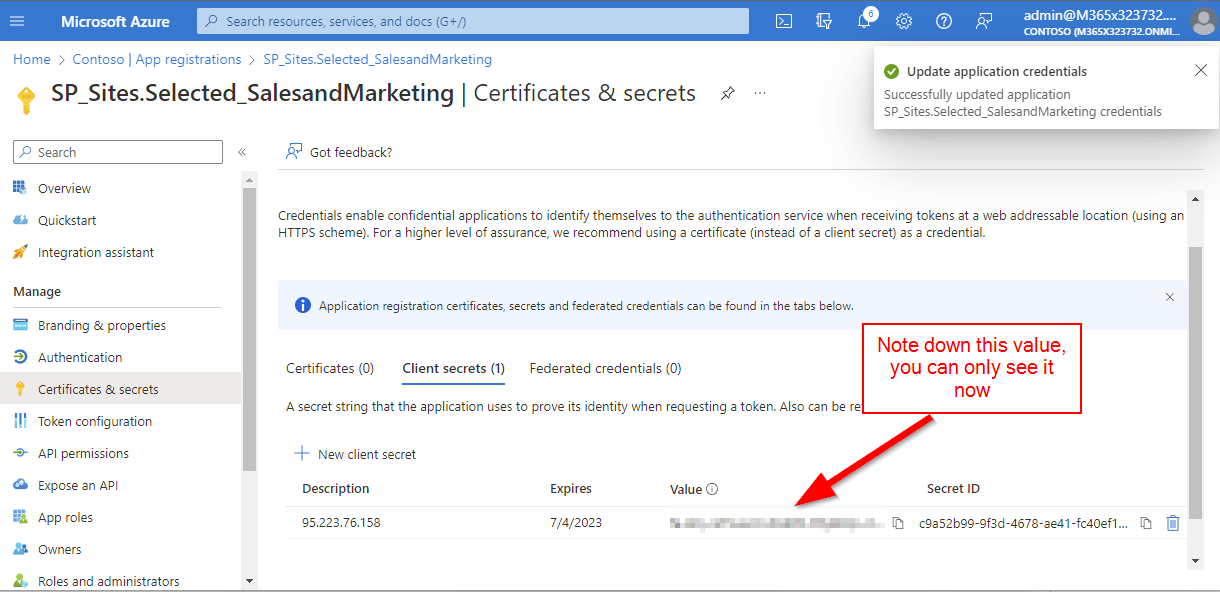
Obtain Bearer Token to create SharePoint List Items with MS Graph API
In order to obtain the bearer token, you need to conduct a POST call for the endpoint /oauth2/v2.0/token.
You can use the script below, to obtain a bearer token. Make sure to provide your SharePoint tenant name (https://tenantname.sharepoint.com) and the app ID of your app registration in the parameters.
param (
    [string]$Tenant = "m365x16735261",
    [string]$AppID = "39180af4-ad90-442f-a4ca-028b9221b133"
)

$AppCredential = Get-Credential ($AppID)

# Define the required scope for accessing the Microsoft Graph API
$Scope = "https://graph.microsoft.com/.default"

# Prepare the body for the token request with client ID, client secret, and scope
$Body = @{
    client_id     = $AppCredential.UserName                     # Client ID from app registration
    client_secret = $AppCredential.GetNetworkCredential().password   # Securely retrieve the client secret
    scope         = $Scope                                         # API scope required for MS Graph API access
    grant_type    = 'client_credentials'                      # Grant type for app-only authentication
}

# Azure AD endpoint to request an OAuth token
$GraphUrl = "https://login.microsoftonline.com/$($Tenant).onmicrosoft.com/oauth2/v2.0/token"

try
{
    # Request the access token from Azure AD
    $AuthorizationRequest = Invoke-RestMethod -Uri $GraphUrl -Method "Post" -Body $Body
    # Retrieve the access token from the response
    $Access_token = $AuthorizationRequest.Access_token
    Write-Output $Access_token
}
catch
{
    # Handle authentication errors, if any
    Write-Error "Error during token retrieval: $_"
    return $null
}
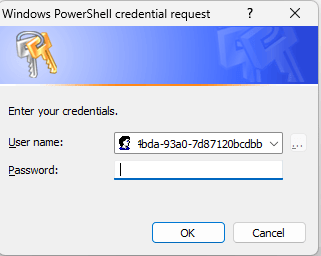
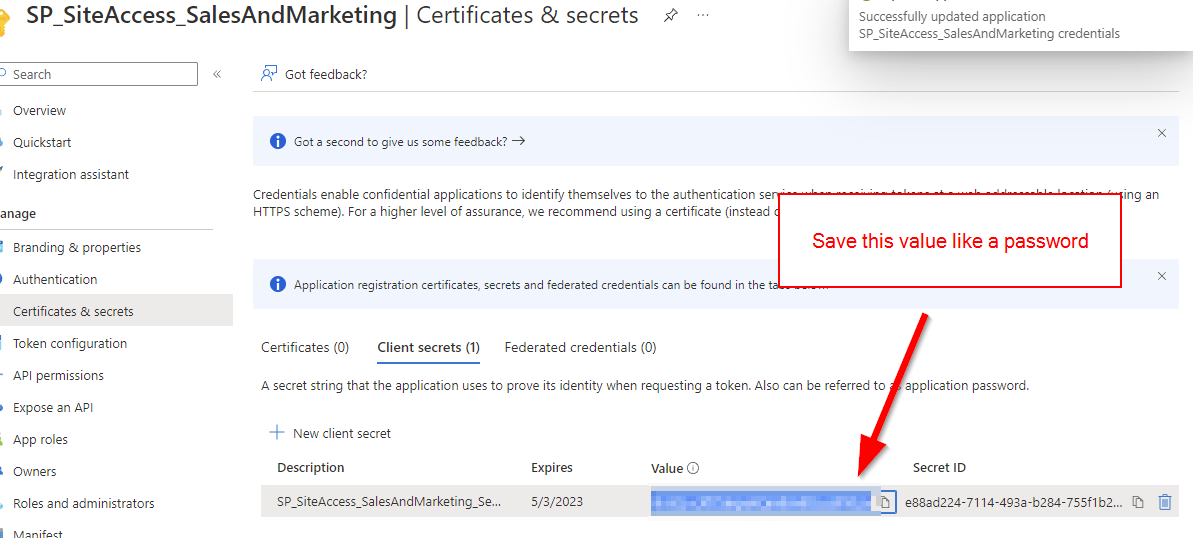
When running the code, you’ll get prompted for the app secret. Once you have executed the code, you’ll receive following output with the bearer access token:

Obtain Site ID to create SharePoint List Items with MS Graph API
With the bearer token, you can obtain the Site ID. You can obtain the Site ID by running the code below – make sure to update the parameters Hostname and ServerRelativePath.
Param (
    # The API version of MS Graph
    $ApiVersion = "v1.0",

    # hostname of the tenant
    $HostName = "m365x16735261.sharepoint.com",

    # The relative path of the site, beginning with /sites/, /teams/, or another valid site type path.
    $ServerRelativePath = "sites/GraphSite1"

)

# Set the Authorization header with the bearer token for API requests
$Header = @{
    Authorization  = "Bearer $Access_token"              # Bearer token for API authorization
    "Content-Type" = "application/json"                 # JSON content type for the request body
}

#Obtain the SiteID of the Site

$Url = "https://graph.microsoft.com/$ApiVersion/sites/${HostName}:/$ServerRelativePath"
$Site = Invoke-RestMethod -Uri $Url -Headers $Header
Write-Output $Site
Once you execute the script, you should see a similar output:

Obtain List ID to create SharePoint List Items with MS Graph API
As we were able to obtain the Site ID, we can now obtain the List ID in which we want to create SharePoint List Items. In the script below, I am obtaining the SharePoint List “Tools2”. Make sure to update Parameters, so that you get the list, in which you want to create the SharePoint List Items.
Param (
    # The API version of MS Graph
    $ApiVersion = "v1.0",

    # The displayname of the List
    $ListTitle = "Tools2"
)

# Set the Authorization header with the bearer token for API requests
$Header = @{
    Authorization  = "Bearer $Access_token"              # Bearer token for API authorization
    "Content-Type" = "application/json"                 # JSON content type for the request body
}

#Obtain the listID of the list

$Url = "https://graph.microsoft.com/$ApiVersion/sites/$($Site.id)/lists/$ListTitle"
$List = Invoke-RestMethod -Uri $Url -Headers $Header
Write-Output $List
Create SharePoint List Items with MS Graph API
In order to create SharePoint List Items with Graph API, you need to specify how your items shall look like. You can do this by defining a Body as a JSON as per your list. In my List I have two columns in place: Title [string], NumberOfOffices [Integer], Blank Character Attribute [string].

For that reason the body of my SharePoint List Item looks like this:
$Body = @{
    fields = @{
        Title = "ListItemTest1"
        NumberOfOffices = 1
        BlankCharacterAttribute = "TEST"
    }
}
Note: Make sure that you take the internal name of your columns. You can do it by browsing to the column settings of your SharePoint List column.

Now as we have all three components: Bearer Token, Site ID and ListID, we can create SharePoint List Items with MS Graph API:
# The API version of MS Graph
$ApiVersion = "v1.0"

# The displayname of the List
$ListTitle = "Tools2"


# Set the Authorization header with the bearer token for API requests
$Header = @{
    Authorization  = "Bearer $Access_token"              # Bearer token for API authorization
    "Content-Type" = "application/json"                 # JSON content type for the request body
}


# Define the list item properties for the new list creation request
$Body = @{
    fields = @{
        Title = "ListItemTest1"
        NumberOfOffices = 1
        BlankCharacterAttribute = "TEST"
    }
}

# Set the endpoint URL for creating a list item in Microsoft Graph API
$Url = "https://graph.microsoft.com/$ApiVersion/sites/$($Site.id)/lists/$($List.id)/items"

# Convert the list item properties to JSON format required for the API request
$BodyJSON = $Body | ConvertTo-Json -Compress -Depth 3

# Send the HTTP POST request to create the list items with the defined properties
$Response = Invoke-RestMethod -Uri $Url -Headers $Header -Method Post -Body $BodyJSON
# Output the ID of the newly created list for confirmation
Write-Output "List Item $BodyJSON created successfully"
Write-Output $Response
Once you run the script, you’ll get a similar output like this:

Ready-to-Use PowerShell Script: Create SharePoint List Items with MS Graph
Enclosed you’ll find a ready-to-use PowerShell script to create SharePoint List Items with MS Graph. Make sure to update the parameters of the script as explained before and also to adjust the $ItemBody hashtable, so that the list items are created as per your preference.
# Define parameters for the tenant, application ID, site name, and mail nickname
Param (
    # The API version of MS Graph
    $ApiVersion = "v1.0",

    # The Azure AD tenant ID for authentication
    $Tenant = "m365x16735261",

    # The Application (client) ID of the registered Entra ID application registration, which is supposed to create SharePoint List (TenantAdminApp)
    $TenantAdminAppID = "3342565c-dca1-4b55-b107-7aa0e2f7bfd6",

    # hostname of the tenant
    $HostName = "m365x16735261.sharepoint.com",

    # The relative path of the site, beginning with /sites/, /teams/, or another valid site type path.
    $ServerRelativePath = "sites/GraphSite1",

    # The displayname of the List
    $ListTitle = "Tools2"
)

function Get-GraphToken {
    param (
        [string]$Tenant,
        [PSCredential]$AppCredential
    )

    # Define the required scope for accessing the Microsoft Graph API
    $Scope = "https://graph.microsoft.com/.default"

    # Prepare the body for the token request with client ID, client secret, and scope
    $Body = @{
        client_id = $AppCredential.UserName                     # Client ID from app registration
        client_secret = $AppCredential.GetNetworkCredential().password   # Securely retrieve the client secret
        scope = $Scope                                         # API scope required for MS Graph API access
        grant_type = 'client_credentials'                      # Grant type for app-only authentication
    }

    # Azure AD endpoint to request an OAuth token
    $GraphUrl = "https://login.microsoftonline.com/$($Tenant).onmicrosoft.com/oauth2/v2.0/token"

    try {
        # Request the access token from Azure AD
        $AuthorizationRequest = Invoke-RestMethod -Uri $GraphUrl -Method "Post" -Body $Body
        # Retrieve the access token from the response
        return $AuthorizationRequest.Access_token
    } catch {
        # Handle authentication errors, if any
        Write-Error "Error during token retrieval: $_"
        return $null
    }
}

#region authentication - obtain bearer token
while ($null -eq $TenantAdminAppCredential)
{
    $TenantAdminAppCredential = Get-Credential -UserName $TenantAdminAppID -Message "Enter the client secret for the app TenantAdminAppID $TenantAdminAppID"
}

# Call the Get-GraphToken function and store the result
$Access_token = Get-GraphToken -Tenant $Tenant -AppCredential $TenantAdminAppCredential

# Check if access token is successfully obtained
if (-not $Access_token)
{
    Write-Error "Failed to retrieve access token. Exiting script."
    return
}

# Set the Authorization header with the bearer token for API requests
$Header = @{
    Authorization  = "Bearer $Access_token"              # Bearer token for API authorization
    "Content-Type" = "application/json"                 # JSON content type for the request body
}
Write-Output "Access token retrieved successfully."
#endregion

#Obtain the SiteID of the Site

$Url = "https://graph.microsoft.com/$ApiVersion/sites/${HostName}:/$ServerRelativePath"
$Site = Invoke-RestMethod -Uri $Url -Headers $Header

#Obtain the listID of the list

$Url = "https://graph.microsoft.com/$ApiVersion/sites/$($Site.id)/lists/$ListTitle"
$List = Invoke-RestMethod -Uri $Url -Headers $Header

#region create list item

# Define which values your SharePoint List items shall contain
$ItemBody = @{
    fields = @{
        Title = "ListItemTest"
        NumberOfOffices = 1
        BlankCharacterAttribute = "TEST"
    }
}

# Set the endpoint URL for creating a list item in Microsoft Graph API
$Url = "https://graph.microsoft.com/$ApiVersion/sites/$($Site.id)/lists/$($List.id)/items"

# Convert the list item properties to JSON format required for the API request
$BodyJSON = $ItemBody | ConvertTo-Json -Compress -Depth 3

try
{
    # Send the HTTP POST request to create the list item with the defined properties
    $response = Invoke-RestMethod -Uri $Url -Headers $Header -Method Post -Body $BodyJSON
    # Output the ID of the newly created list item for confirmation
    Write-Output "List item $BodyJSON created successfully"
    Write-Output $response
}
catch
{
    # Handle errors that may occur during the list creation request
    Write-Error "Failed to create list item: $_"
}
#endregion
I hope this article helped you to create SharePoint List Items with MS Graph. For which use cases are you looking forward to create SharePoint List Items? Let us connect on LinkedIn:
Serkar Aydin | LinkedIn
References
Here you can find the official reference from Microsoft, which elaborates on the POST endpoint to create SharePoint List Items:
Create a new entry in a SharePoint list – Microsoft Graph v1.0 | Microsoft Learn